Cart
Sidebar
The sidebar can be used to navigate between different pages. Those pages are:
- Cart view
- Misc. incomes and expenses
- Manage cash register (as explained above)
- Close settlement
Cart view
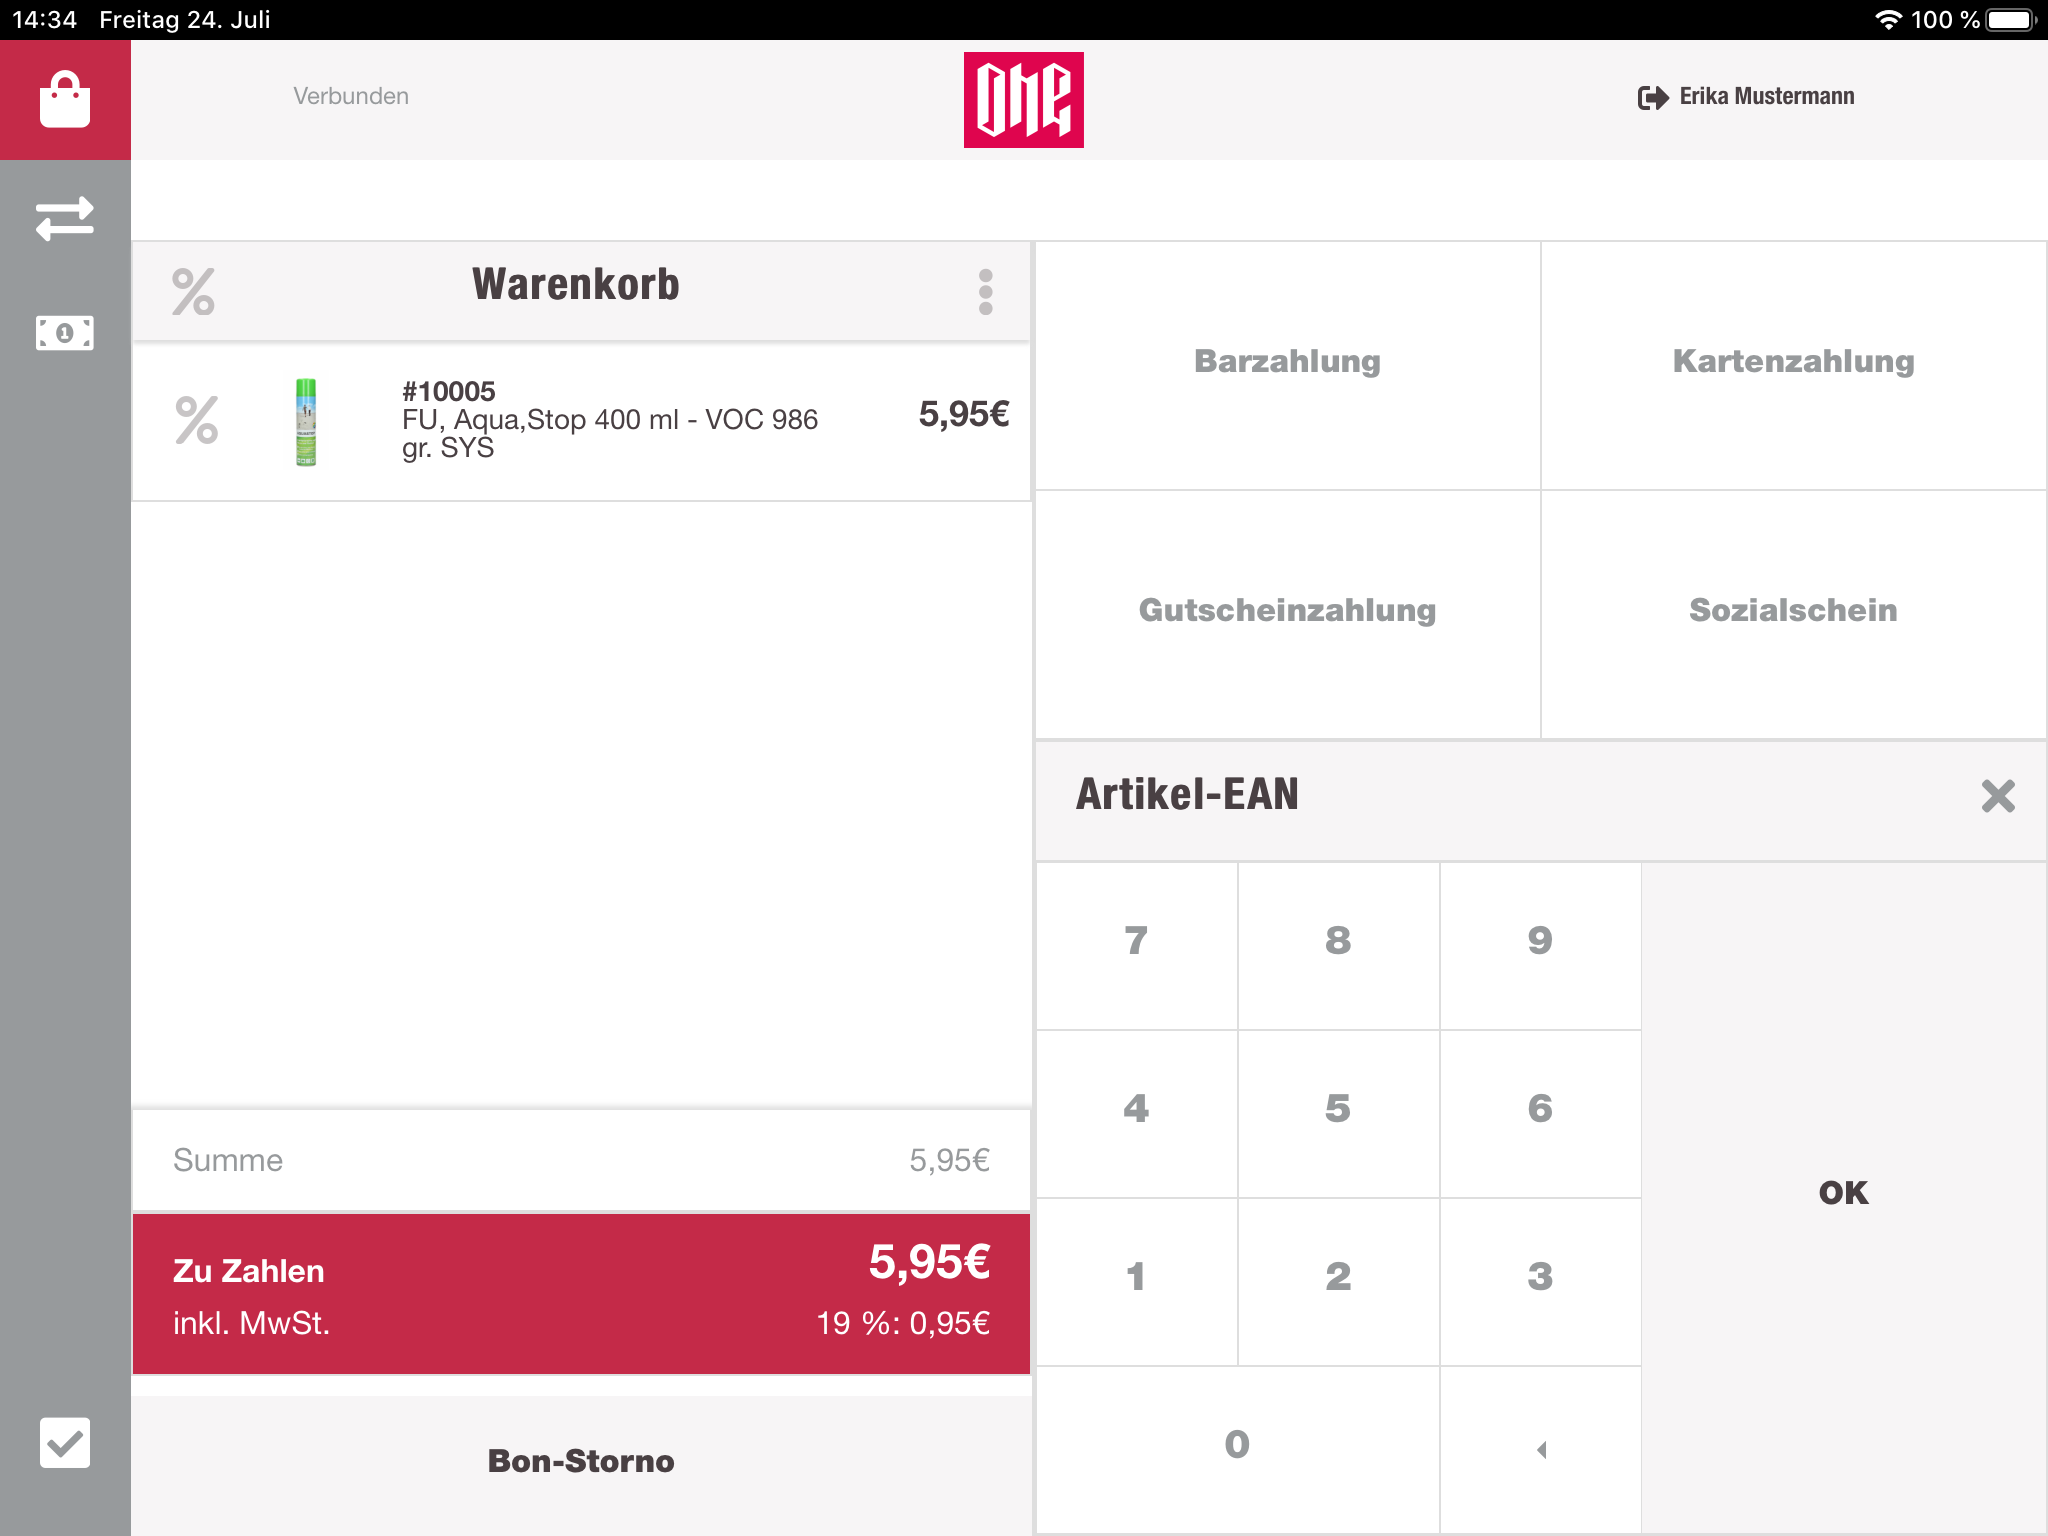
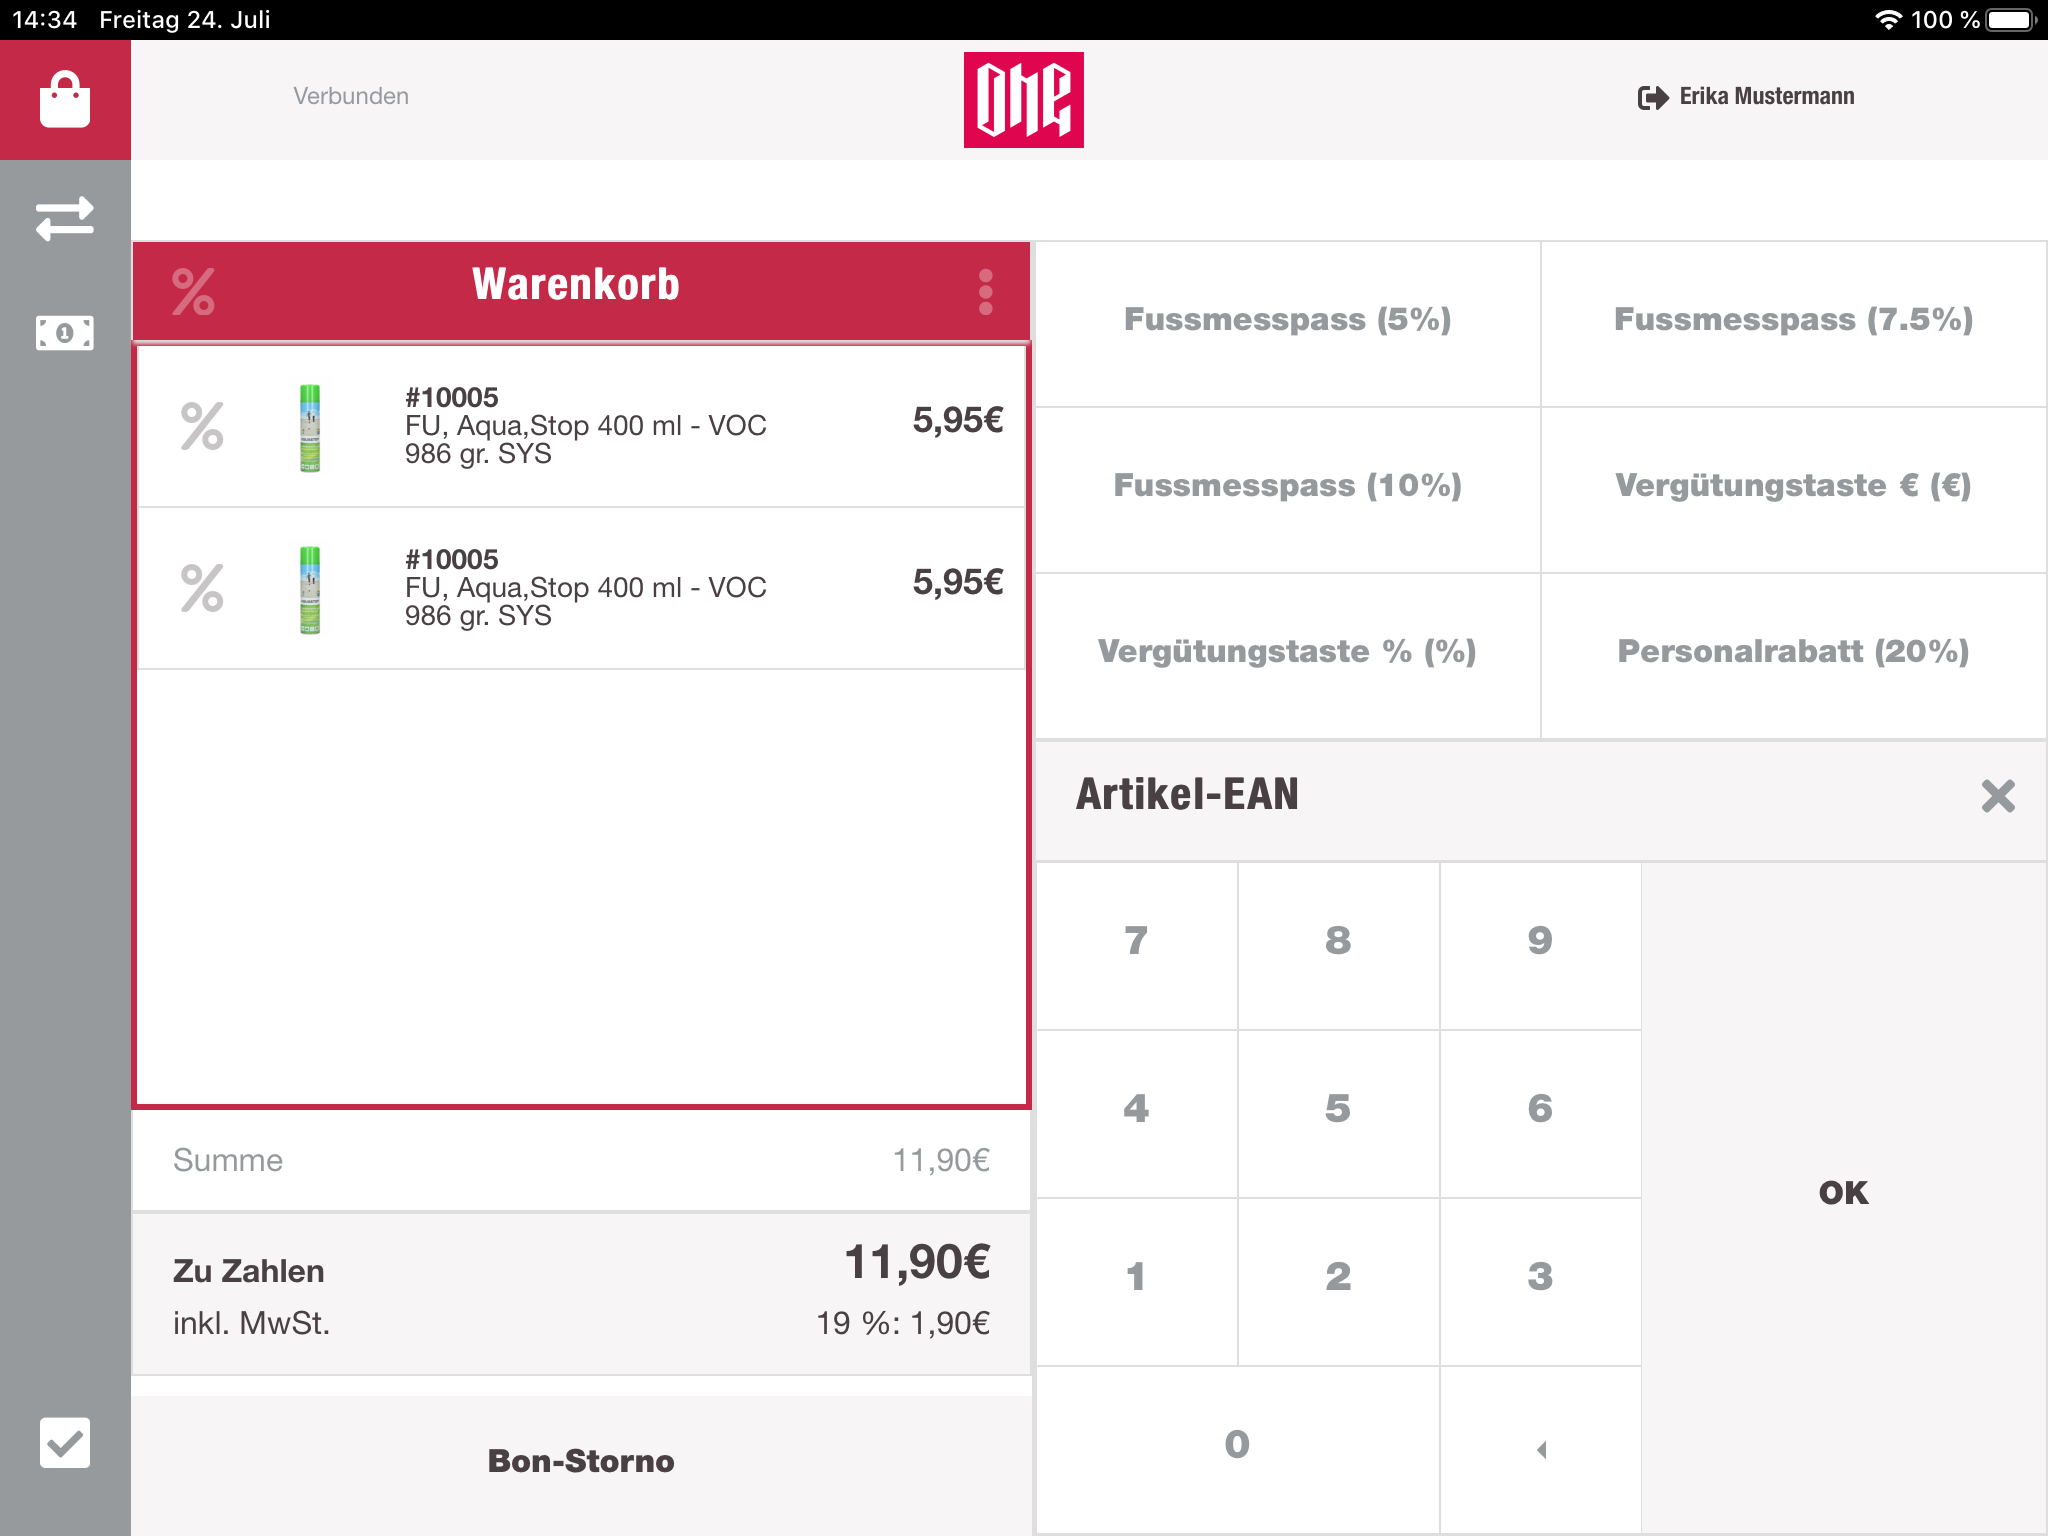
After a successful pairing process the cashier can see the main working view. Here the cashier can work with the cart, add items, remove items, apply and remove discounts any pay the cart. This view is split in three parts. On the left side there is the cart, which displays the current items from the cart, informations about discounts, payments and sum of the cart. The right side is again split into two parts. On the bottom is a numpad, to enter number based input manually without the hand scanner. On top the cashier will find a button group with different kind of options, based on the current state of the cart.
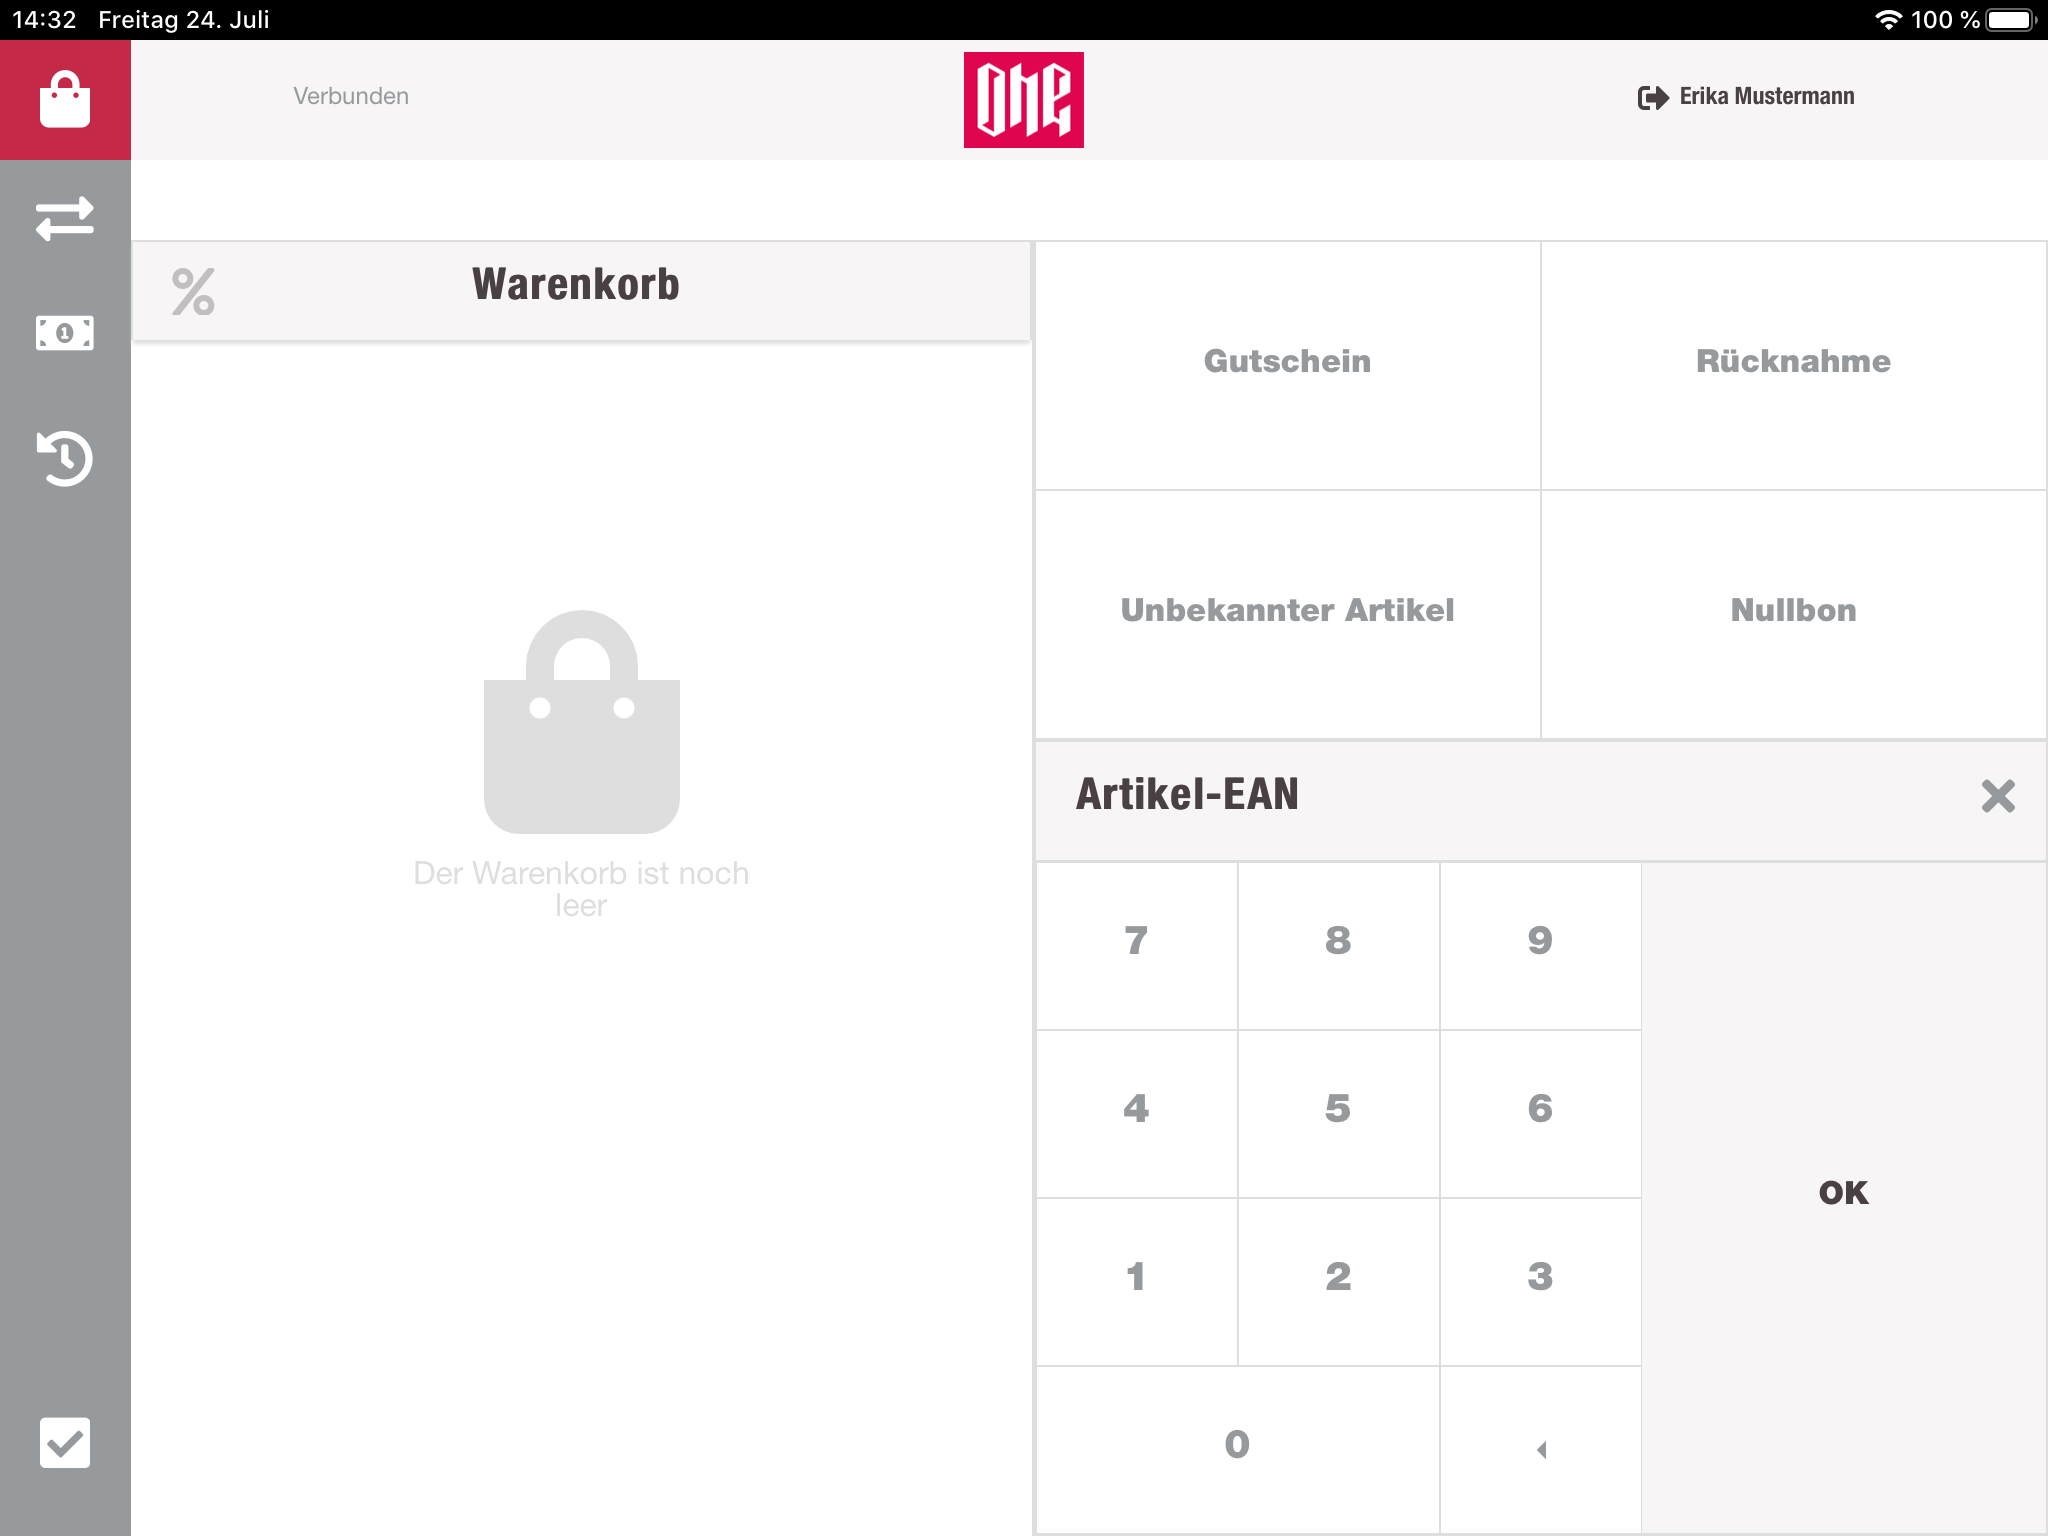
When empty, the cart is only showing a message, informing the user that the cart is empty. Once the cashier scans a valid product EAN or enters it manually with the numpad, the cart view is including a new row for this item. After the item is included, the cart is also displaying the cart sum, the amount, the customer has to pay, information about the VAT and a button to discard the whole cart. Each item gets his own row in the cart list, even if the item is already in the cart. The quantity is not increasing. For each new or removed item, the payment and sum information are updated. To apply a discount on the whole cart, the cashier can just tap on the header of the list, which will switch the button group on the right side to all available discounts of the current store. Discounts for the whole cart will be displayed per item, after it was applied.
Open settlement
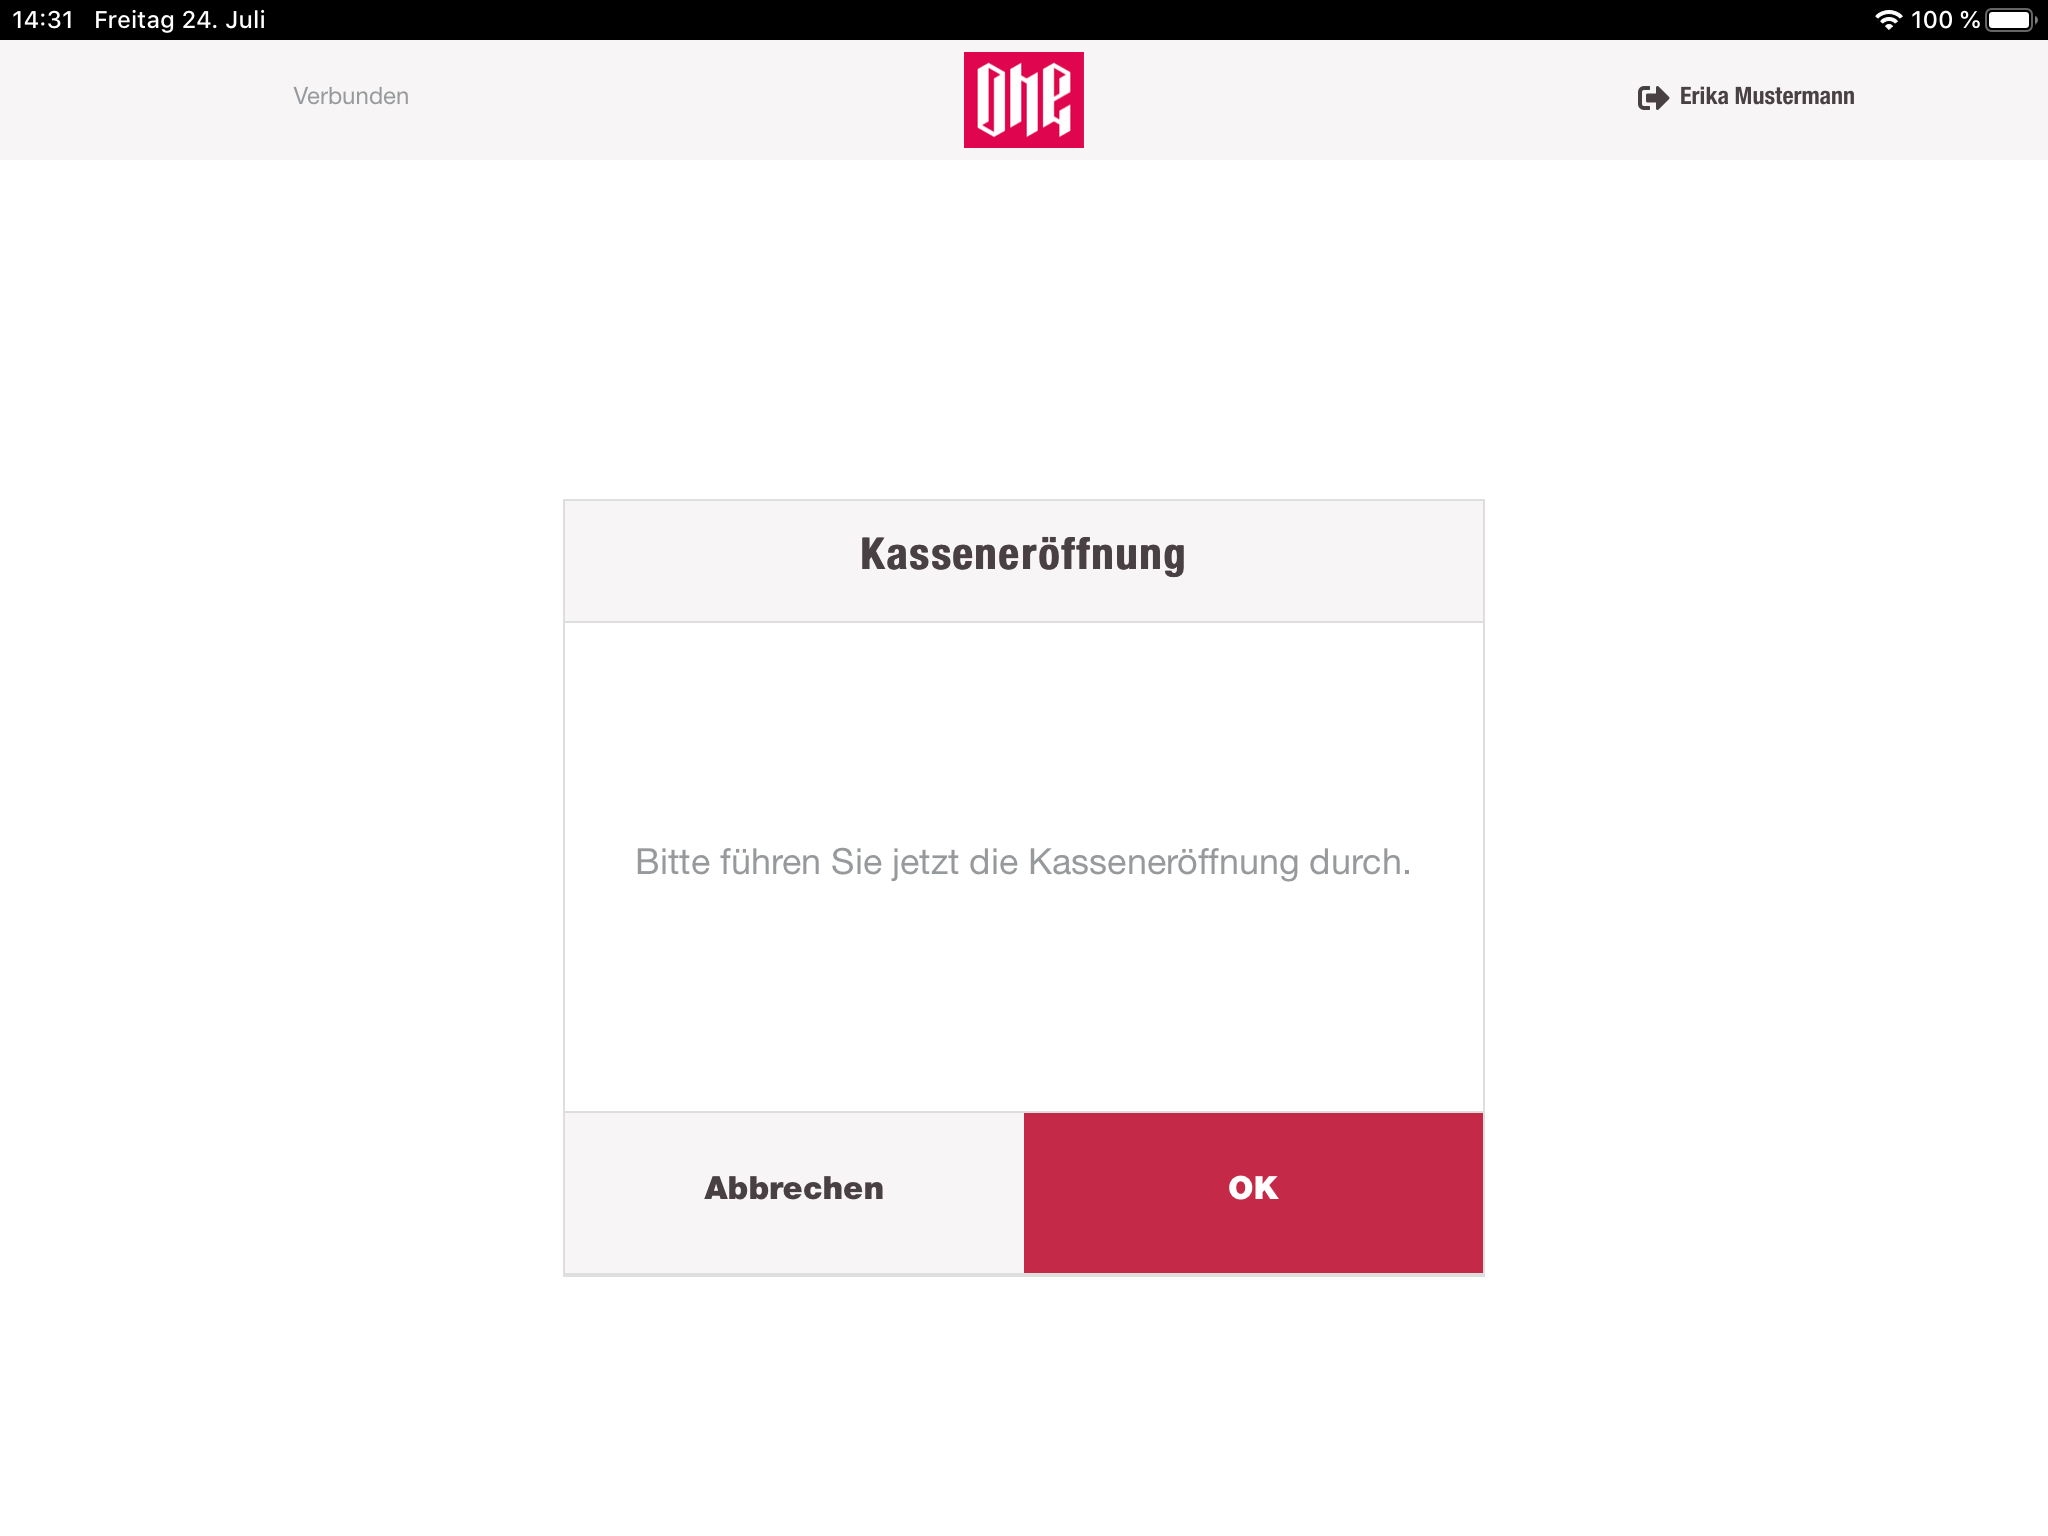
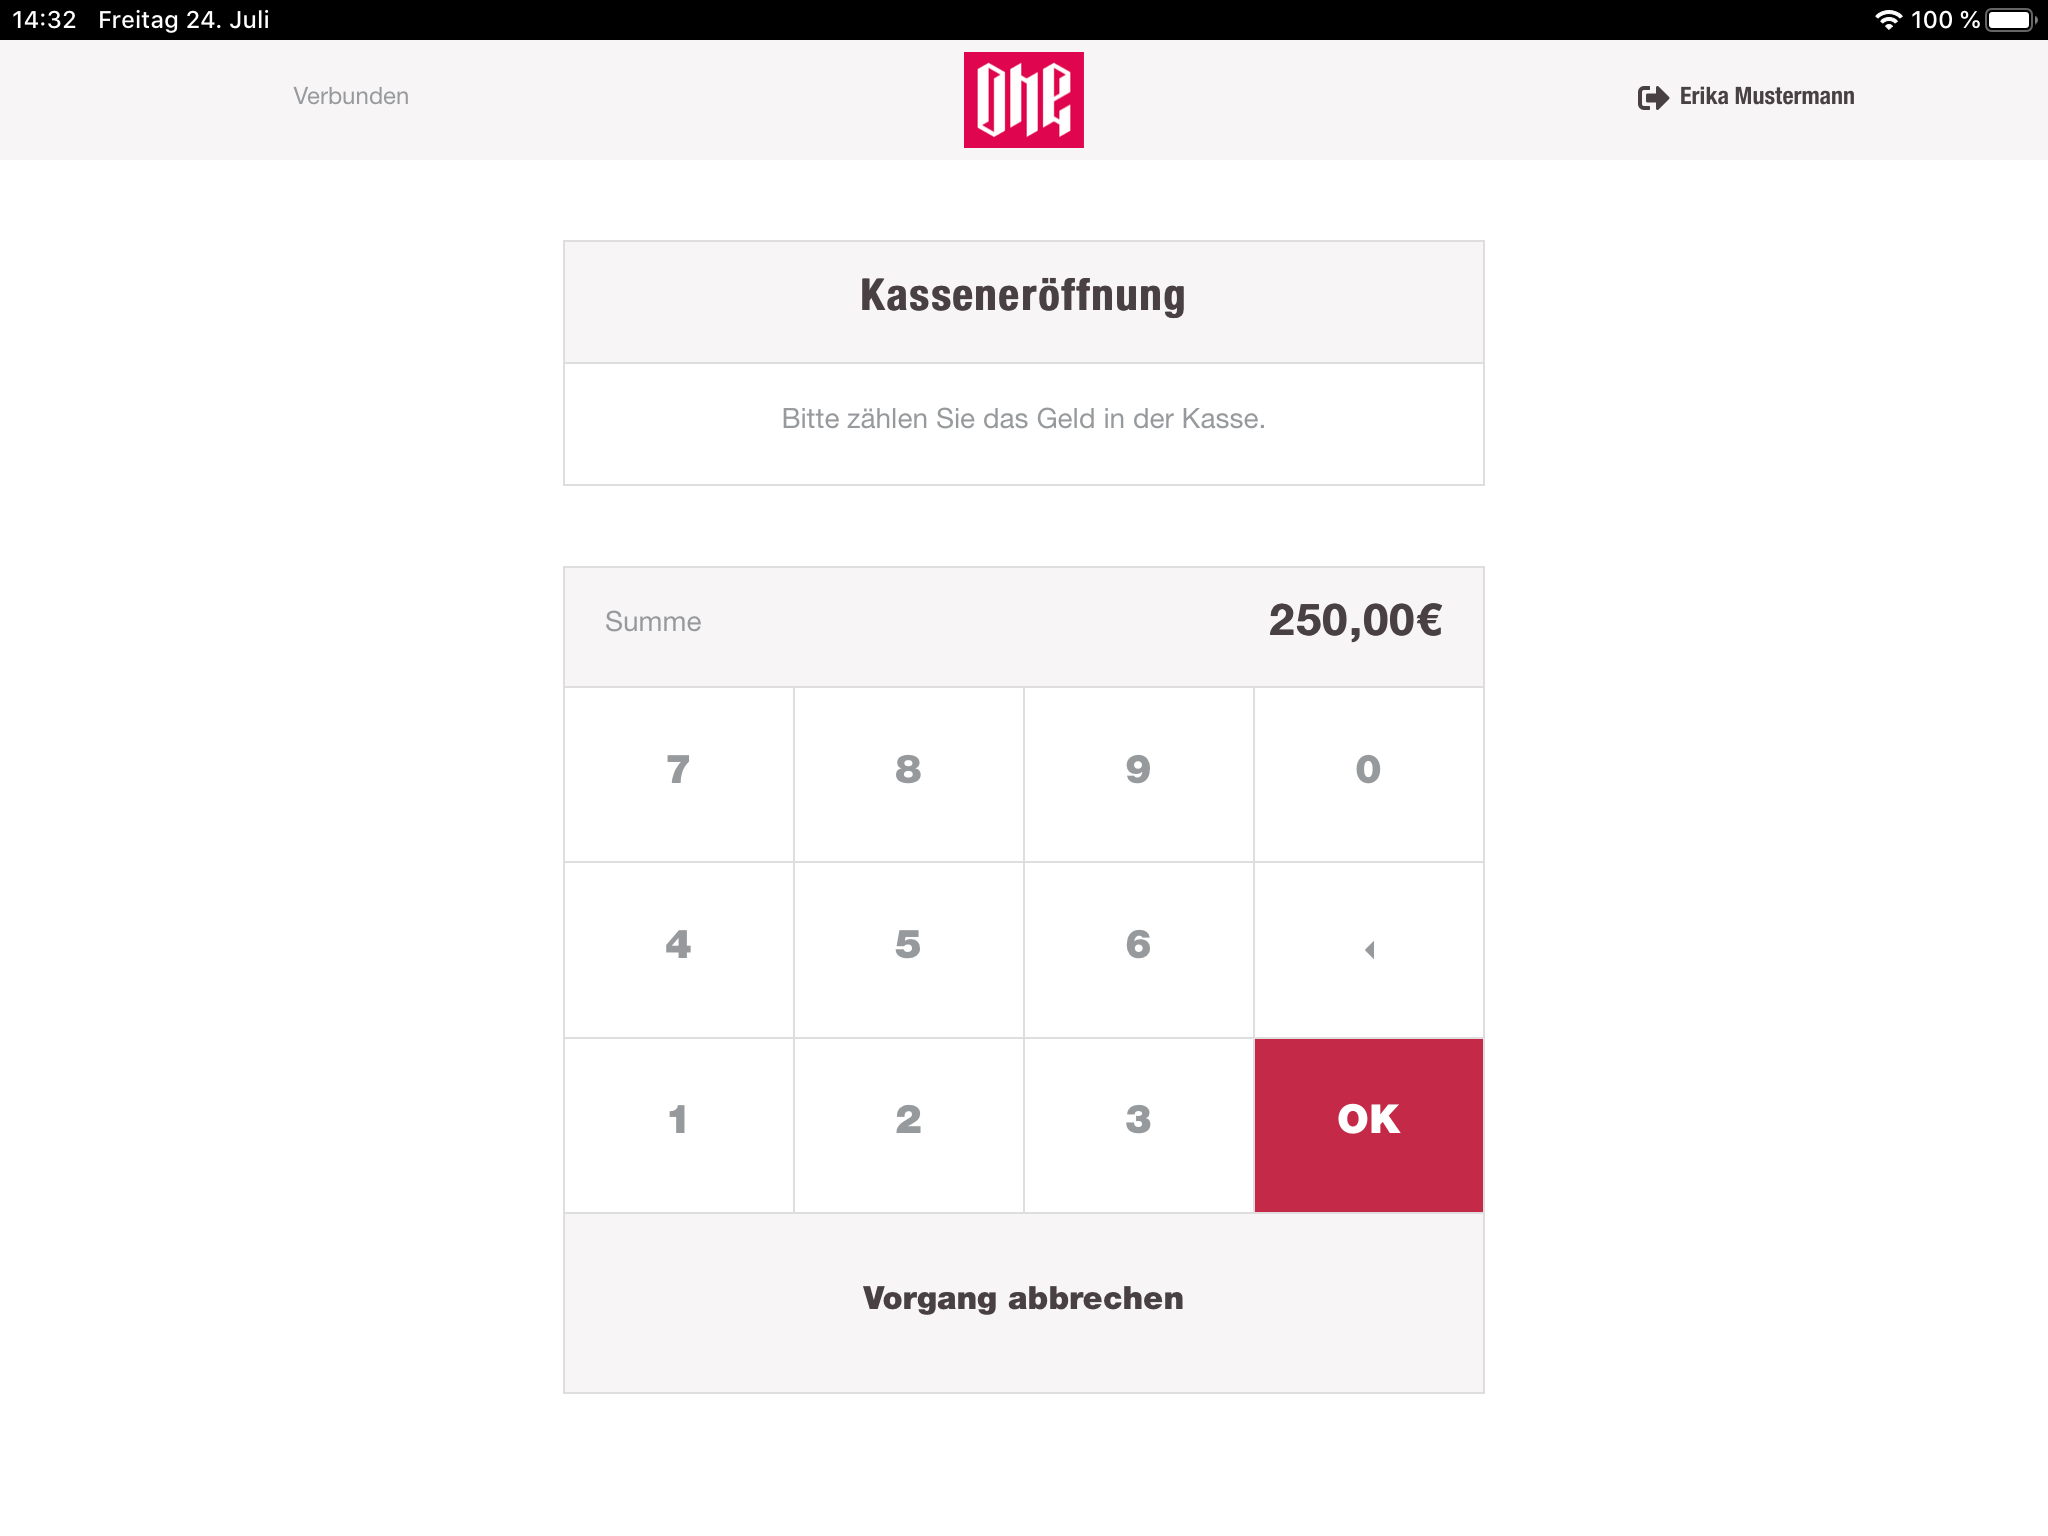
If there is no existing settlement for the current station, the cashier will be prompted by the app to open a new settlement. For that the drawer opens and the cashier has to include the money, which has to be counted before. After including the money, the cashier has to enter the initial amount of that settlement. Now the cashregister app will navigate to the cart view.
Close settlement
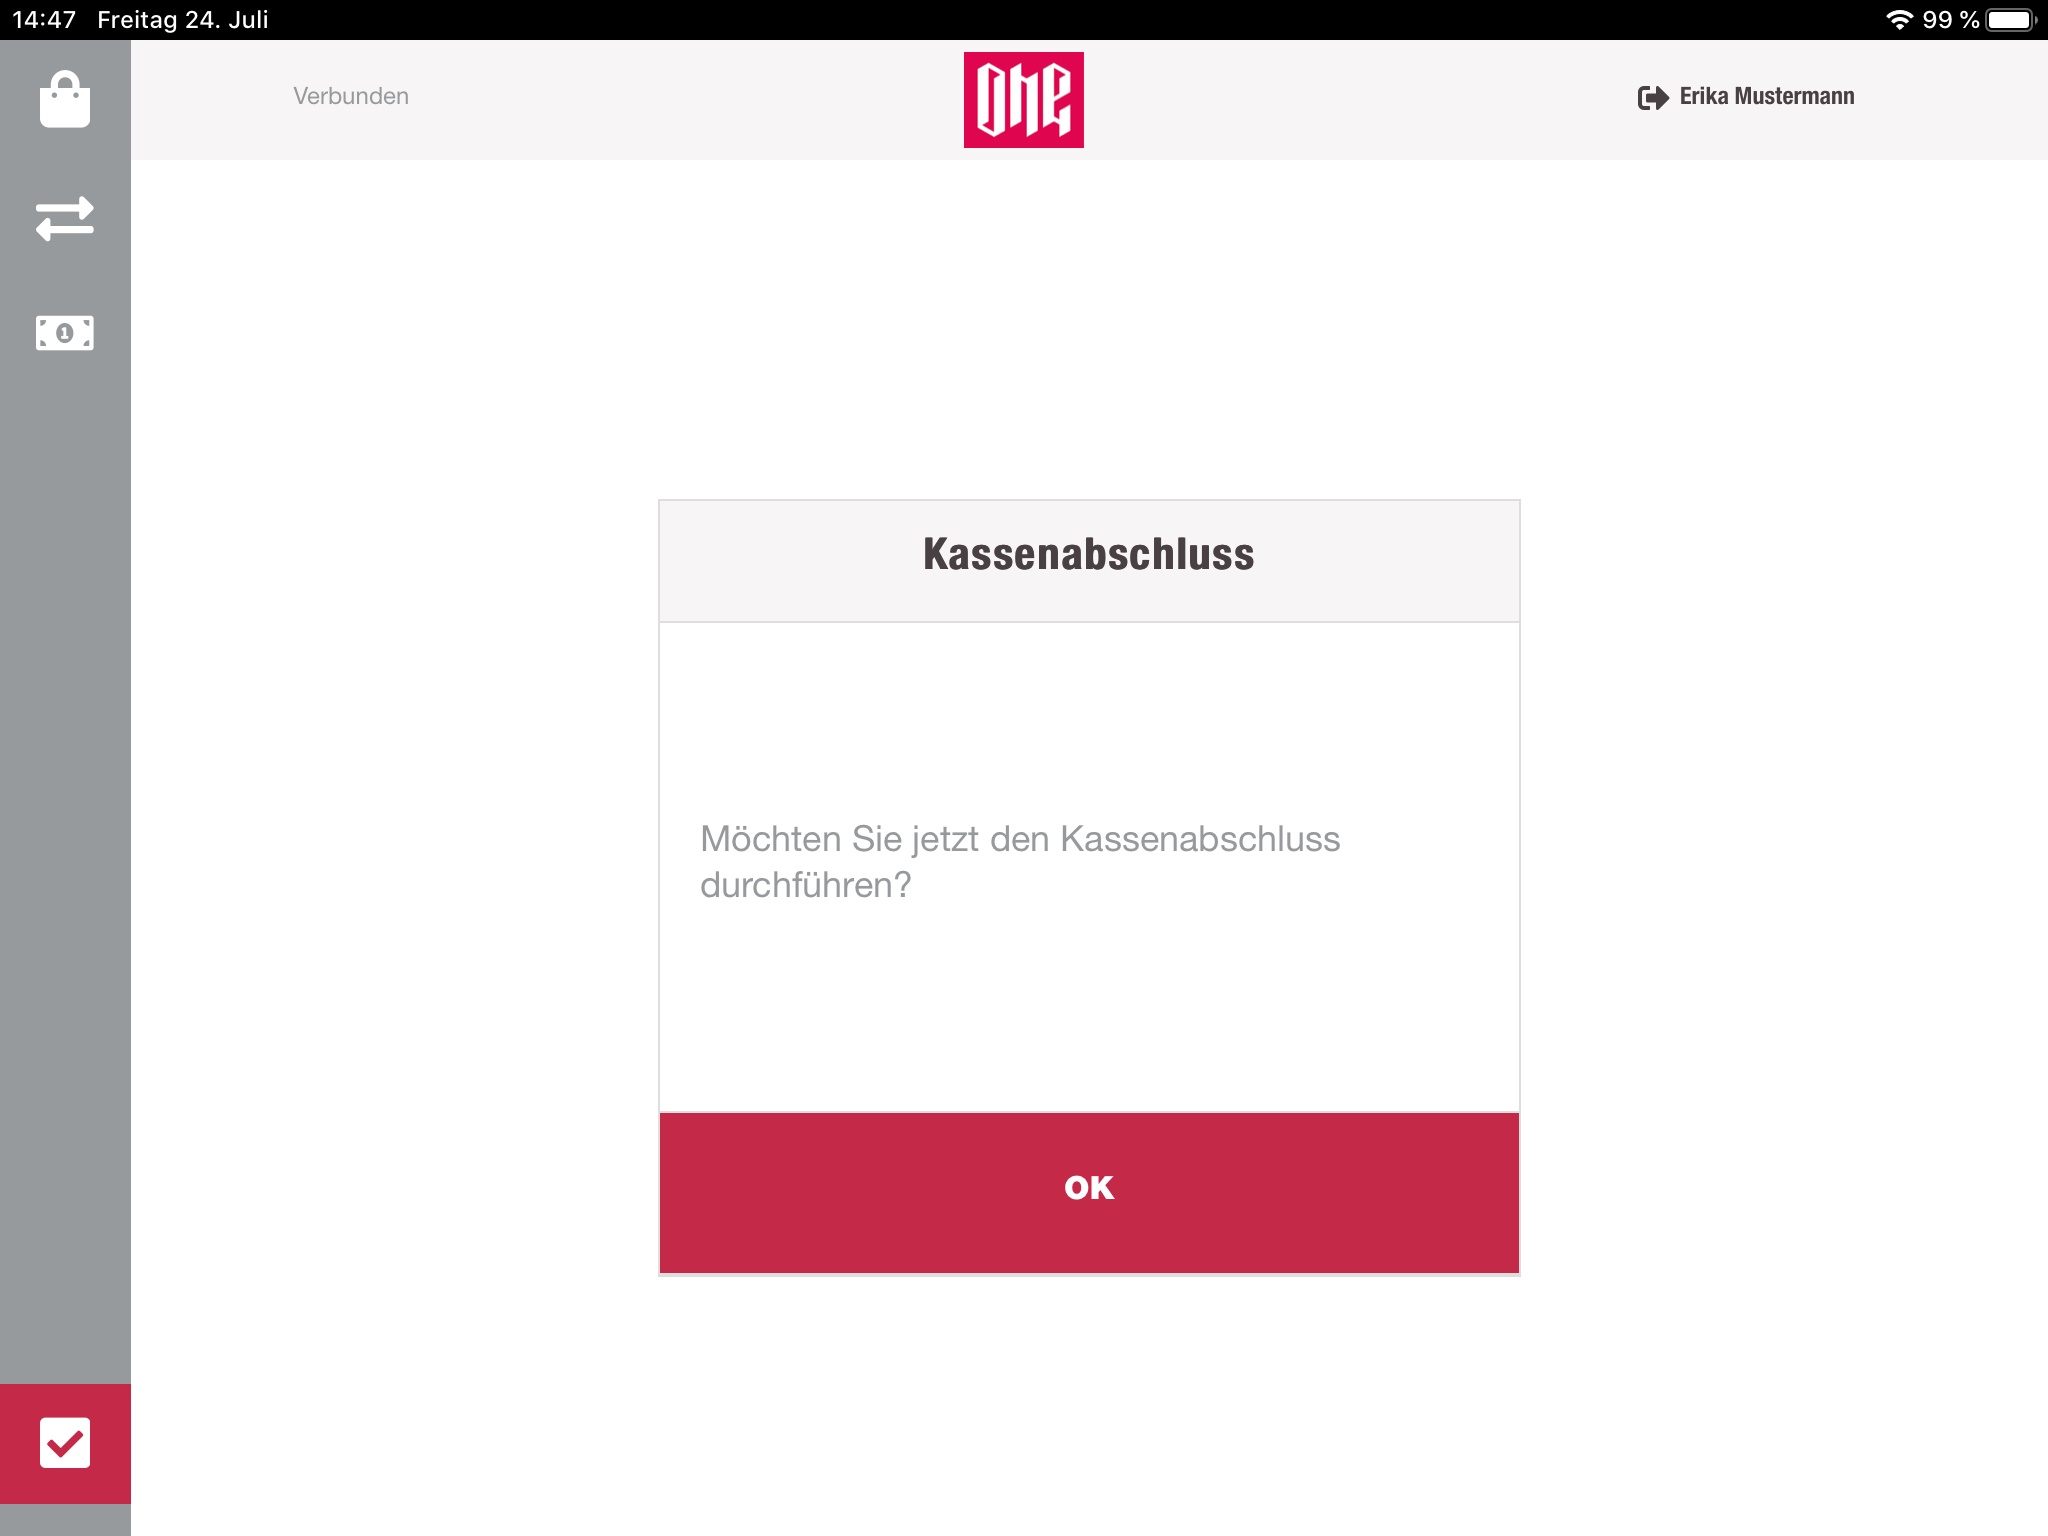
At the end of a working day, the cashier have to count the money in the drawer and close the settlement. This process can be done on the last point of the sidebar.
First the cashier has to navigate to that page and confirm that they want to close the settlement. After the confirmation the settlement will switch his state from OPEN to COUNTING. The cash drawer will be opened, and the cashier can take out the money of the drawer.
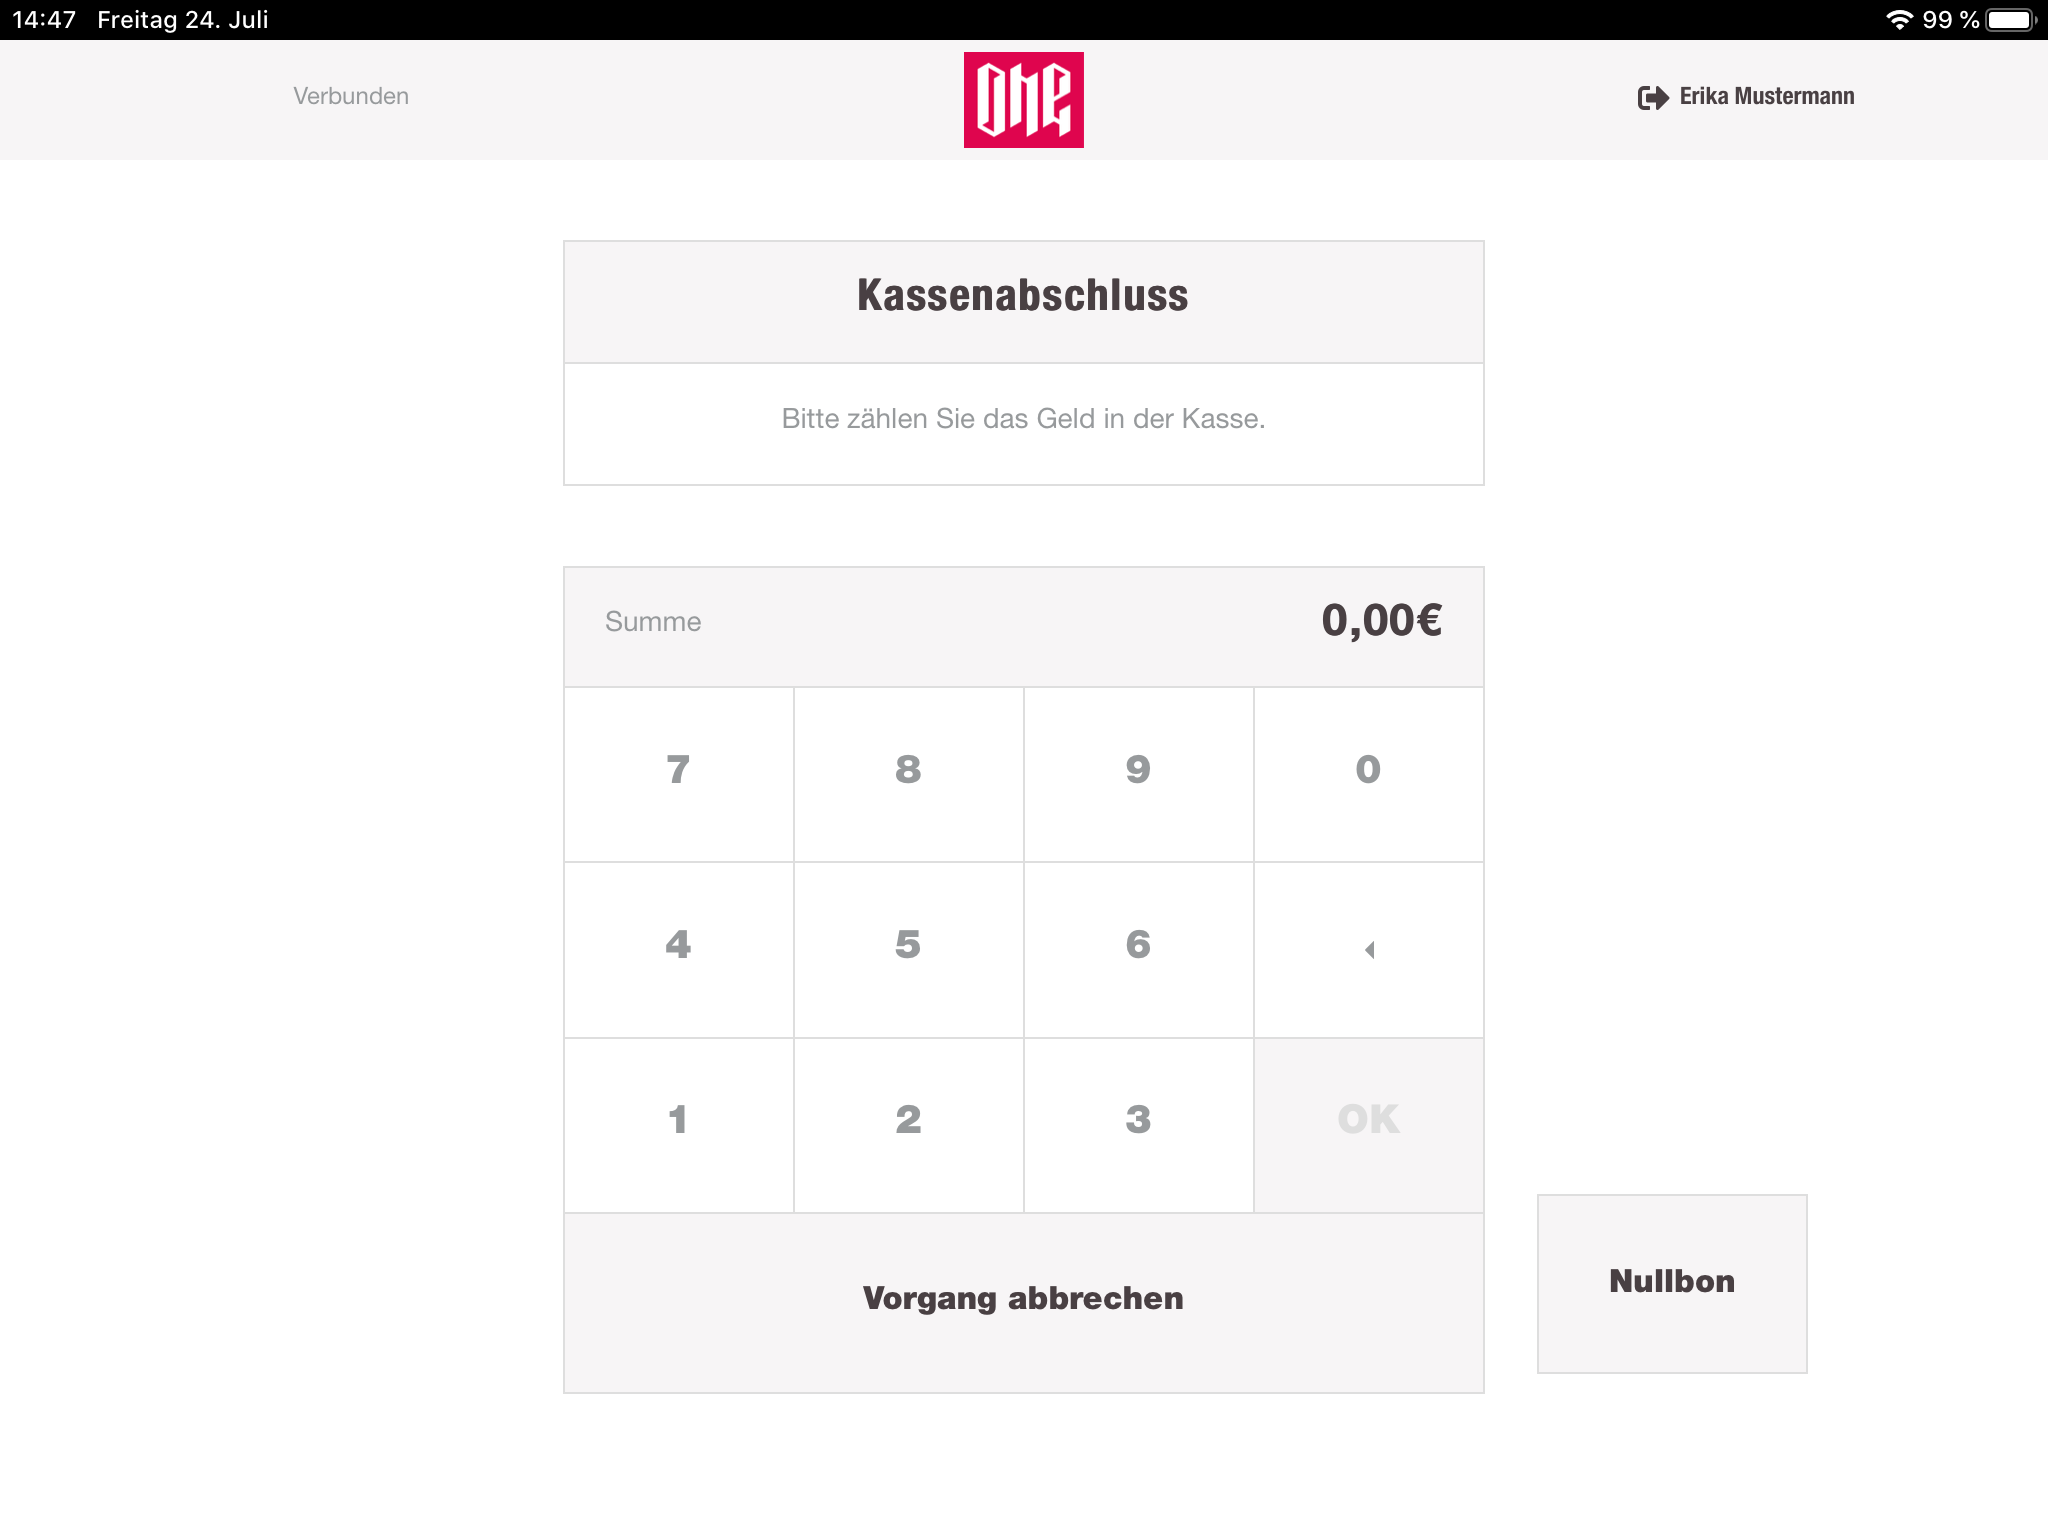
Now the cashier has to count the money and provide the counted money in the form. It is also possible to log out and to provide the amount later in the "manage cashregister" section.
After the entered amount is submitted, the cashregister will display whether the amount does match the counted amount of the cashbook-service or not. If the amount does match, the settlement will be closed successfully. If not, the cashier will be prompted with the message that the amount does not match. The cashier has in total 3 tries to enter the amount.
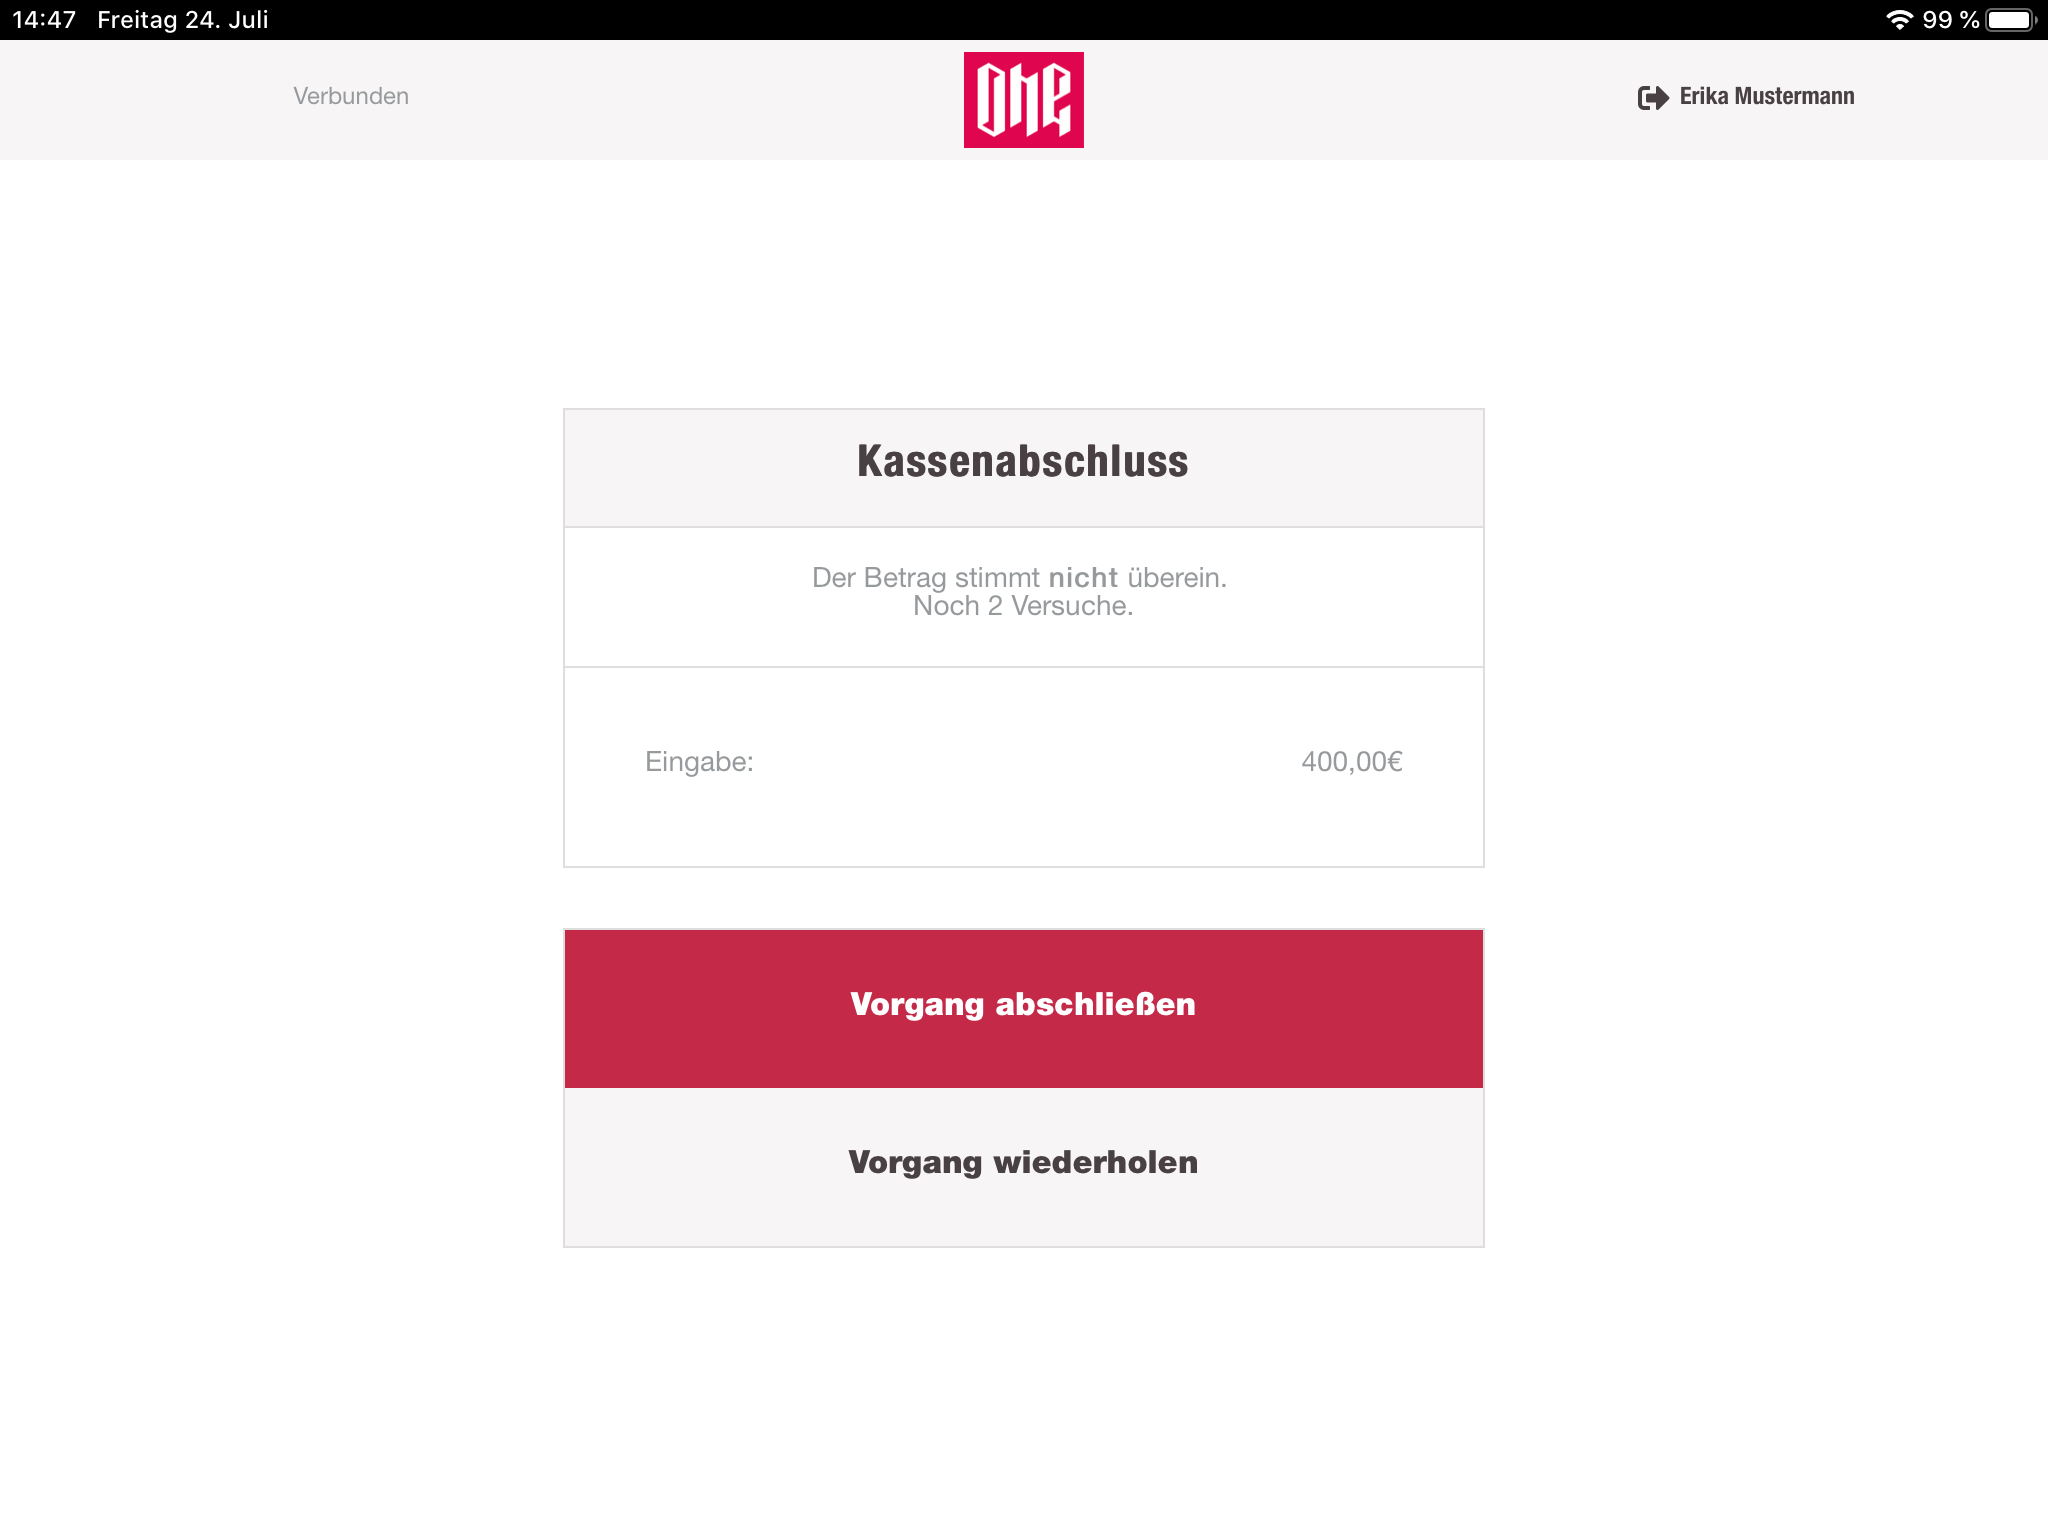
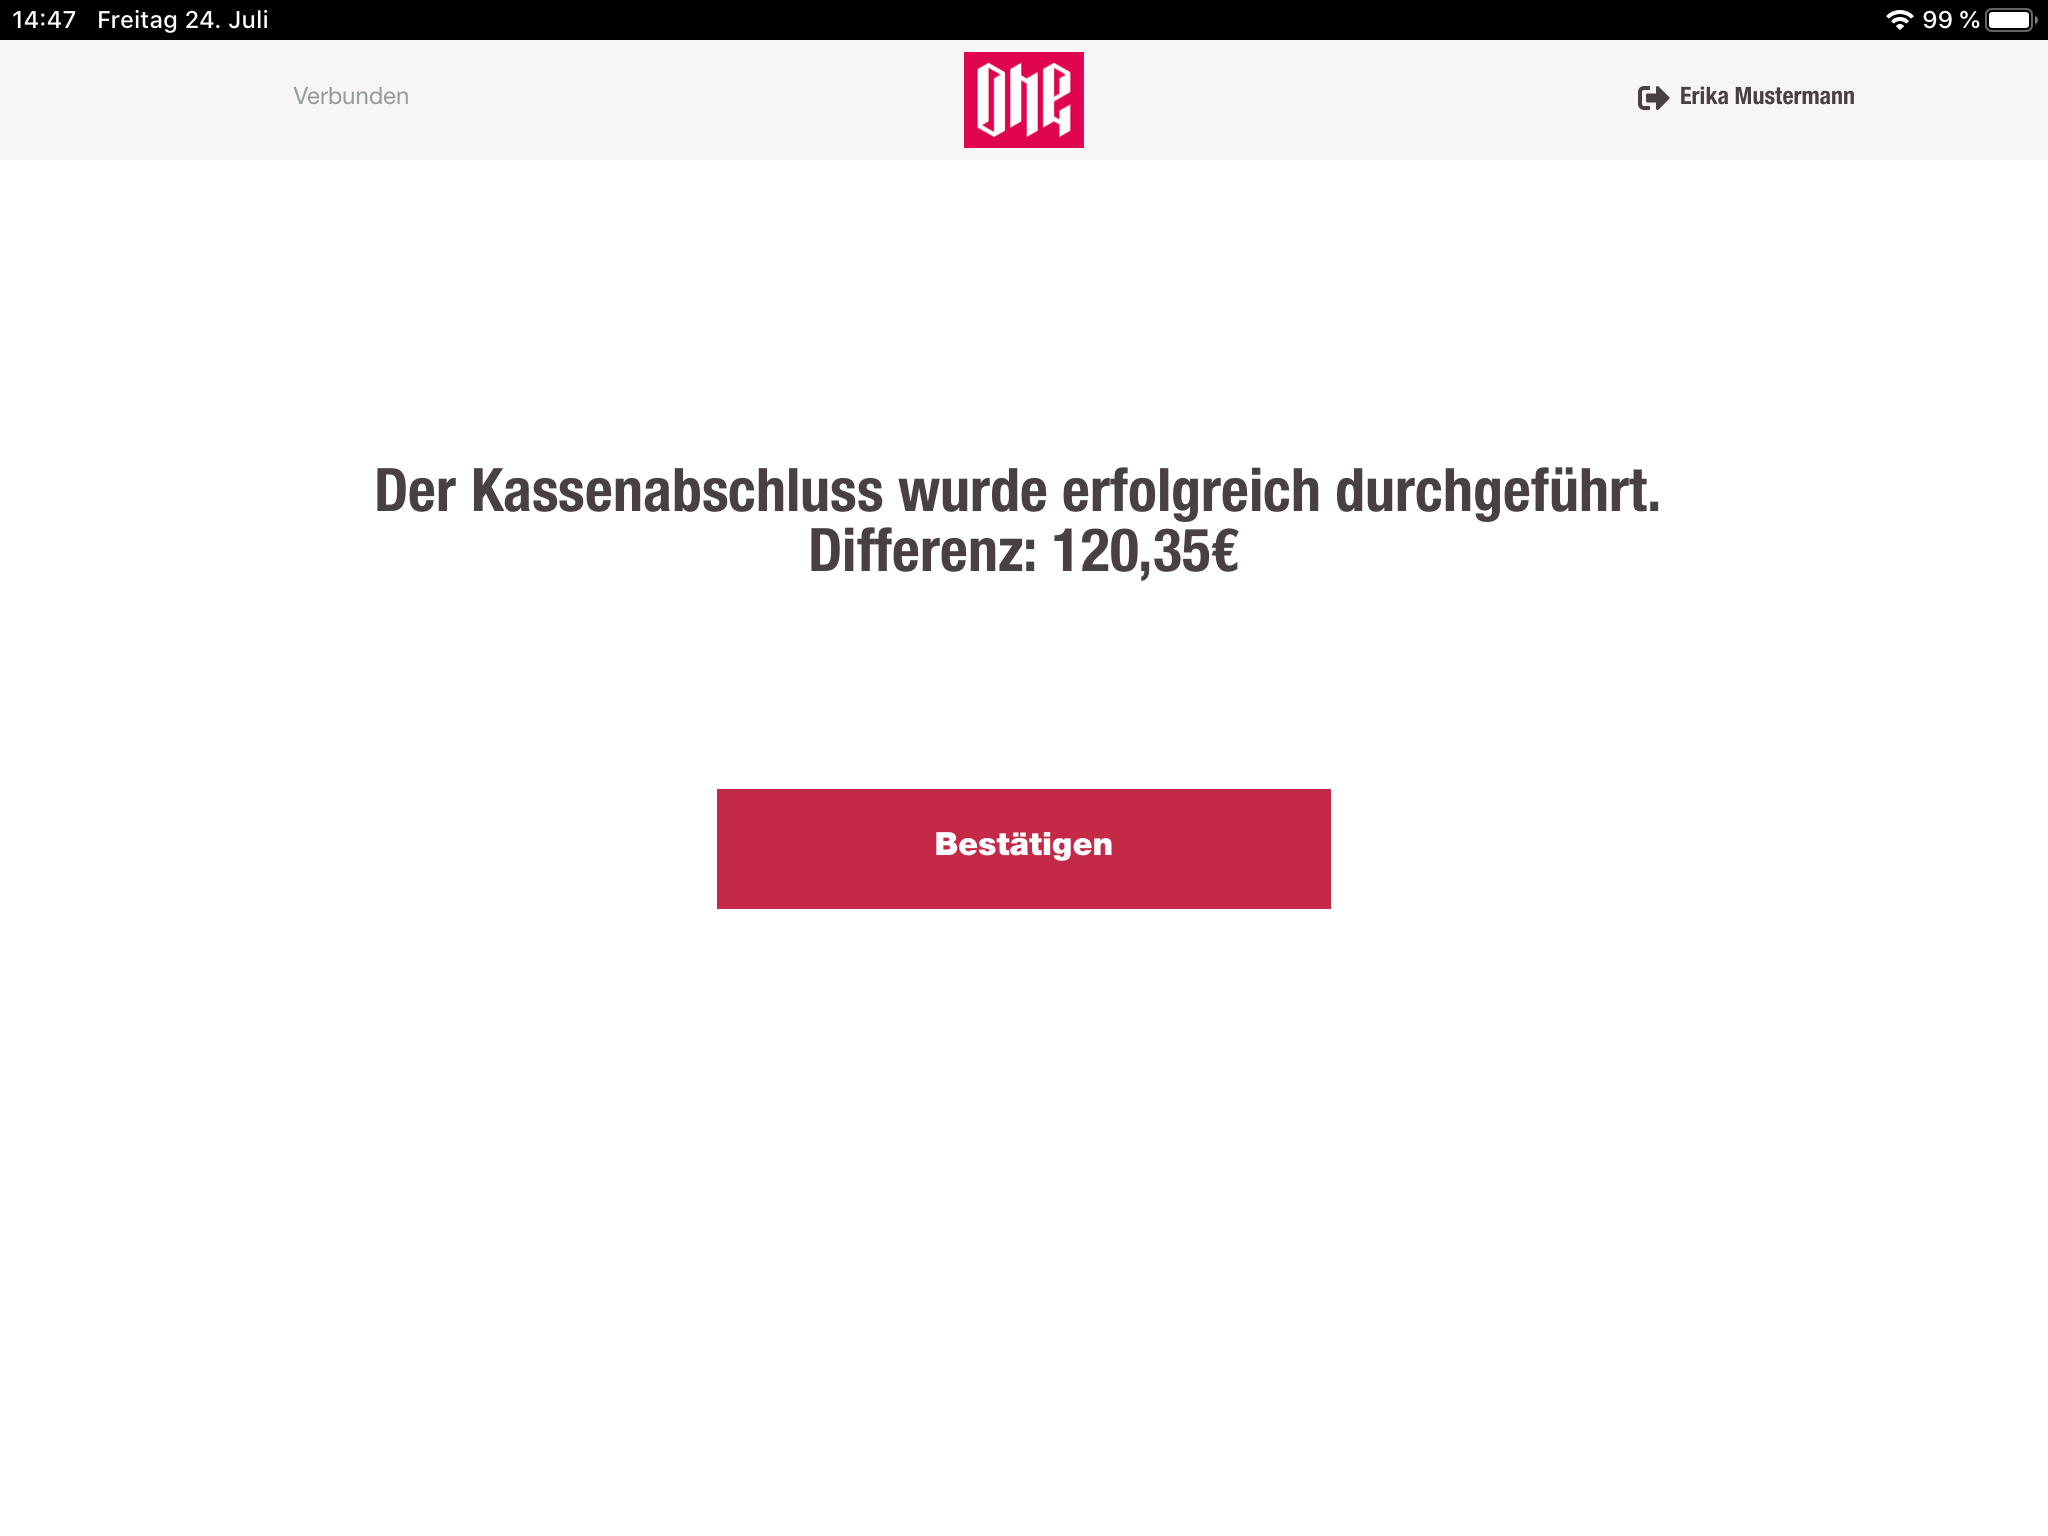
So from here it is possible to recount the money and enter the value again or just continue with the closing process. After submitting the difference will be displayed and protocolled in the reports.
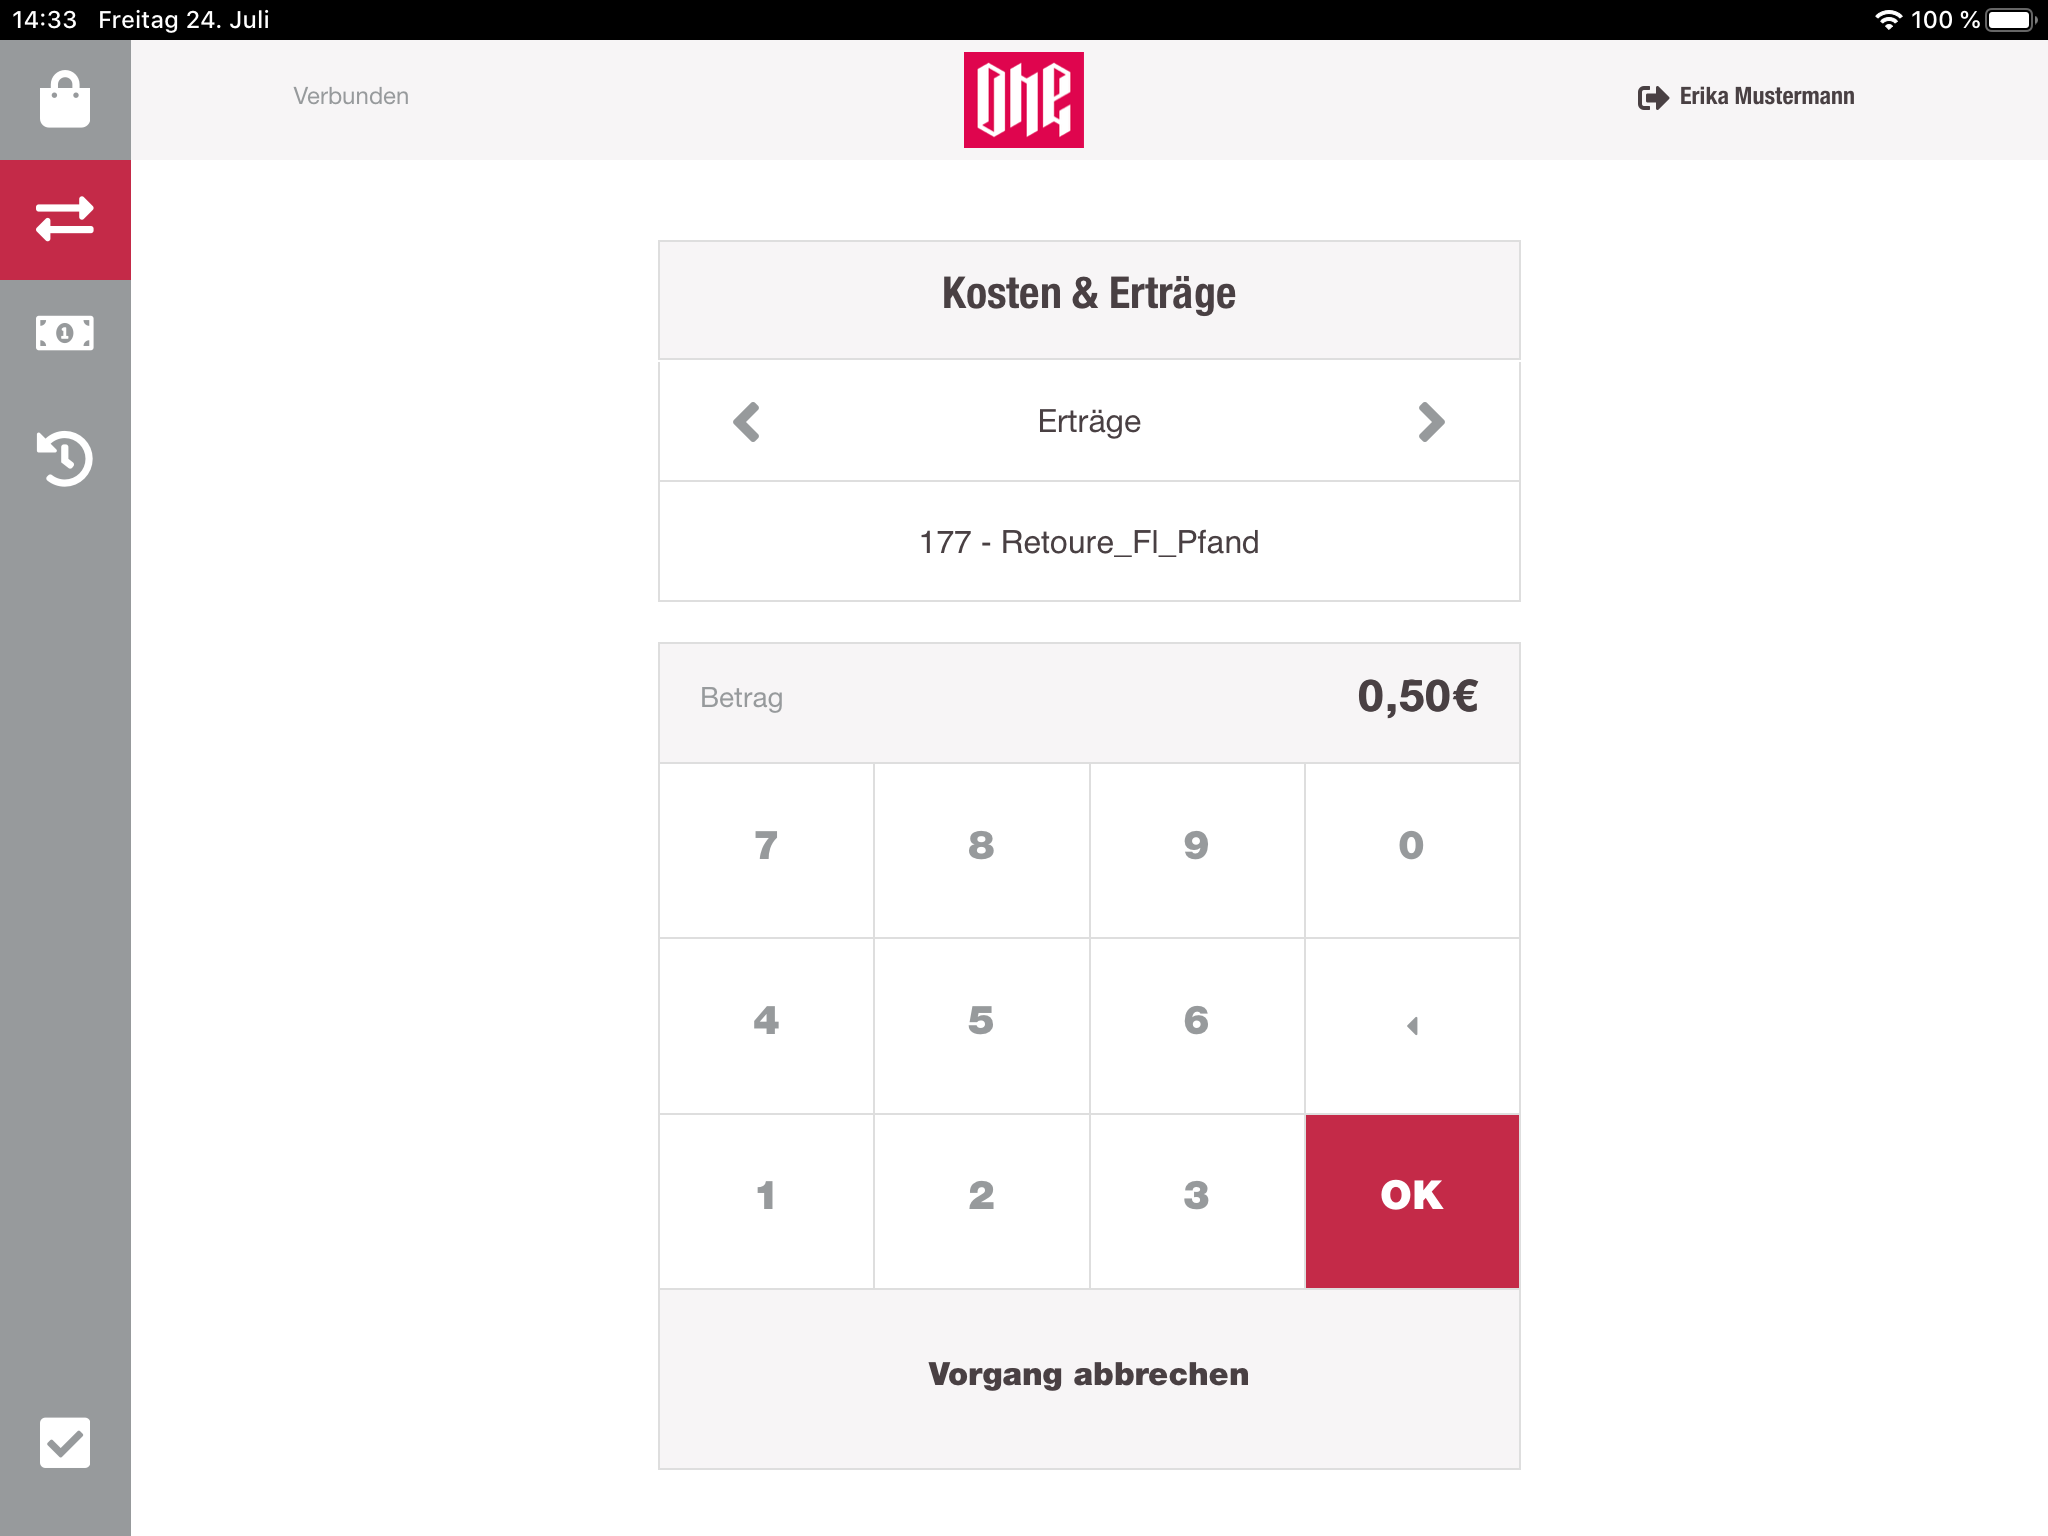
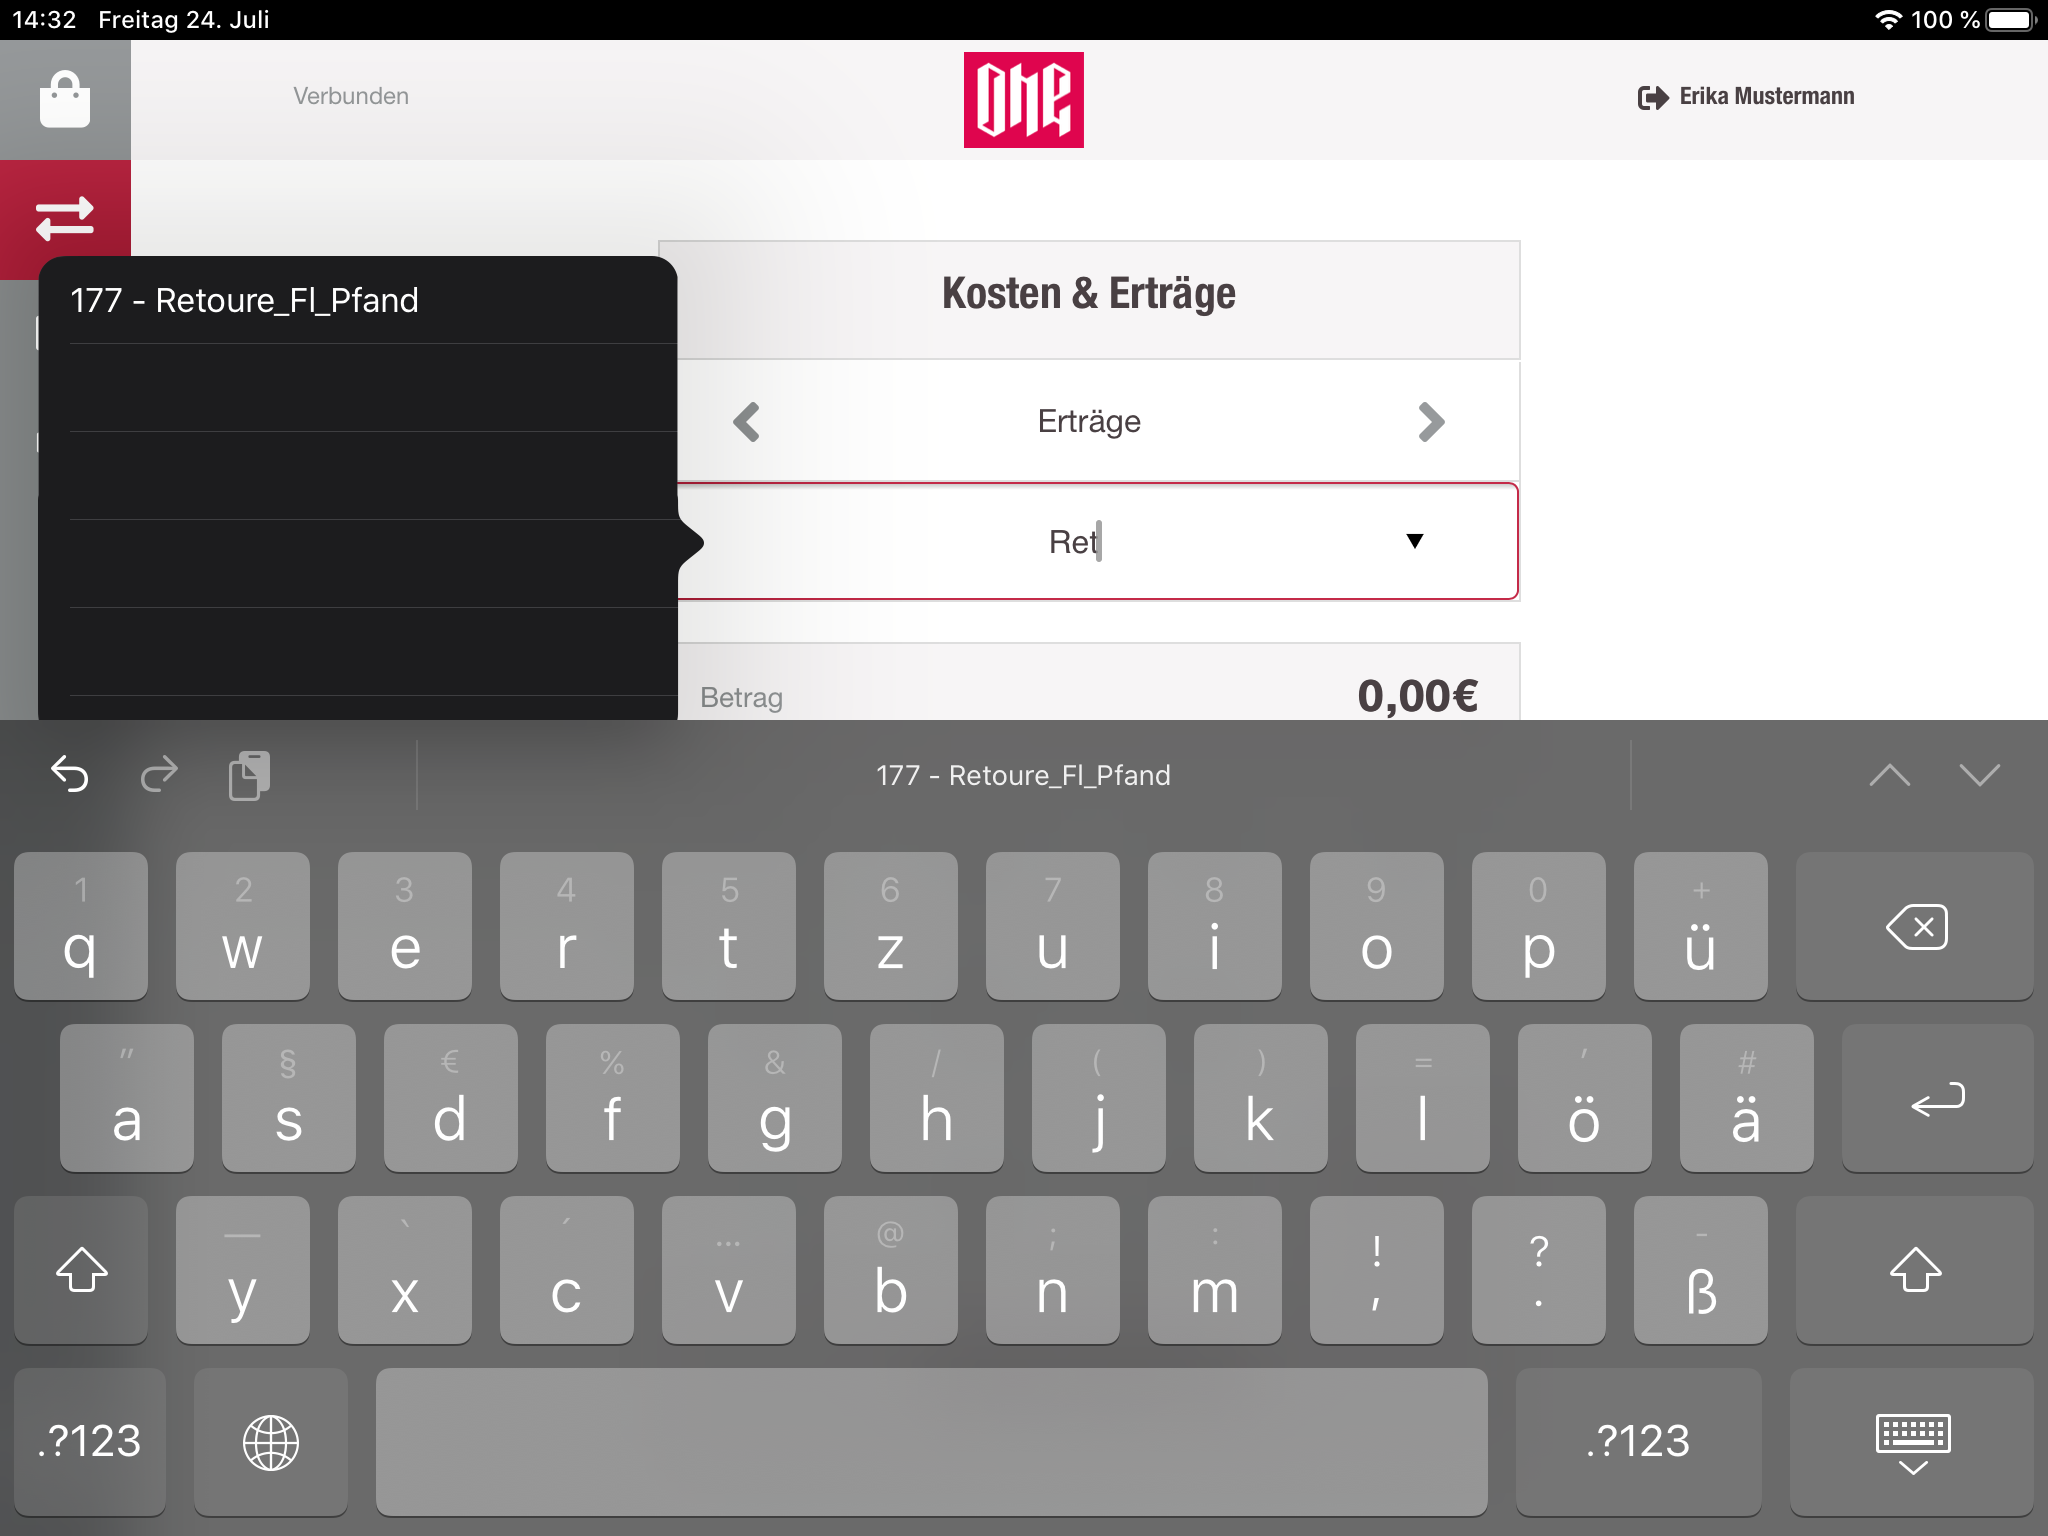
Misc. incomes and expenses
Here the cashier can manage incomes and expensed. First the cashier has to select the type (income or expense), provide the reason and then enter the amount. The reasons are listed down in a dropdown menu and switch between the two types. It is possible to search in the list by typing. Once the form is filled out and submitted, a small note will be printed with the given informations and the drawer will be opened.
Item
Every item is represented in a row of the cart list. Each row has an indicator for discounts (active or not active), a picture of the item, item SKU, item description and the item price.
Clicking on the row updates the button group on the right side with all available discounts for the current store.
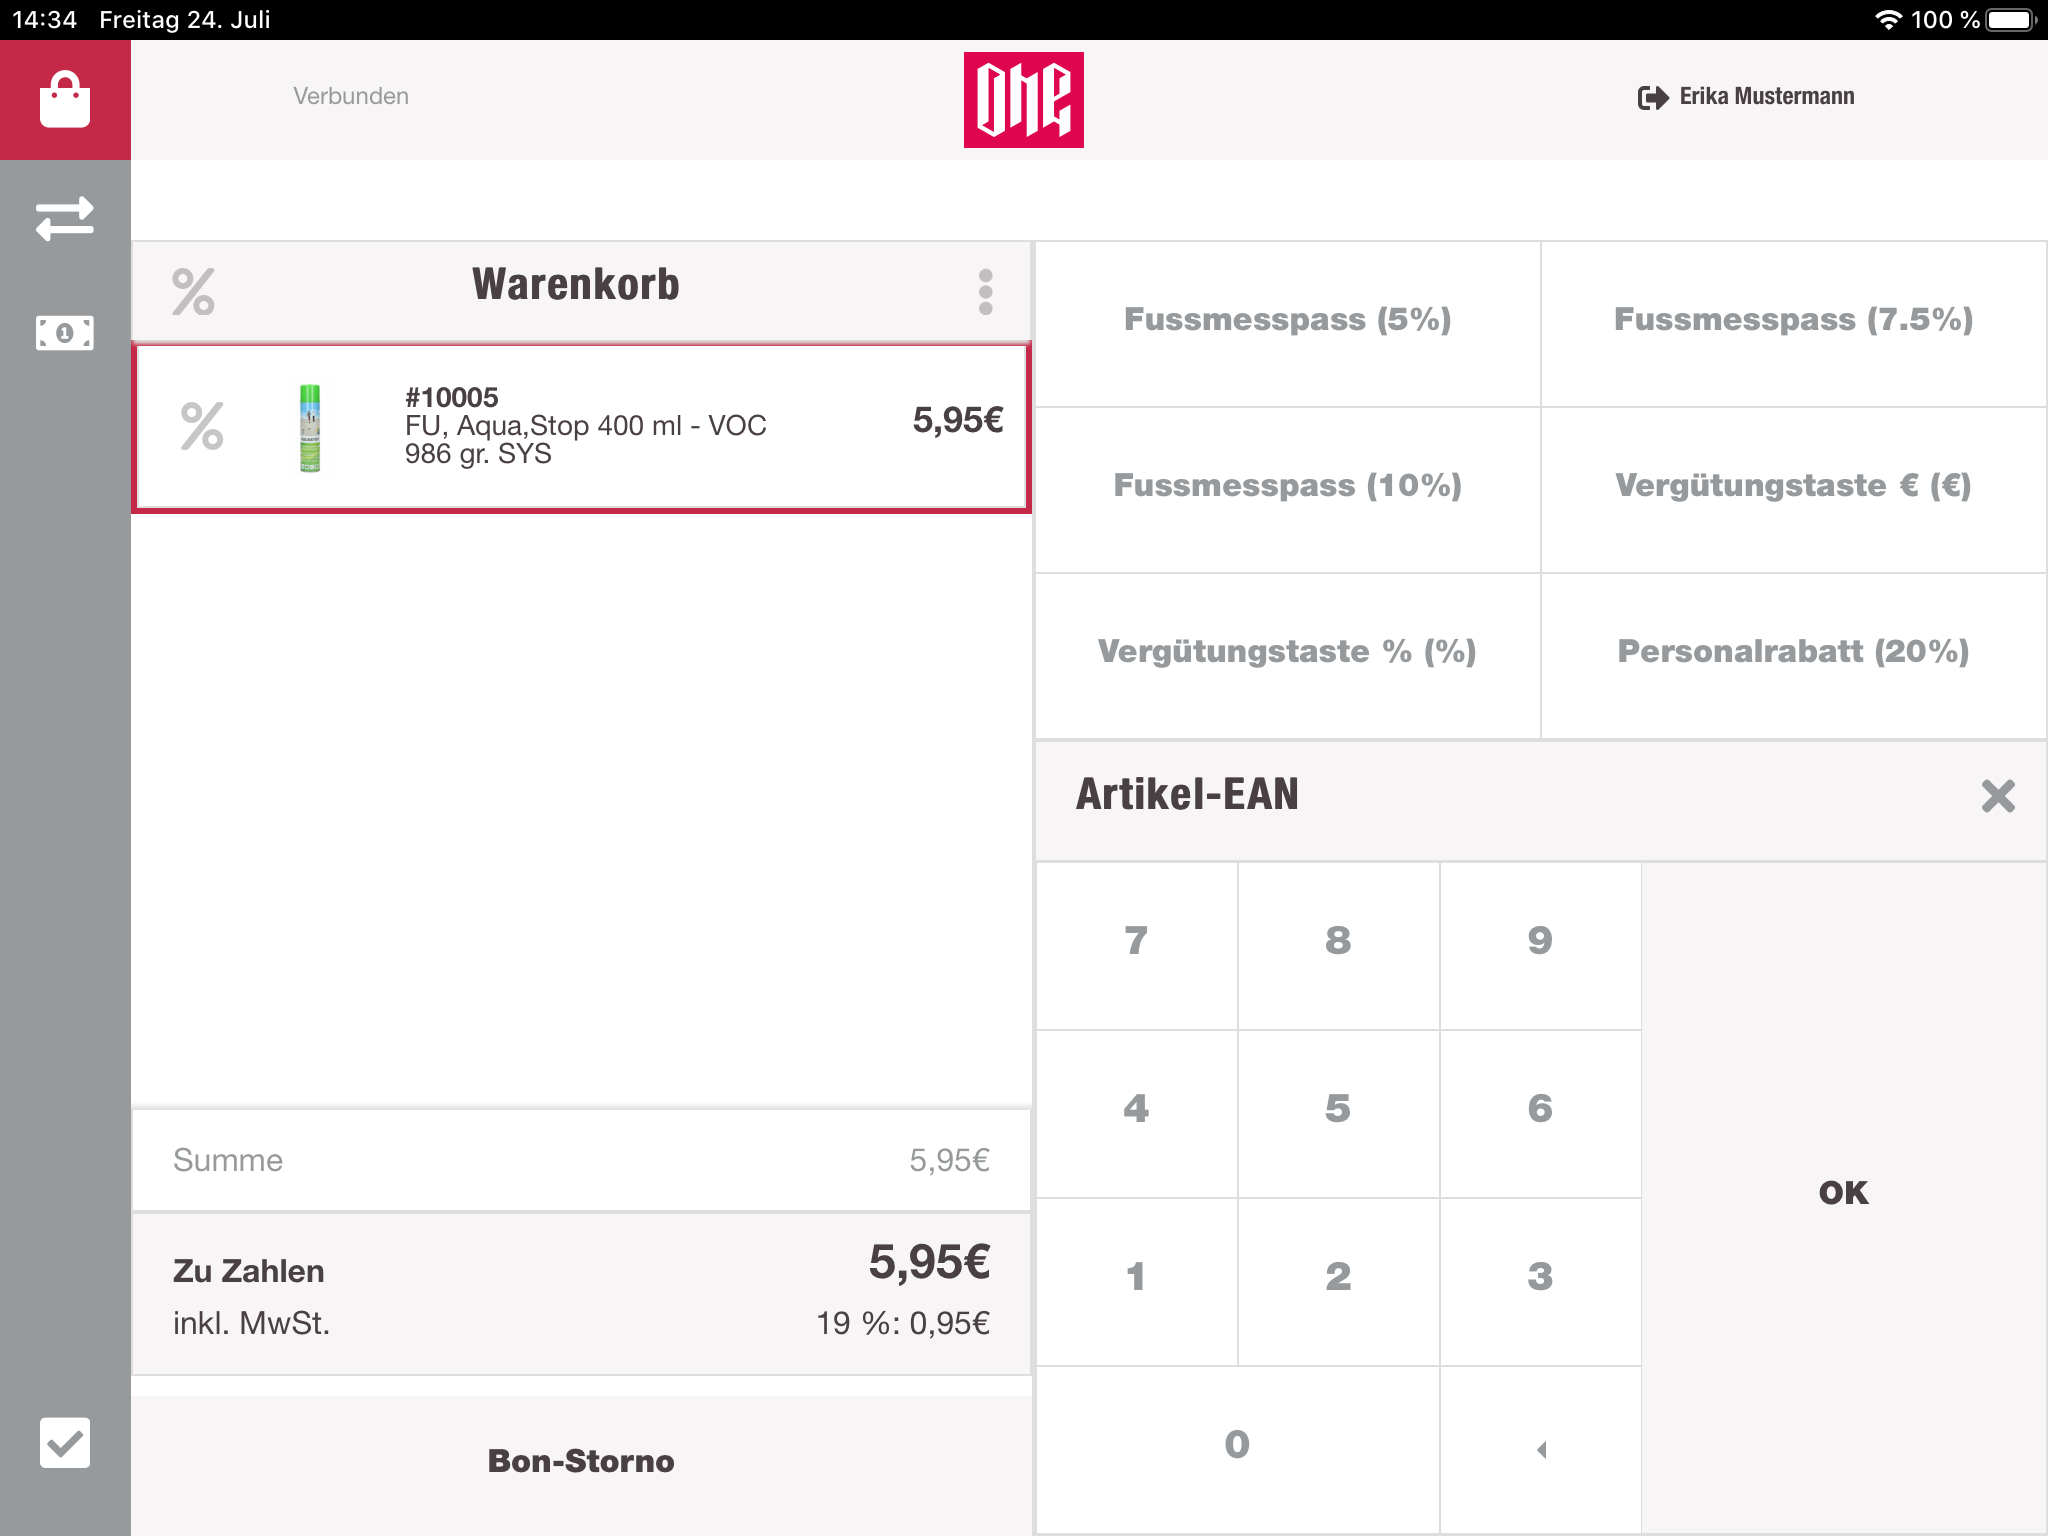
When the cashier is selecting a discount, it will be applied on the selected item. Selected items are identified with a border.
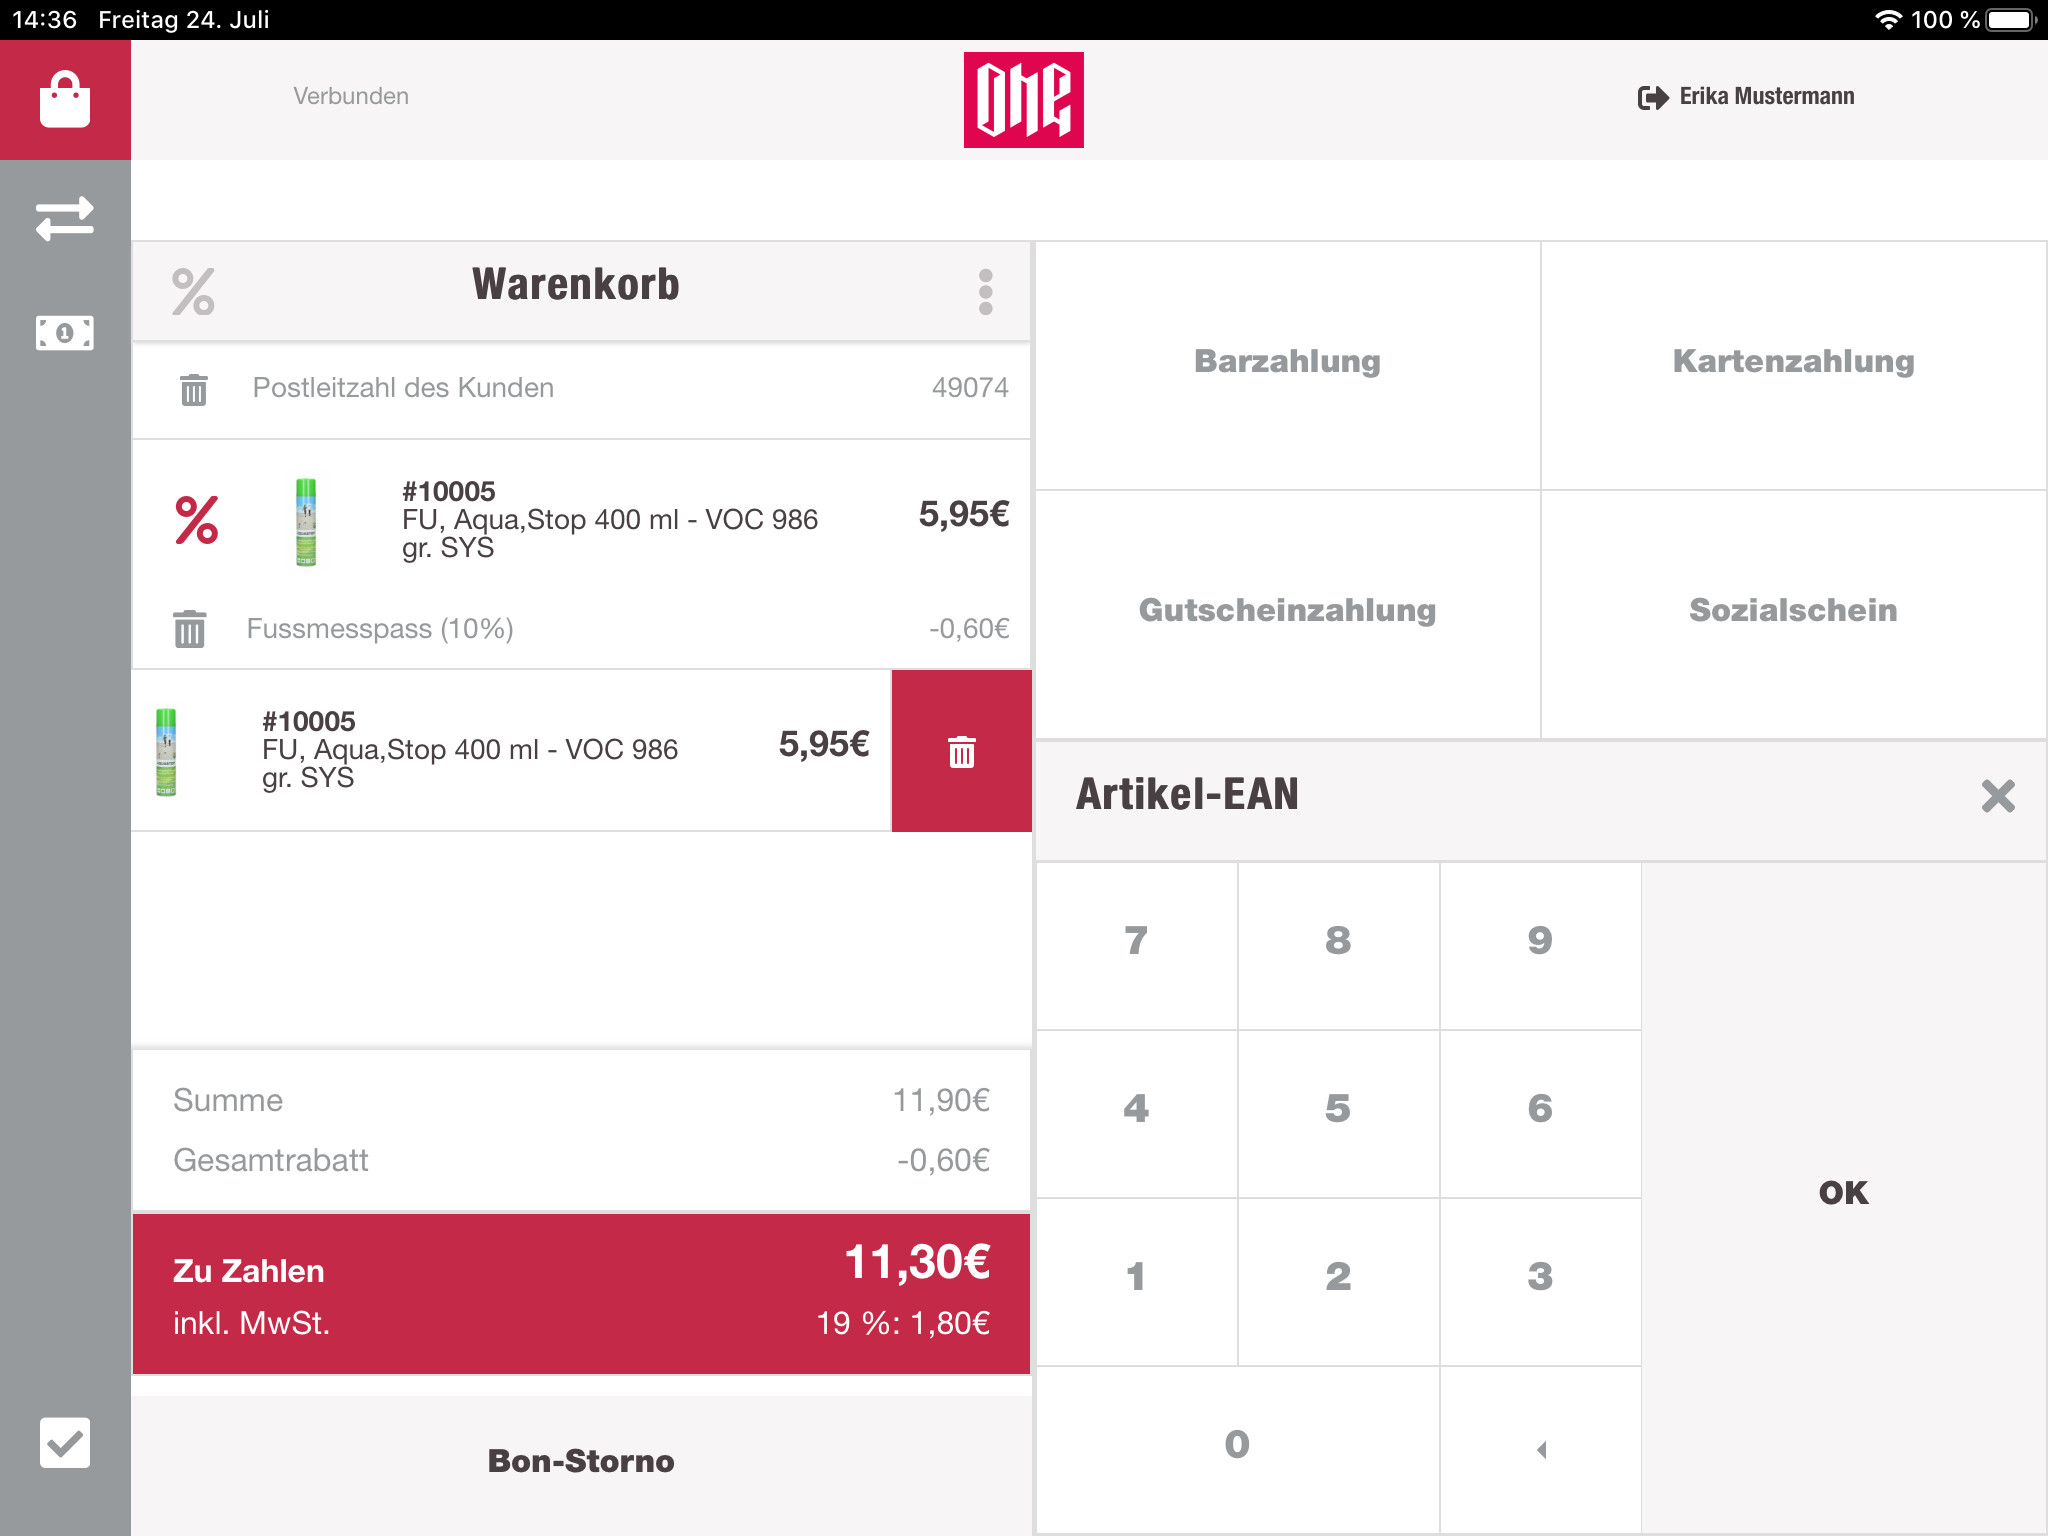
After applying a discount on an item, it is also displayed in this row. This information contains the discount name, rate, value and an option to remove this discount.

To remove an item, the cashier has to swipe from right to left on the item row. There the cashier will have to possibility to delete this item.
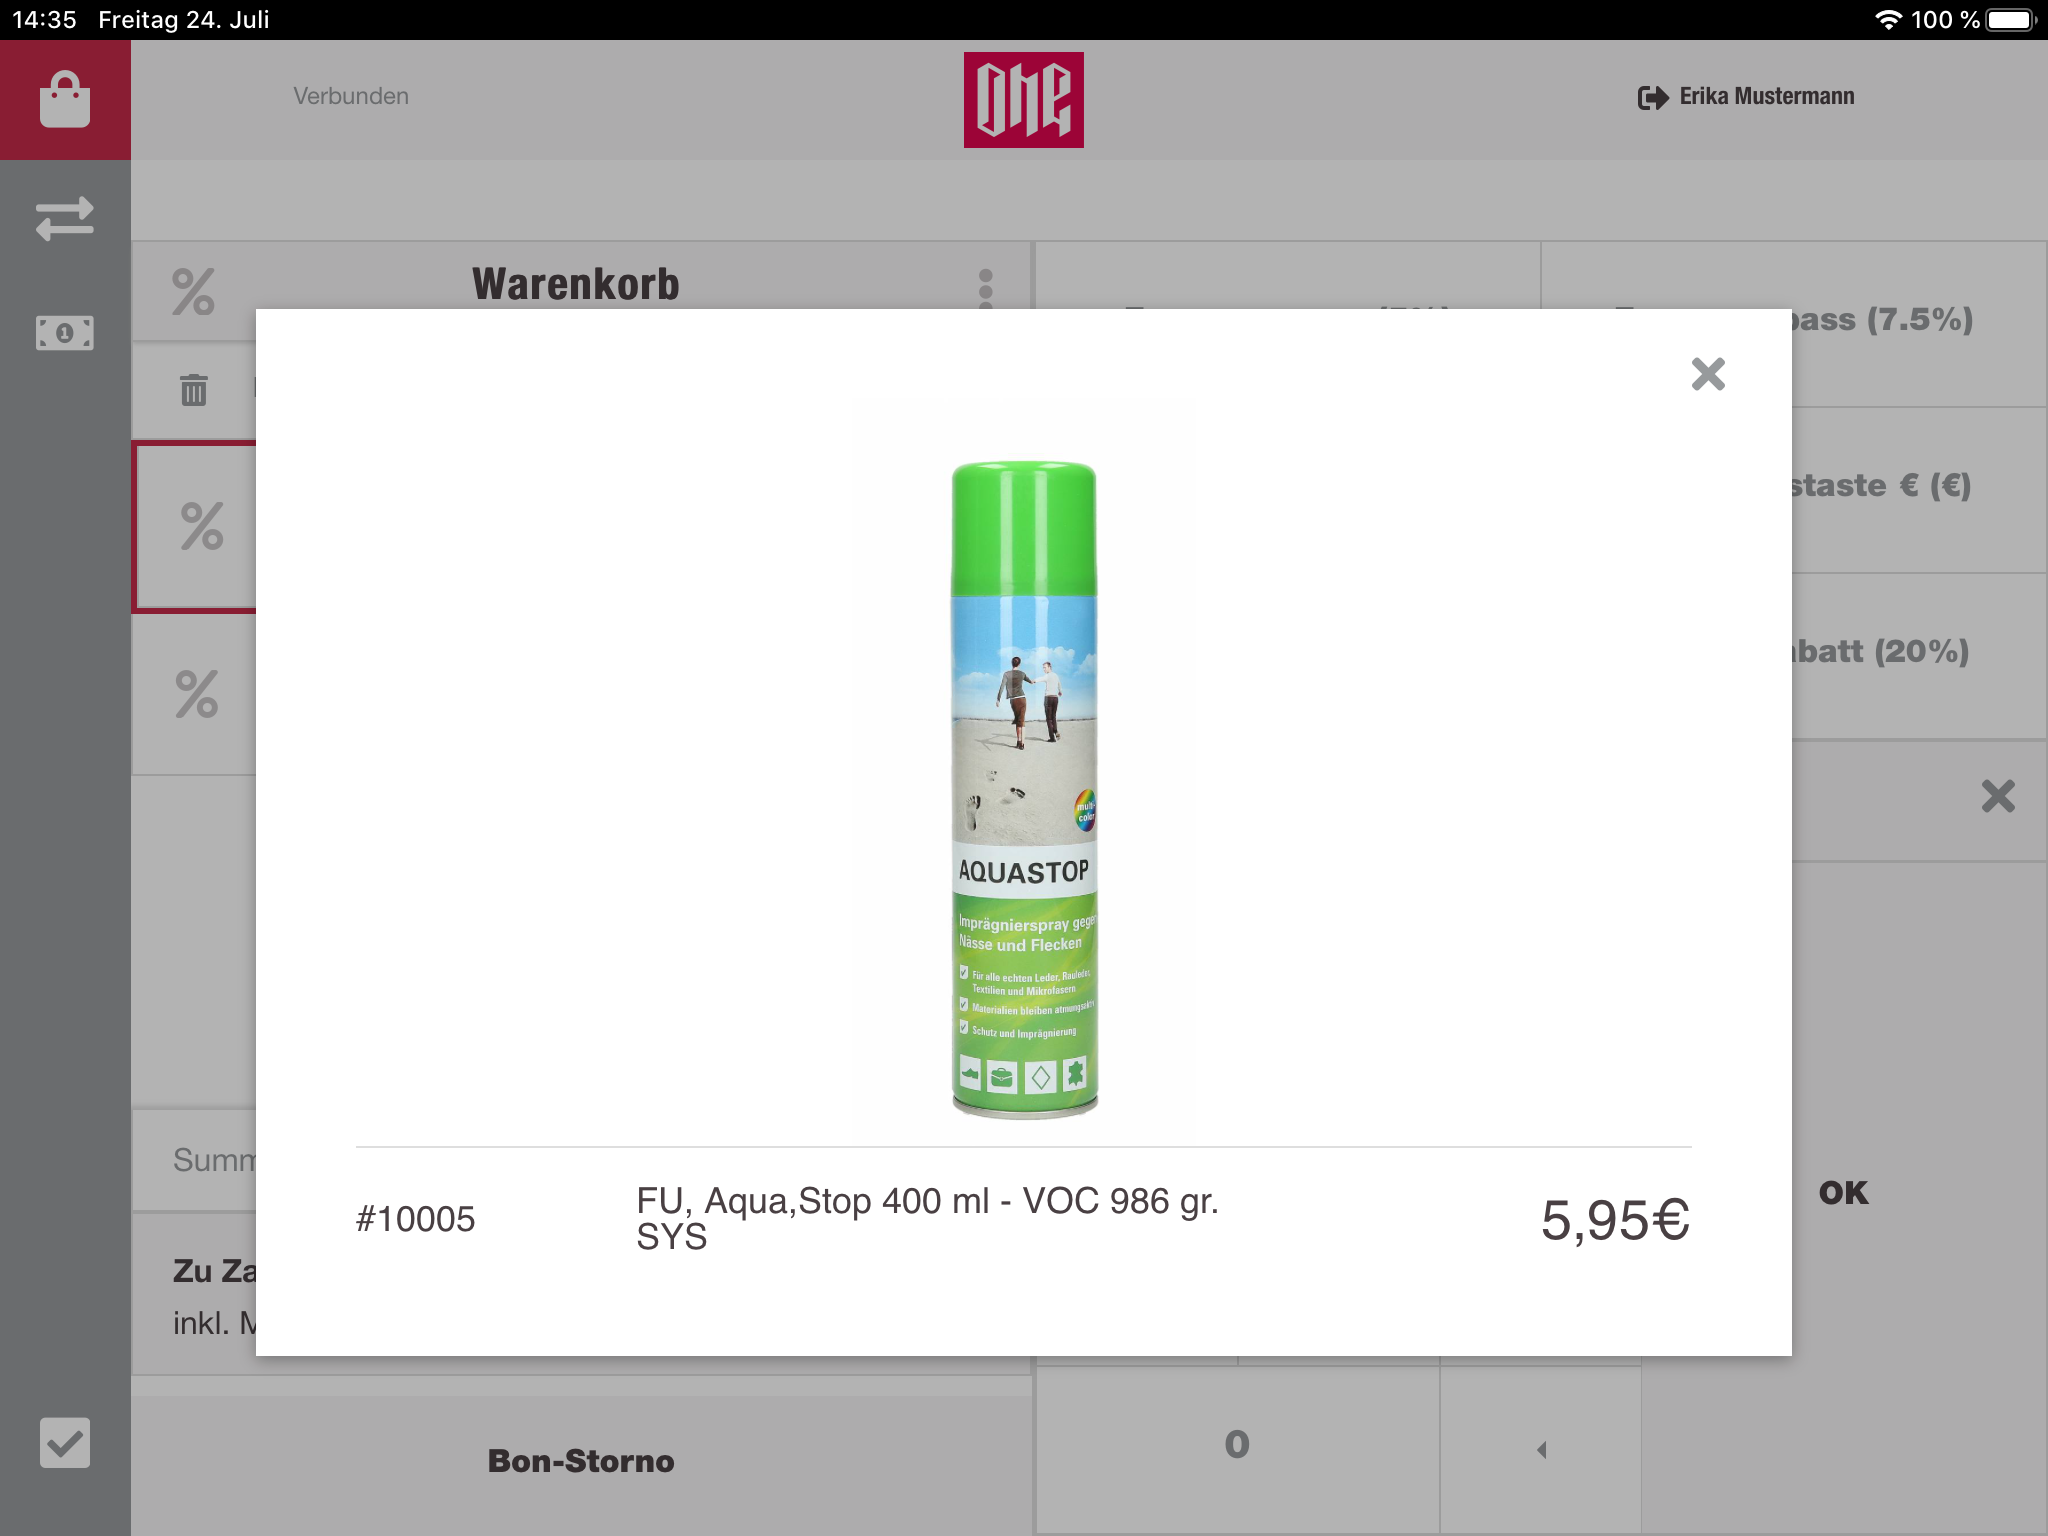
If the cashier needs a larger picture of the selected item, it is possible to get it via clicking on the picture itself. A modal pops up, with a larger image.
Payment details
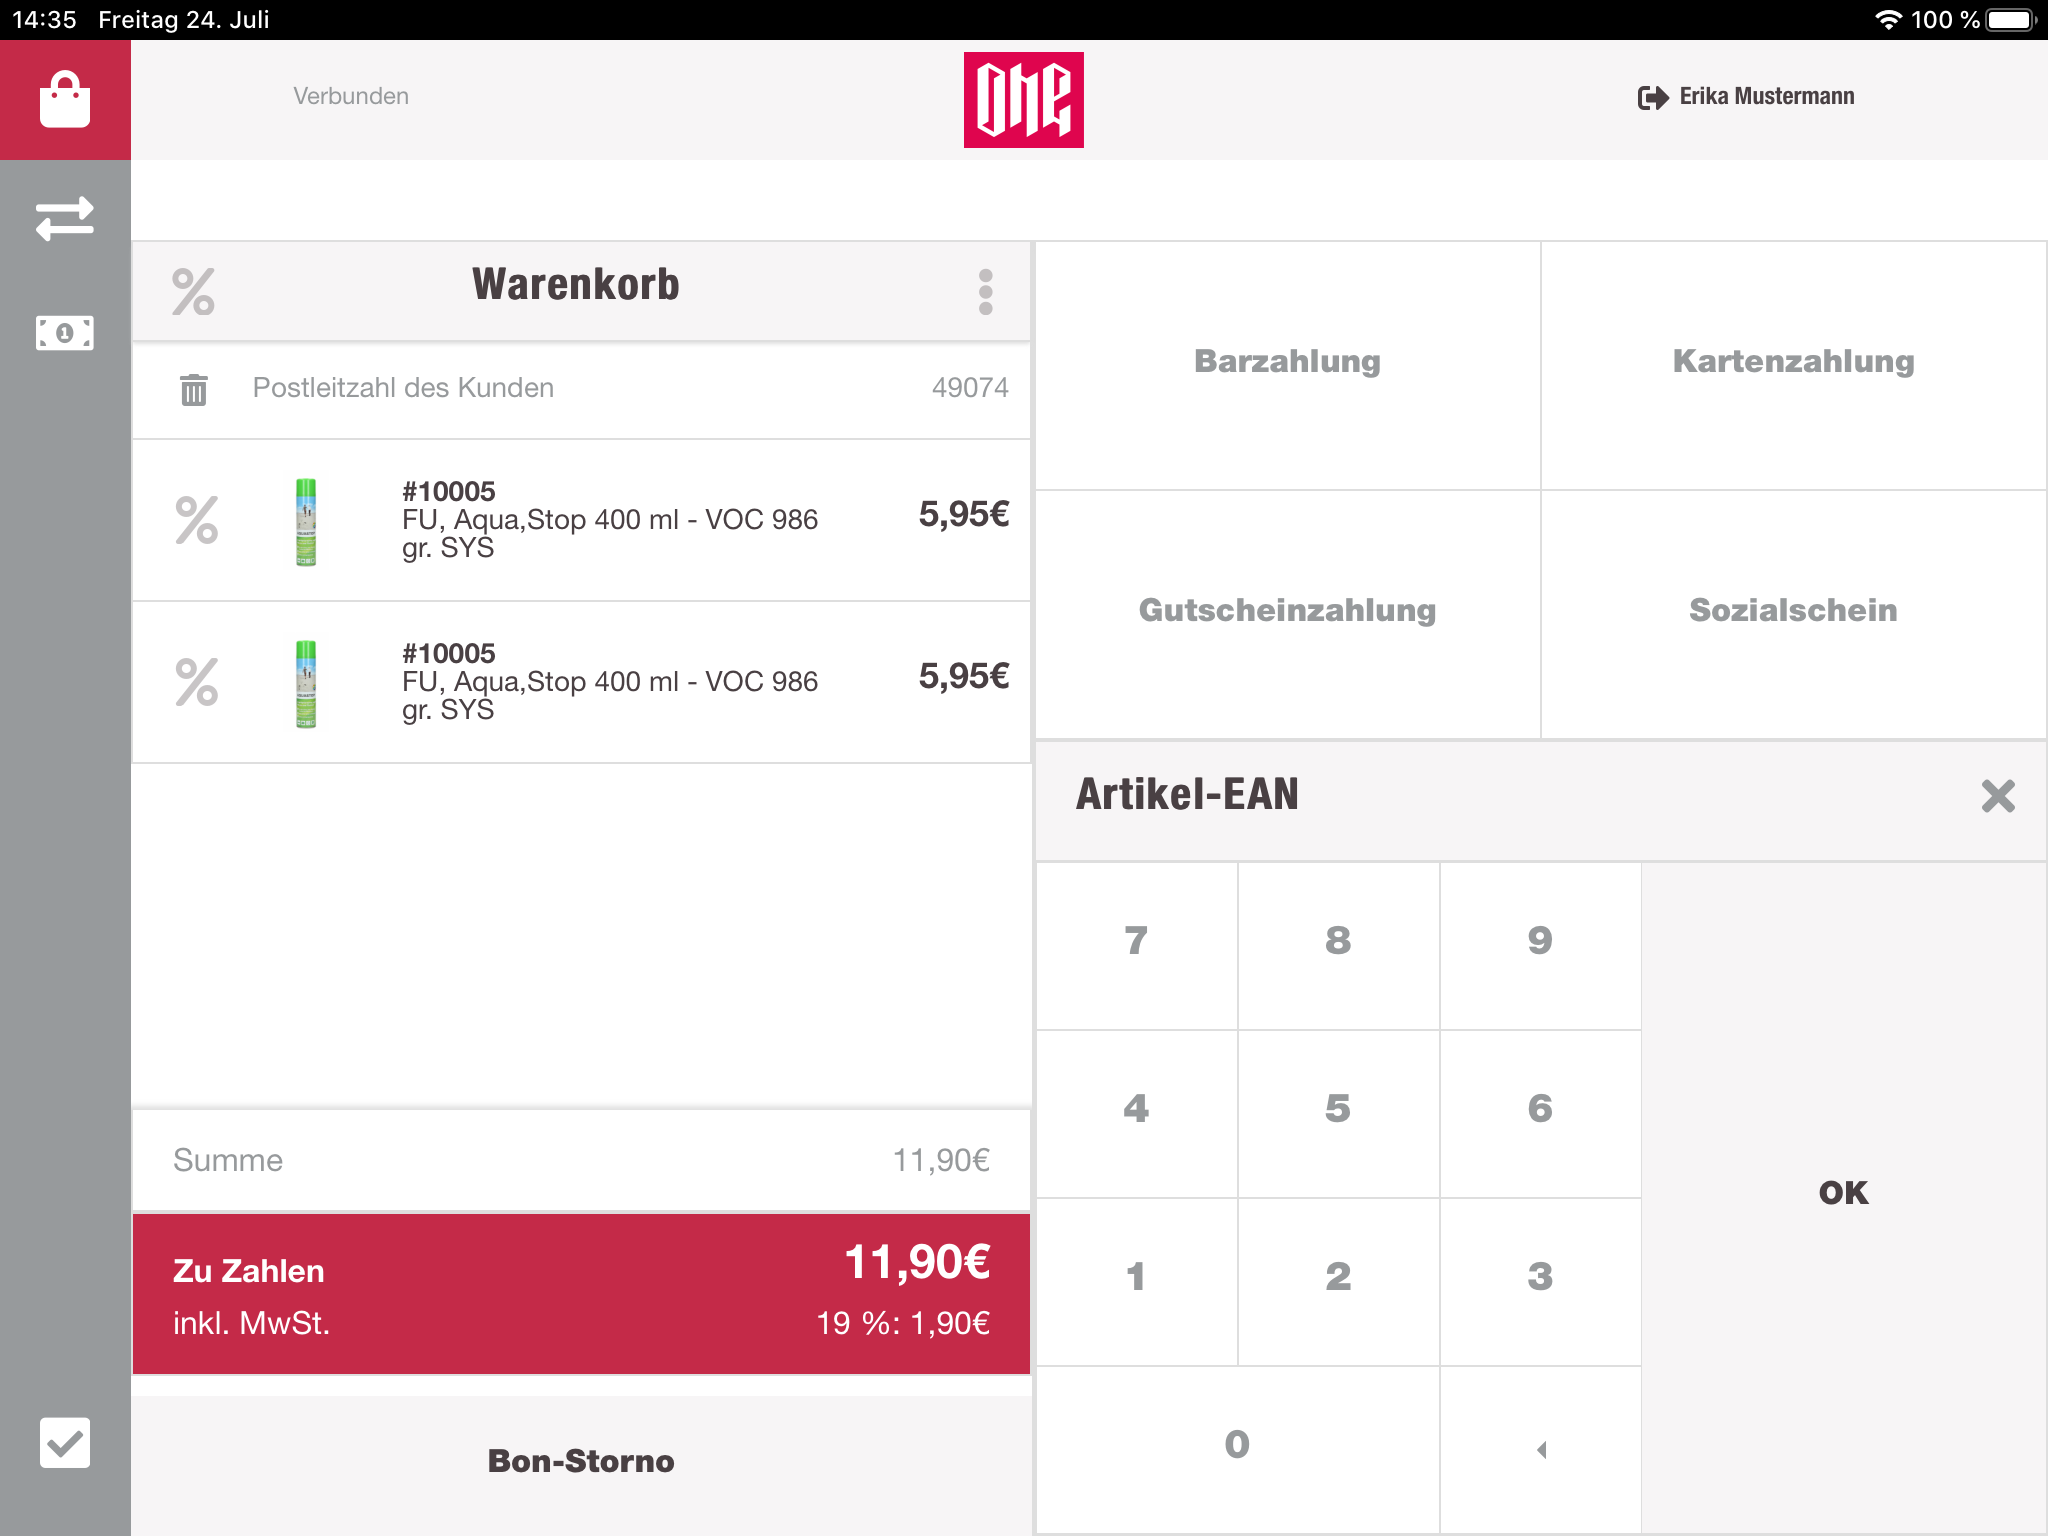
On the bottom of the cart list, informations about the cart sum and VAT are displayed. Also different payment methods (partial payment) or the total discount value are displayed here. All those values are summed up and shown for the cashier to know how much the customer has to pay.
Receipt cancelation
To cancel the whole current cart, the cashier can do this by pressing the "Bon-Storno"-Button. The current cart will be replaced by a new, empty cart.
Numpad
To avoid the iOS software keyboard, the cashier have the possibility to enter number input with the numpad. Based on the current state of the cashregister the output source can change. Initially it will be used for EAN/SKU input.
Dynamic button group
Here the cashier can initialize different type of actions except selling items. When the cart is empty, following options are shown:
- Gift card
- Refund
- Unknown Product
- Zero Receipt
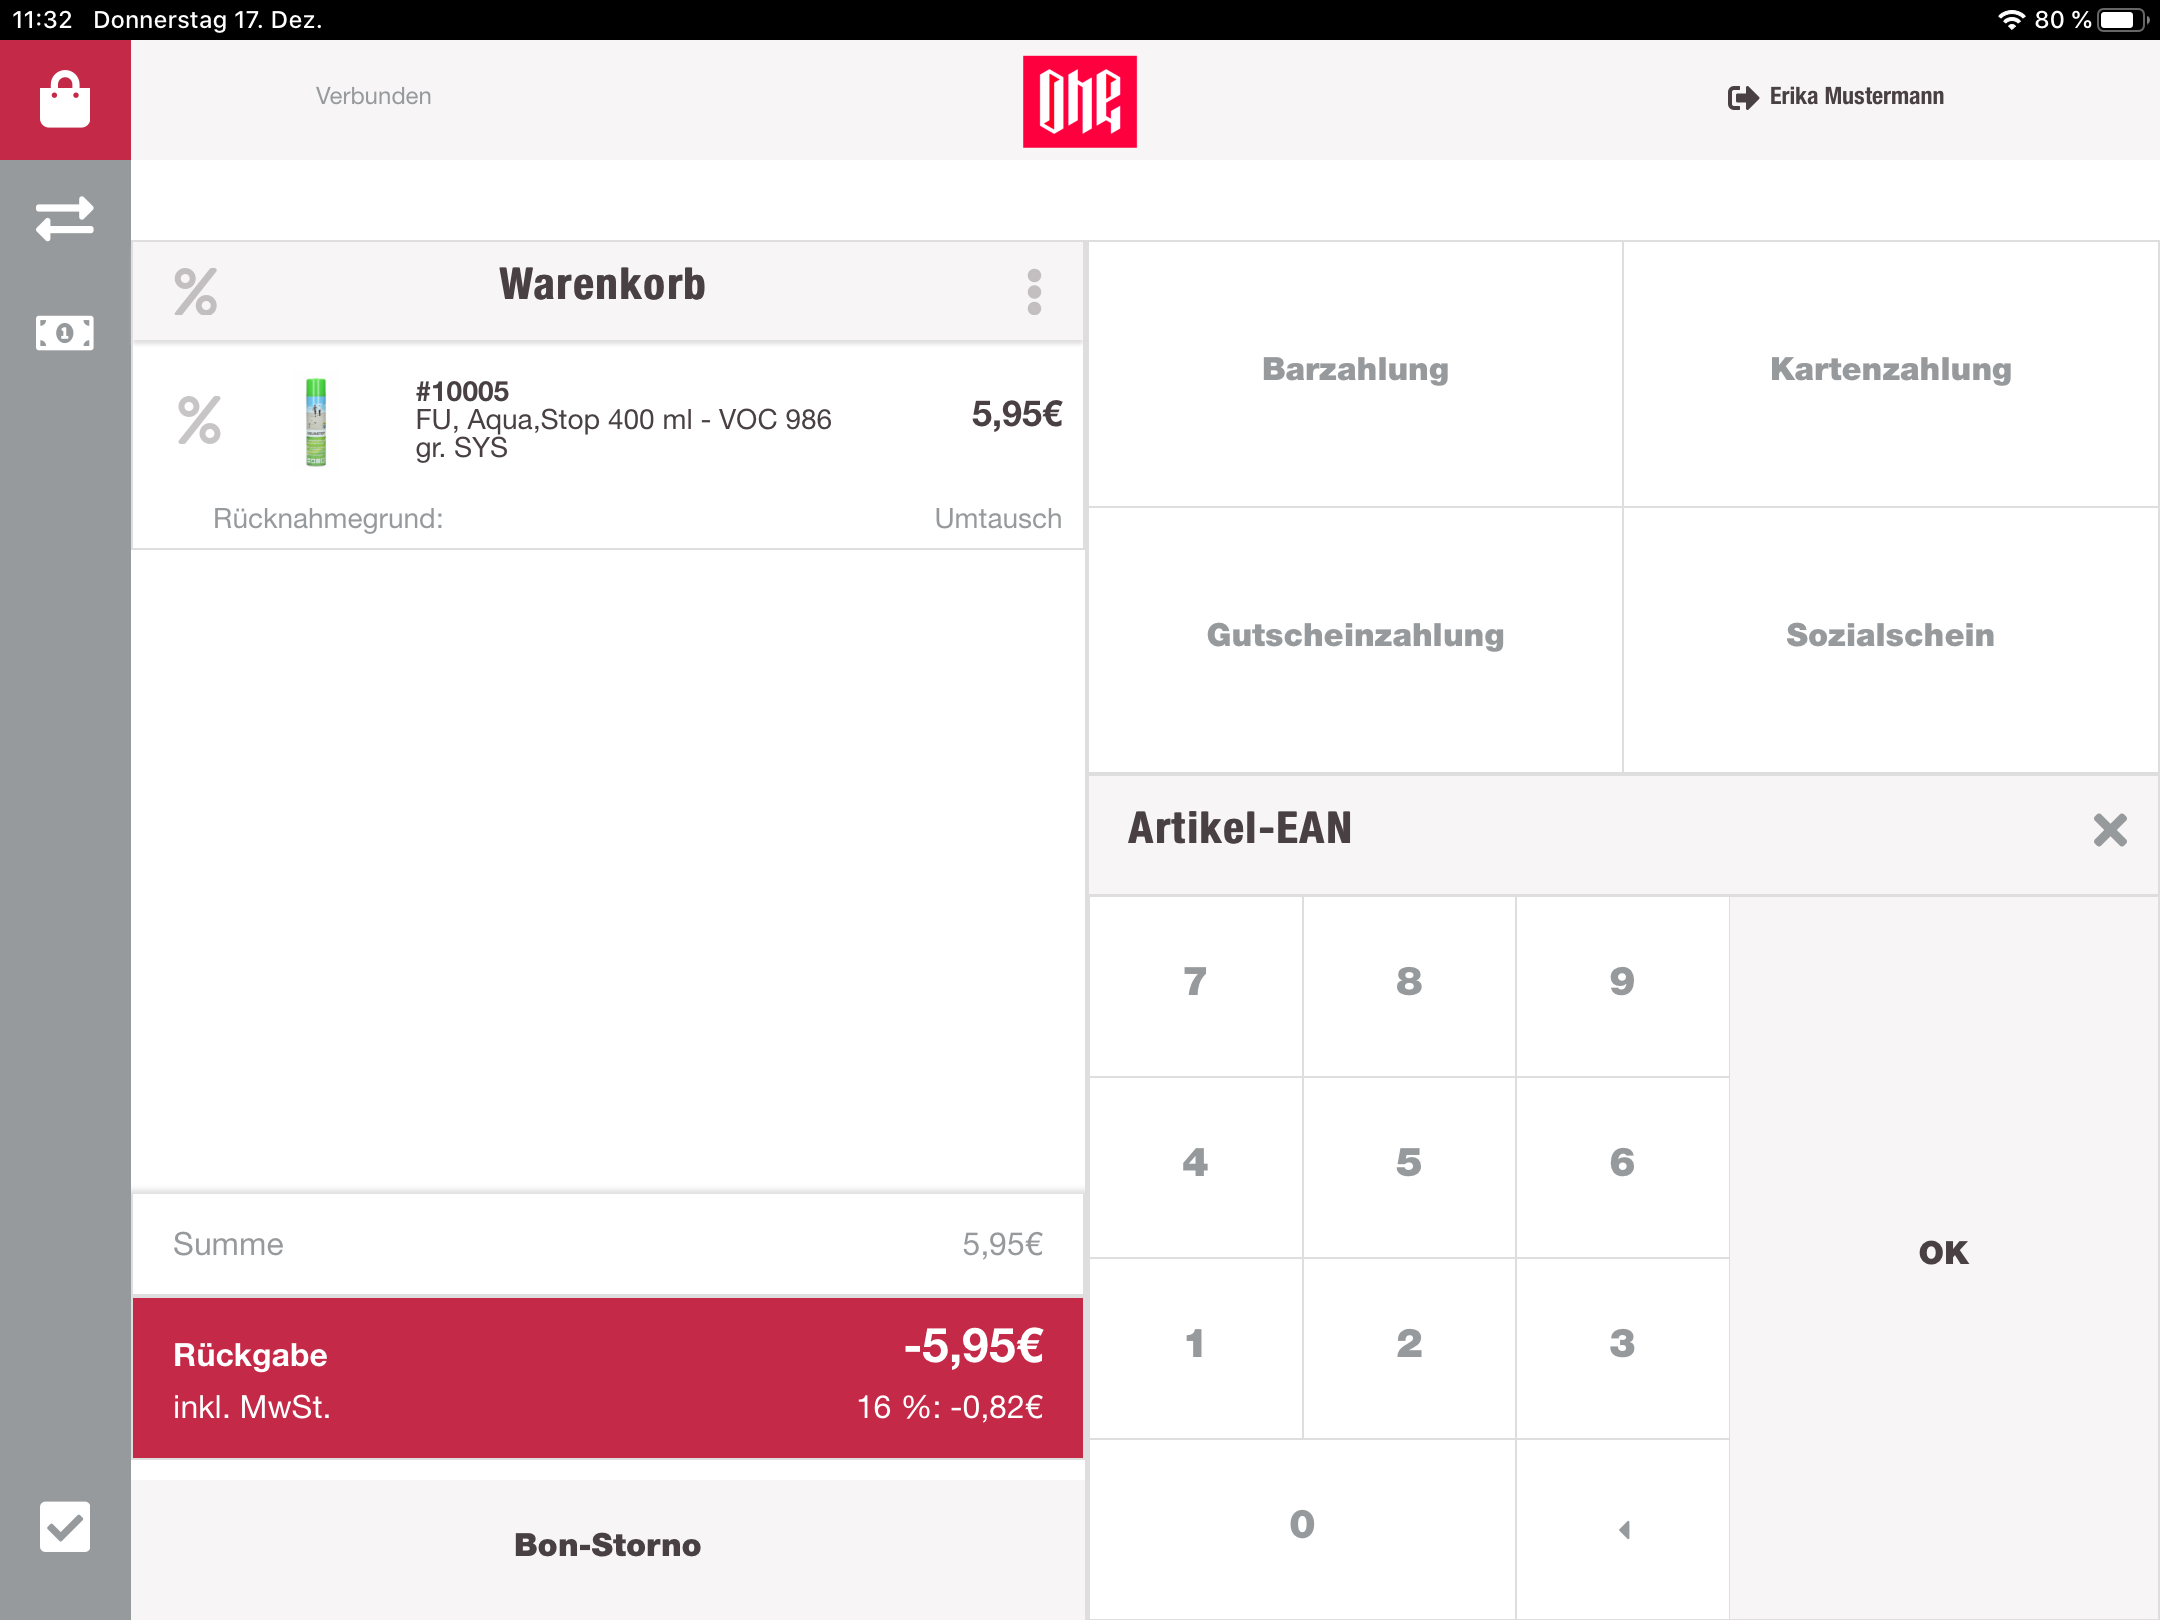
If at least one item is inside the cart, the button group will switch to payment methods. The cashier can select those payment methods and continue with the payment of the whole cart.
When the cashier has selected one item or the header of the cart, the discounts will be displayed in the buttton group.
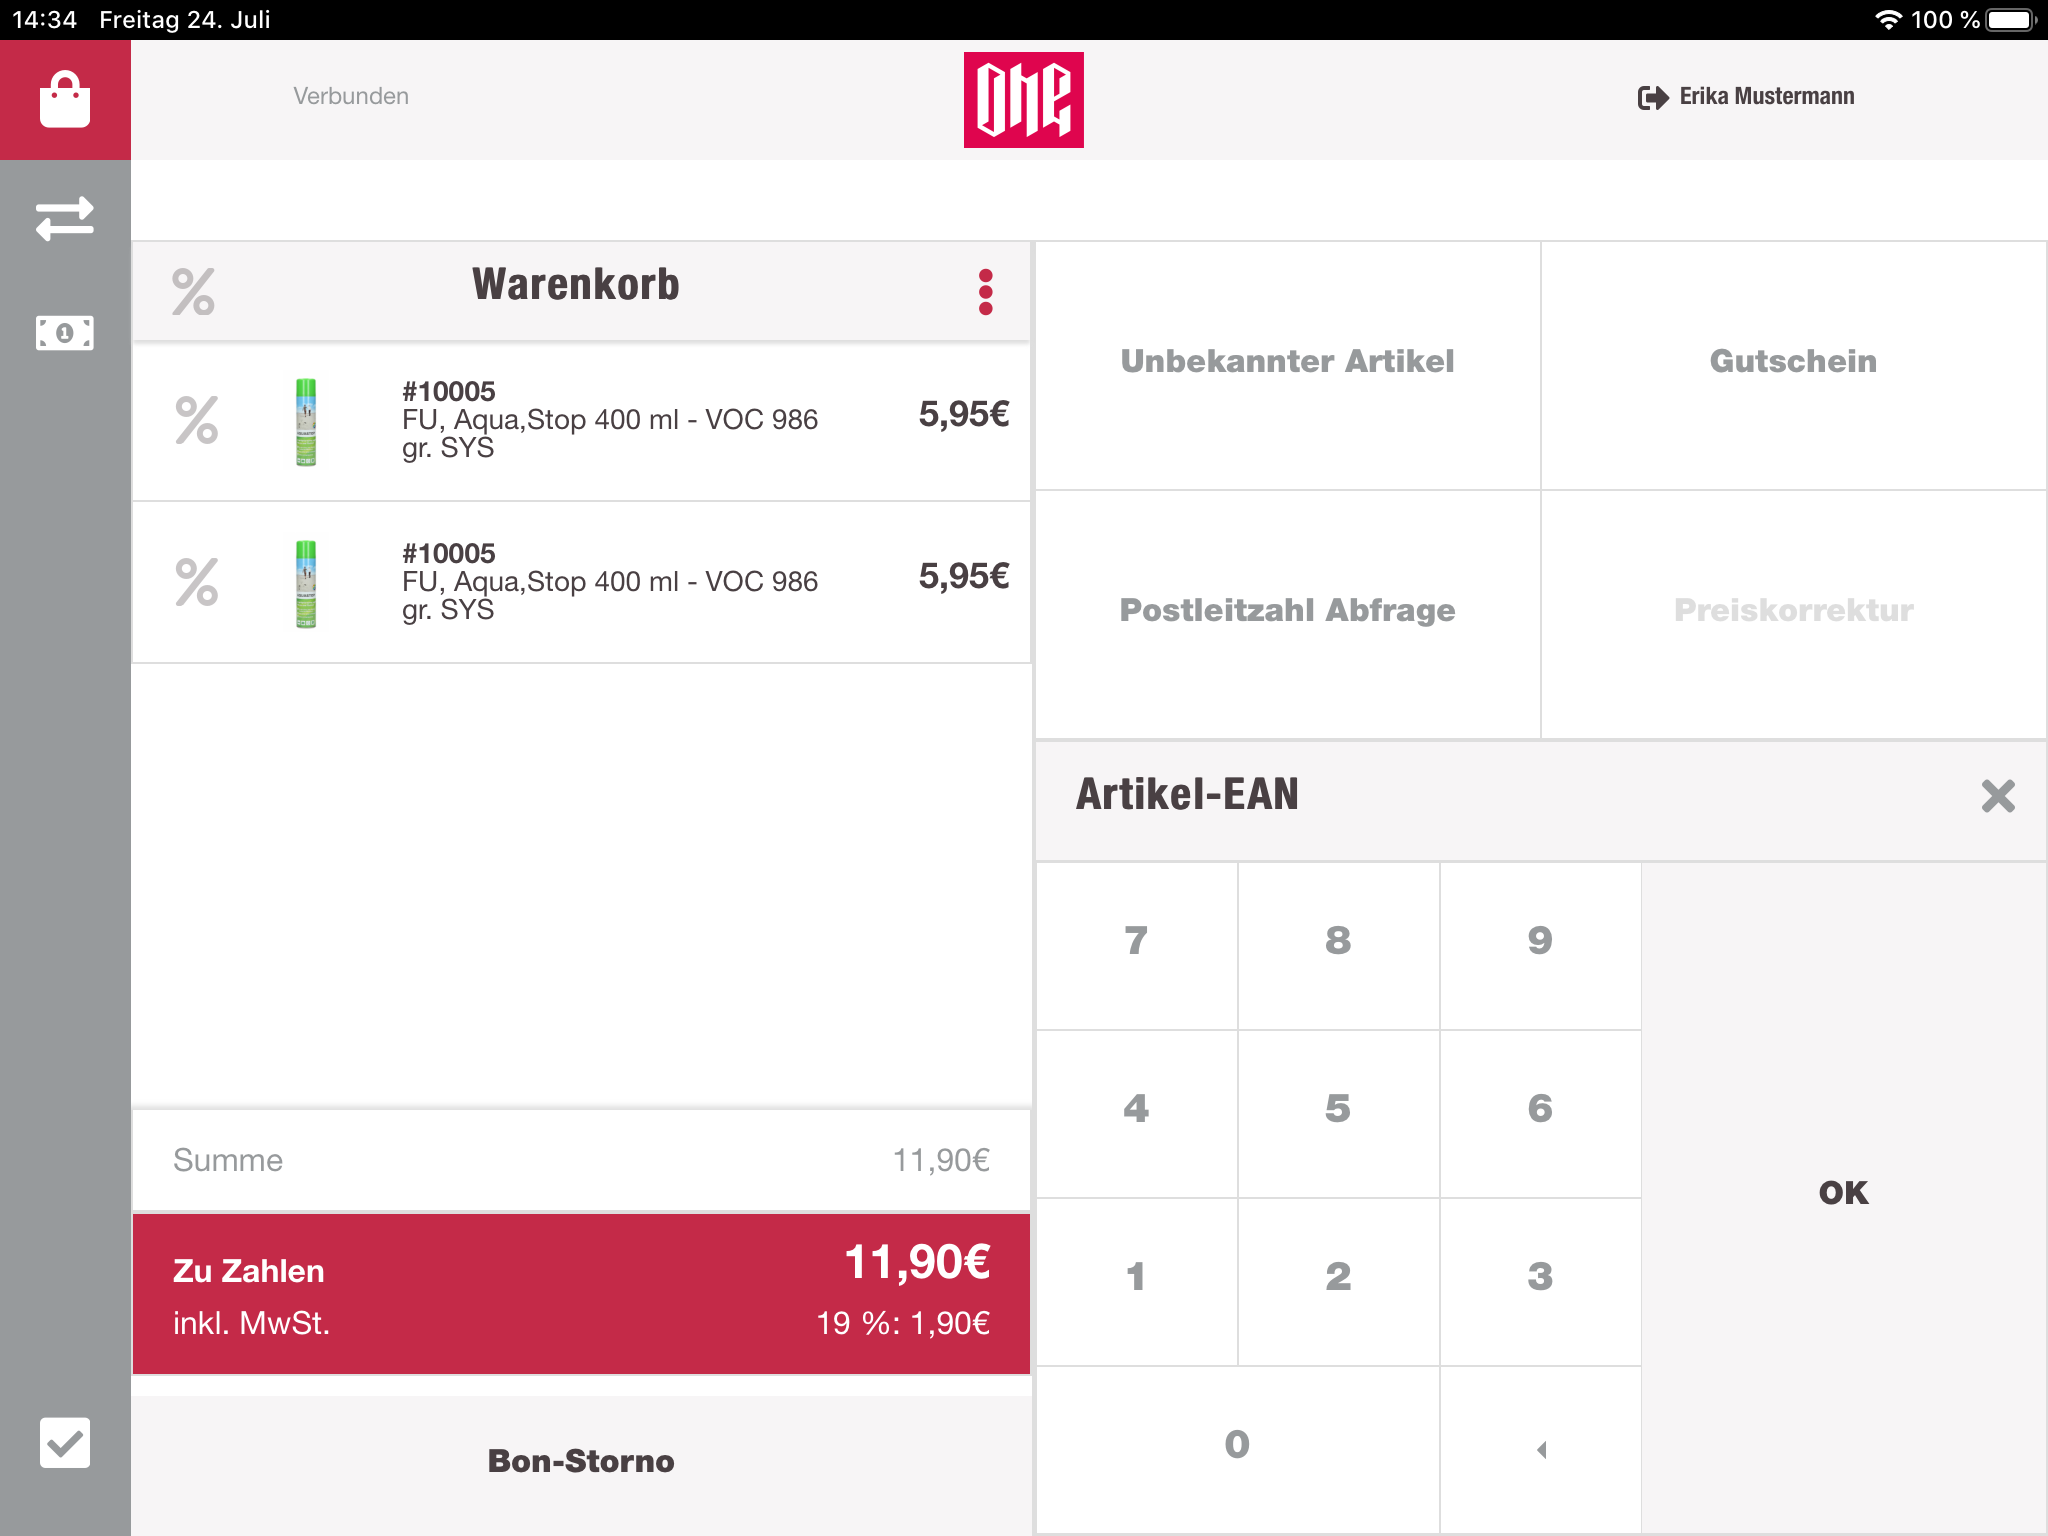
Next to the cart header is button (three dots) with more options. Here the cashier has access to other actions while some items are in the cart. Here we have the two known options:
- Unknown Product
- Gift card
Besides those two options, there are two new options, only visible if there are items in the cart:
- Postal code survey
- Price correction
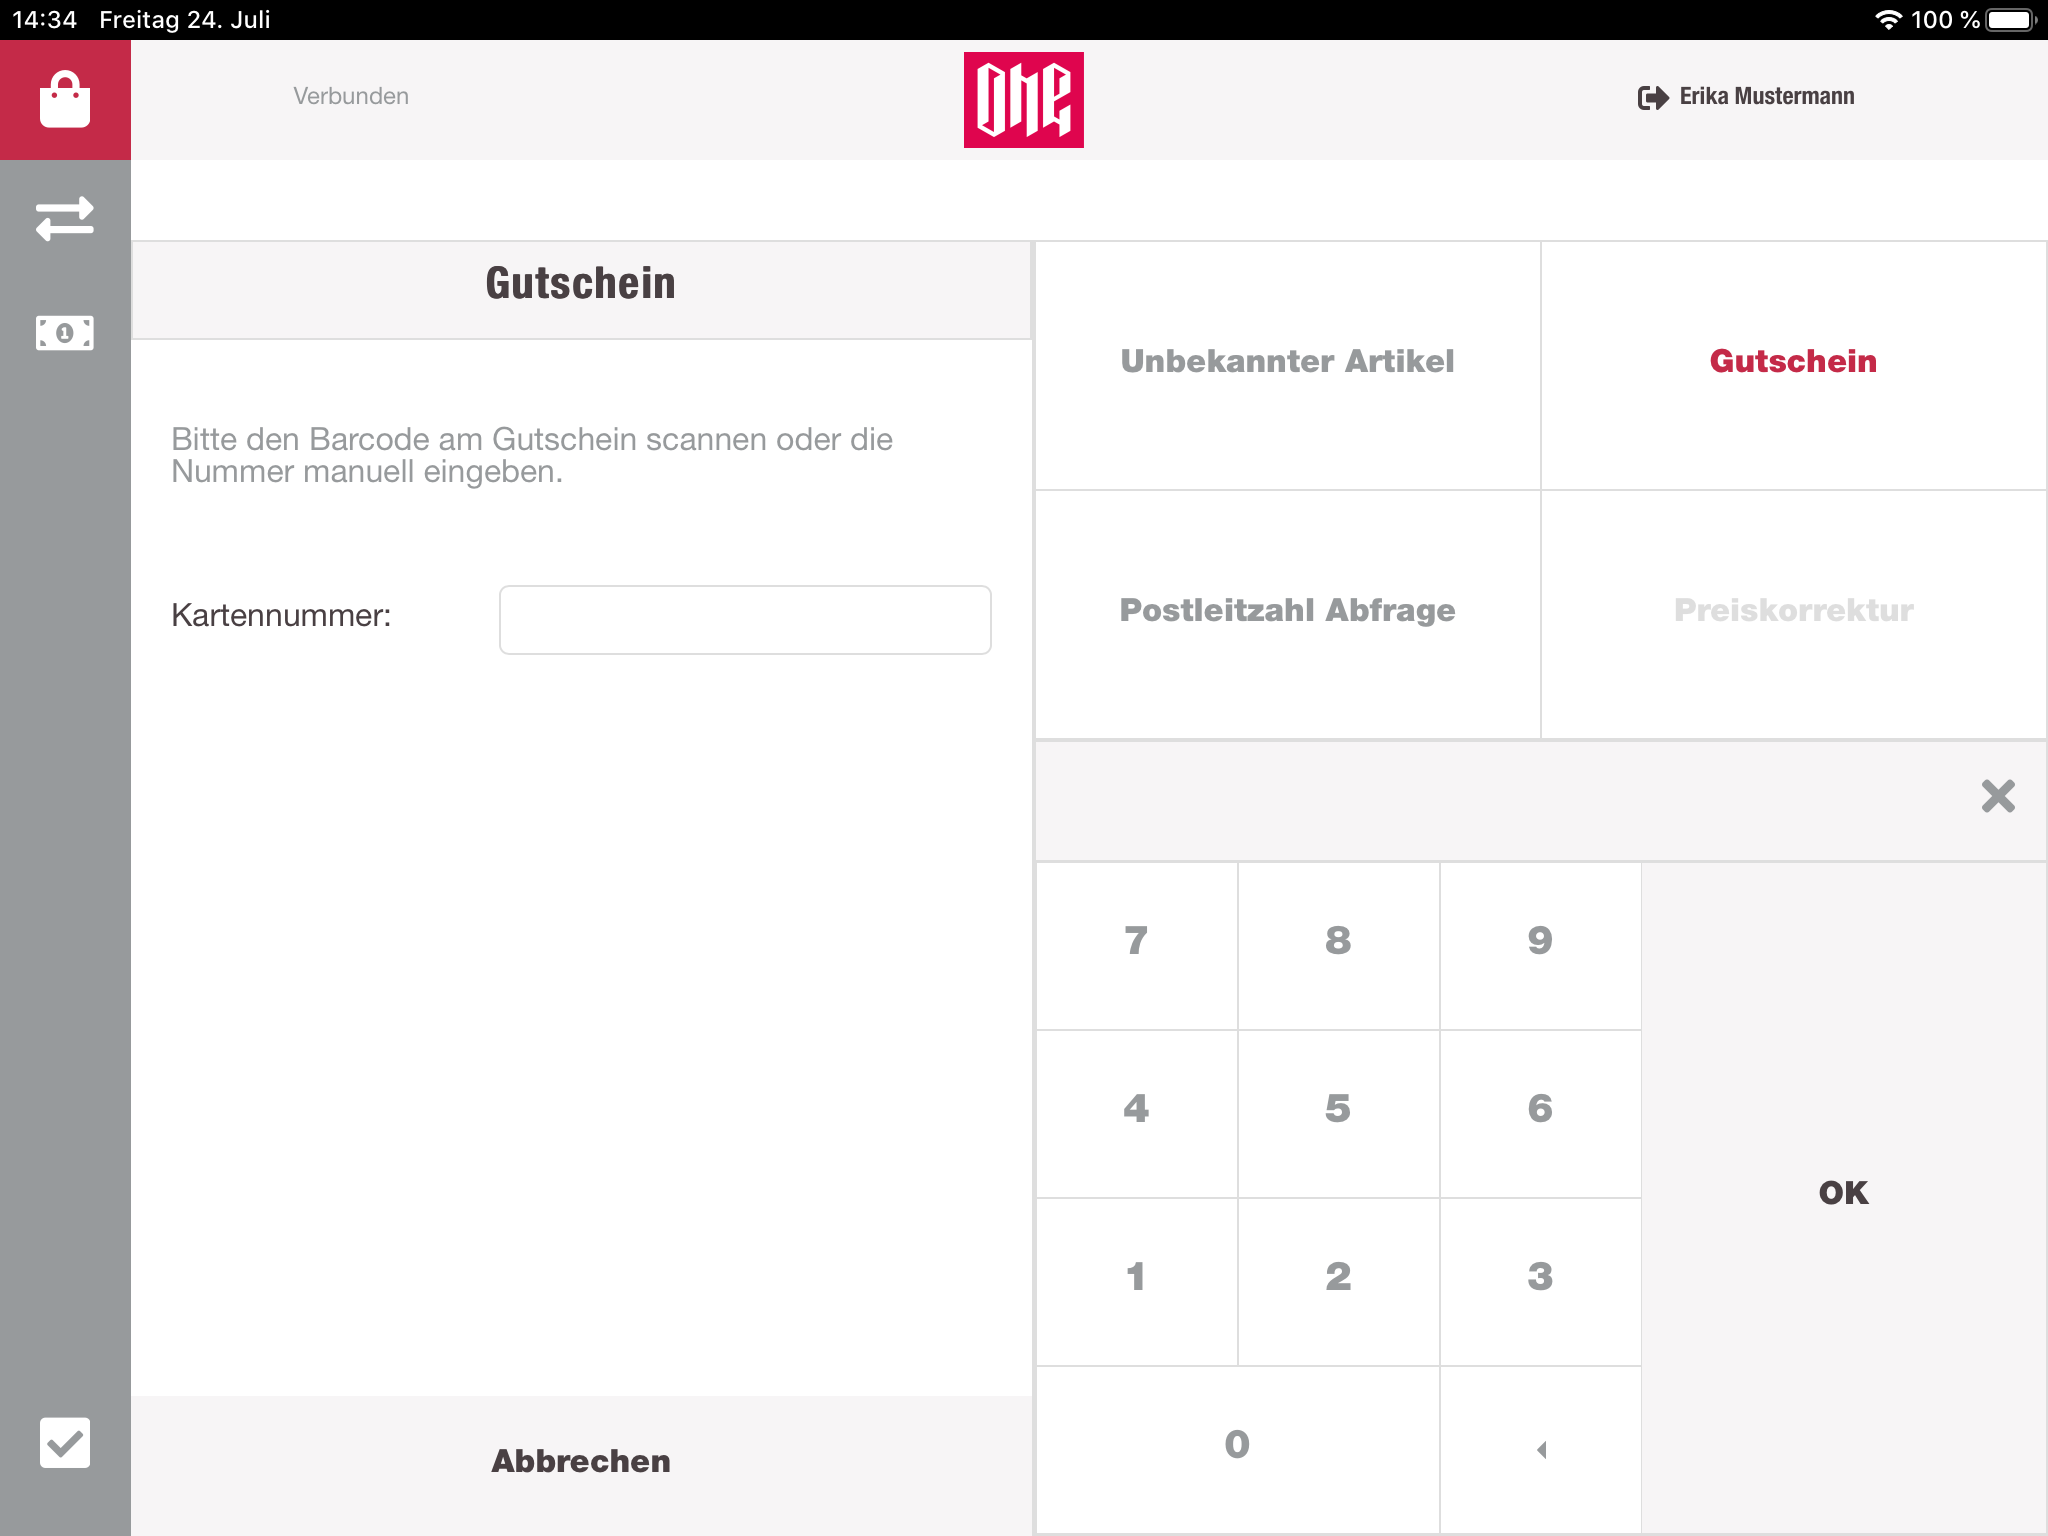
Giftcard
Selecting the gift card action, will switch the cart view to an input field for the gift card number. Here the cashier can enter it manually with the numpad or via scanning the barcode of the card. This action can also be initialized, by directly scanning the card from the cart view.
After providing the card number, the card will be validated. If it is an existing card, the cashier has the possibility to enter the amount, which the customer wants to load on his giftcard. If there was already some money on the card, the current balance will also be displayed here. Besides that the cashier can also see the min. and max. amount of this gift card.
If the entered amount is between min. and max. the cashier can submit his entry and the gift card will be placed in the cart. There it will have his own row in the cart list. It can be removed like any other item from the cart.
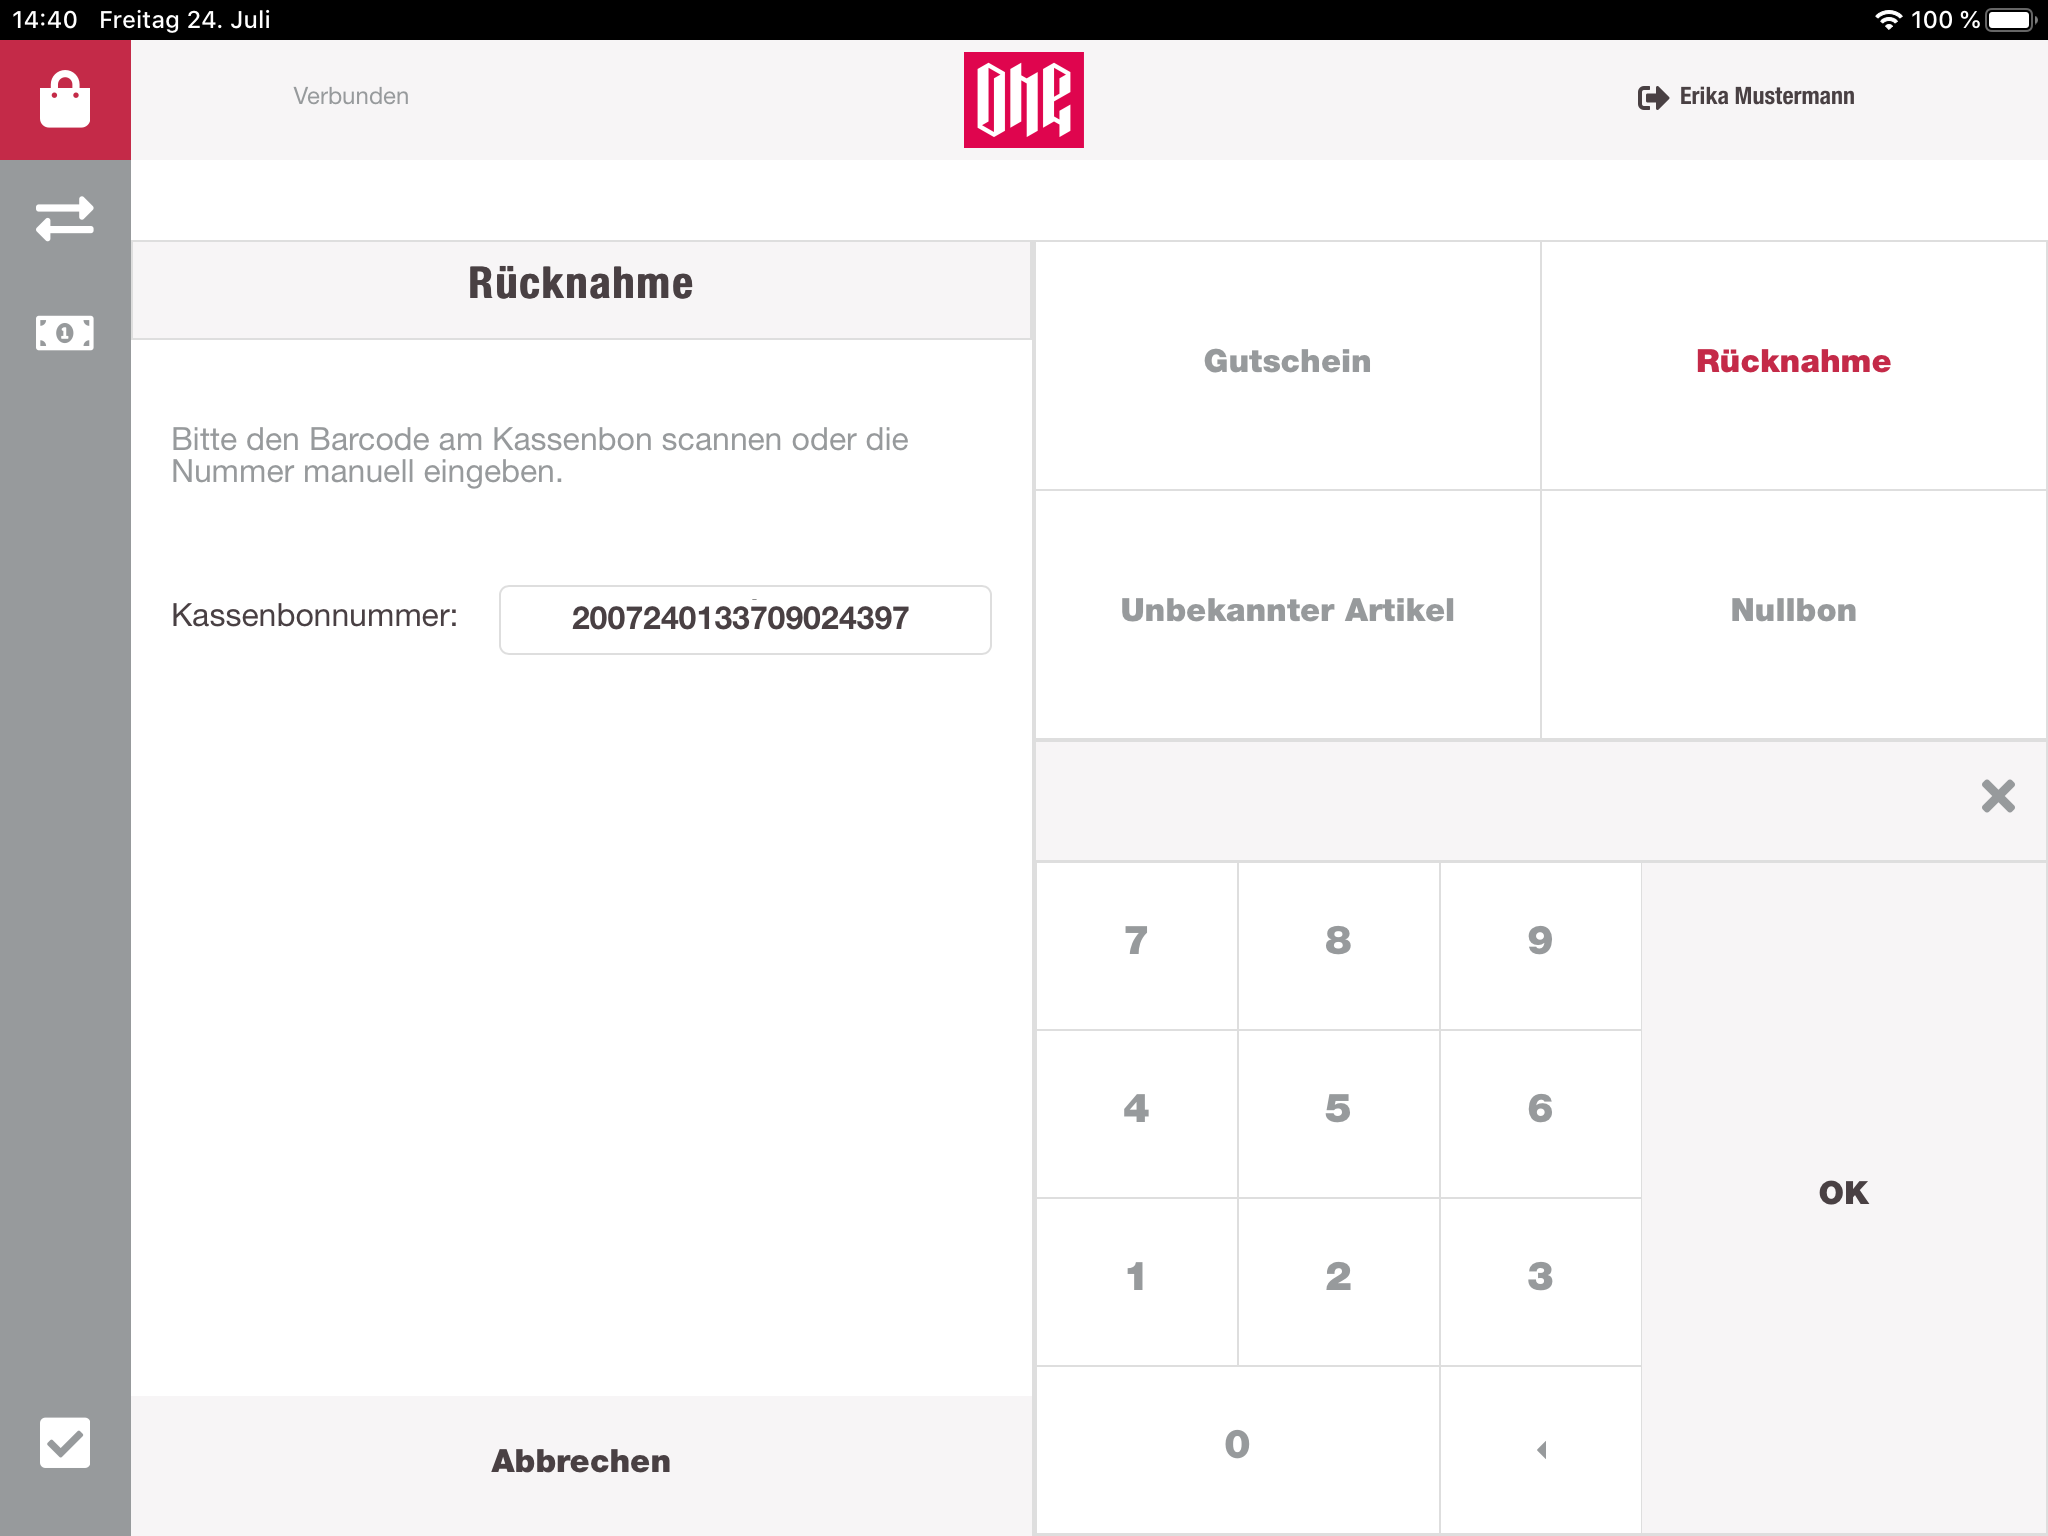
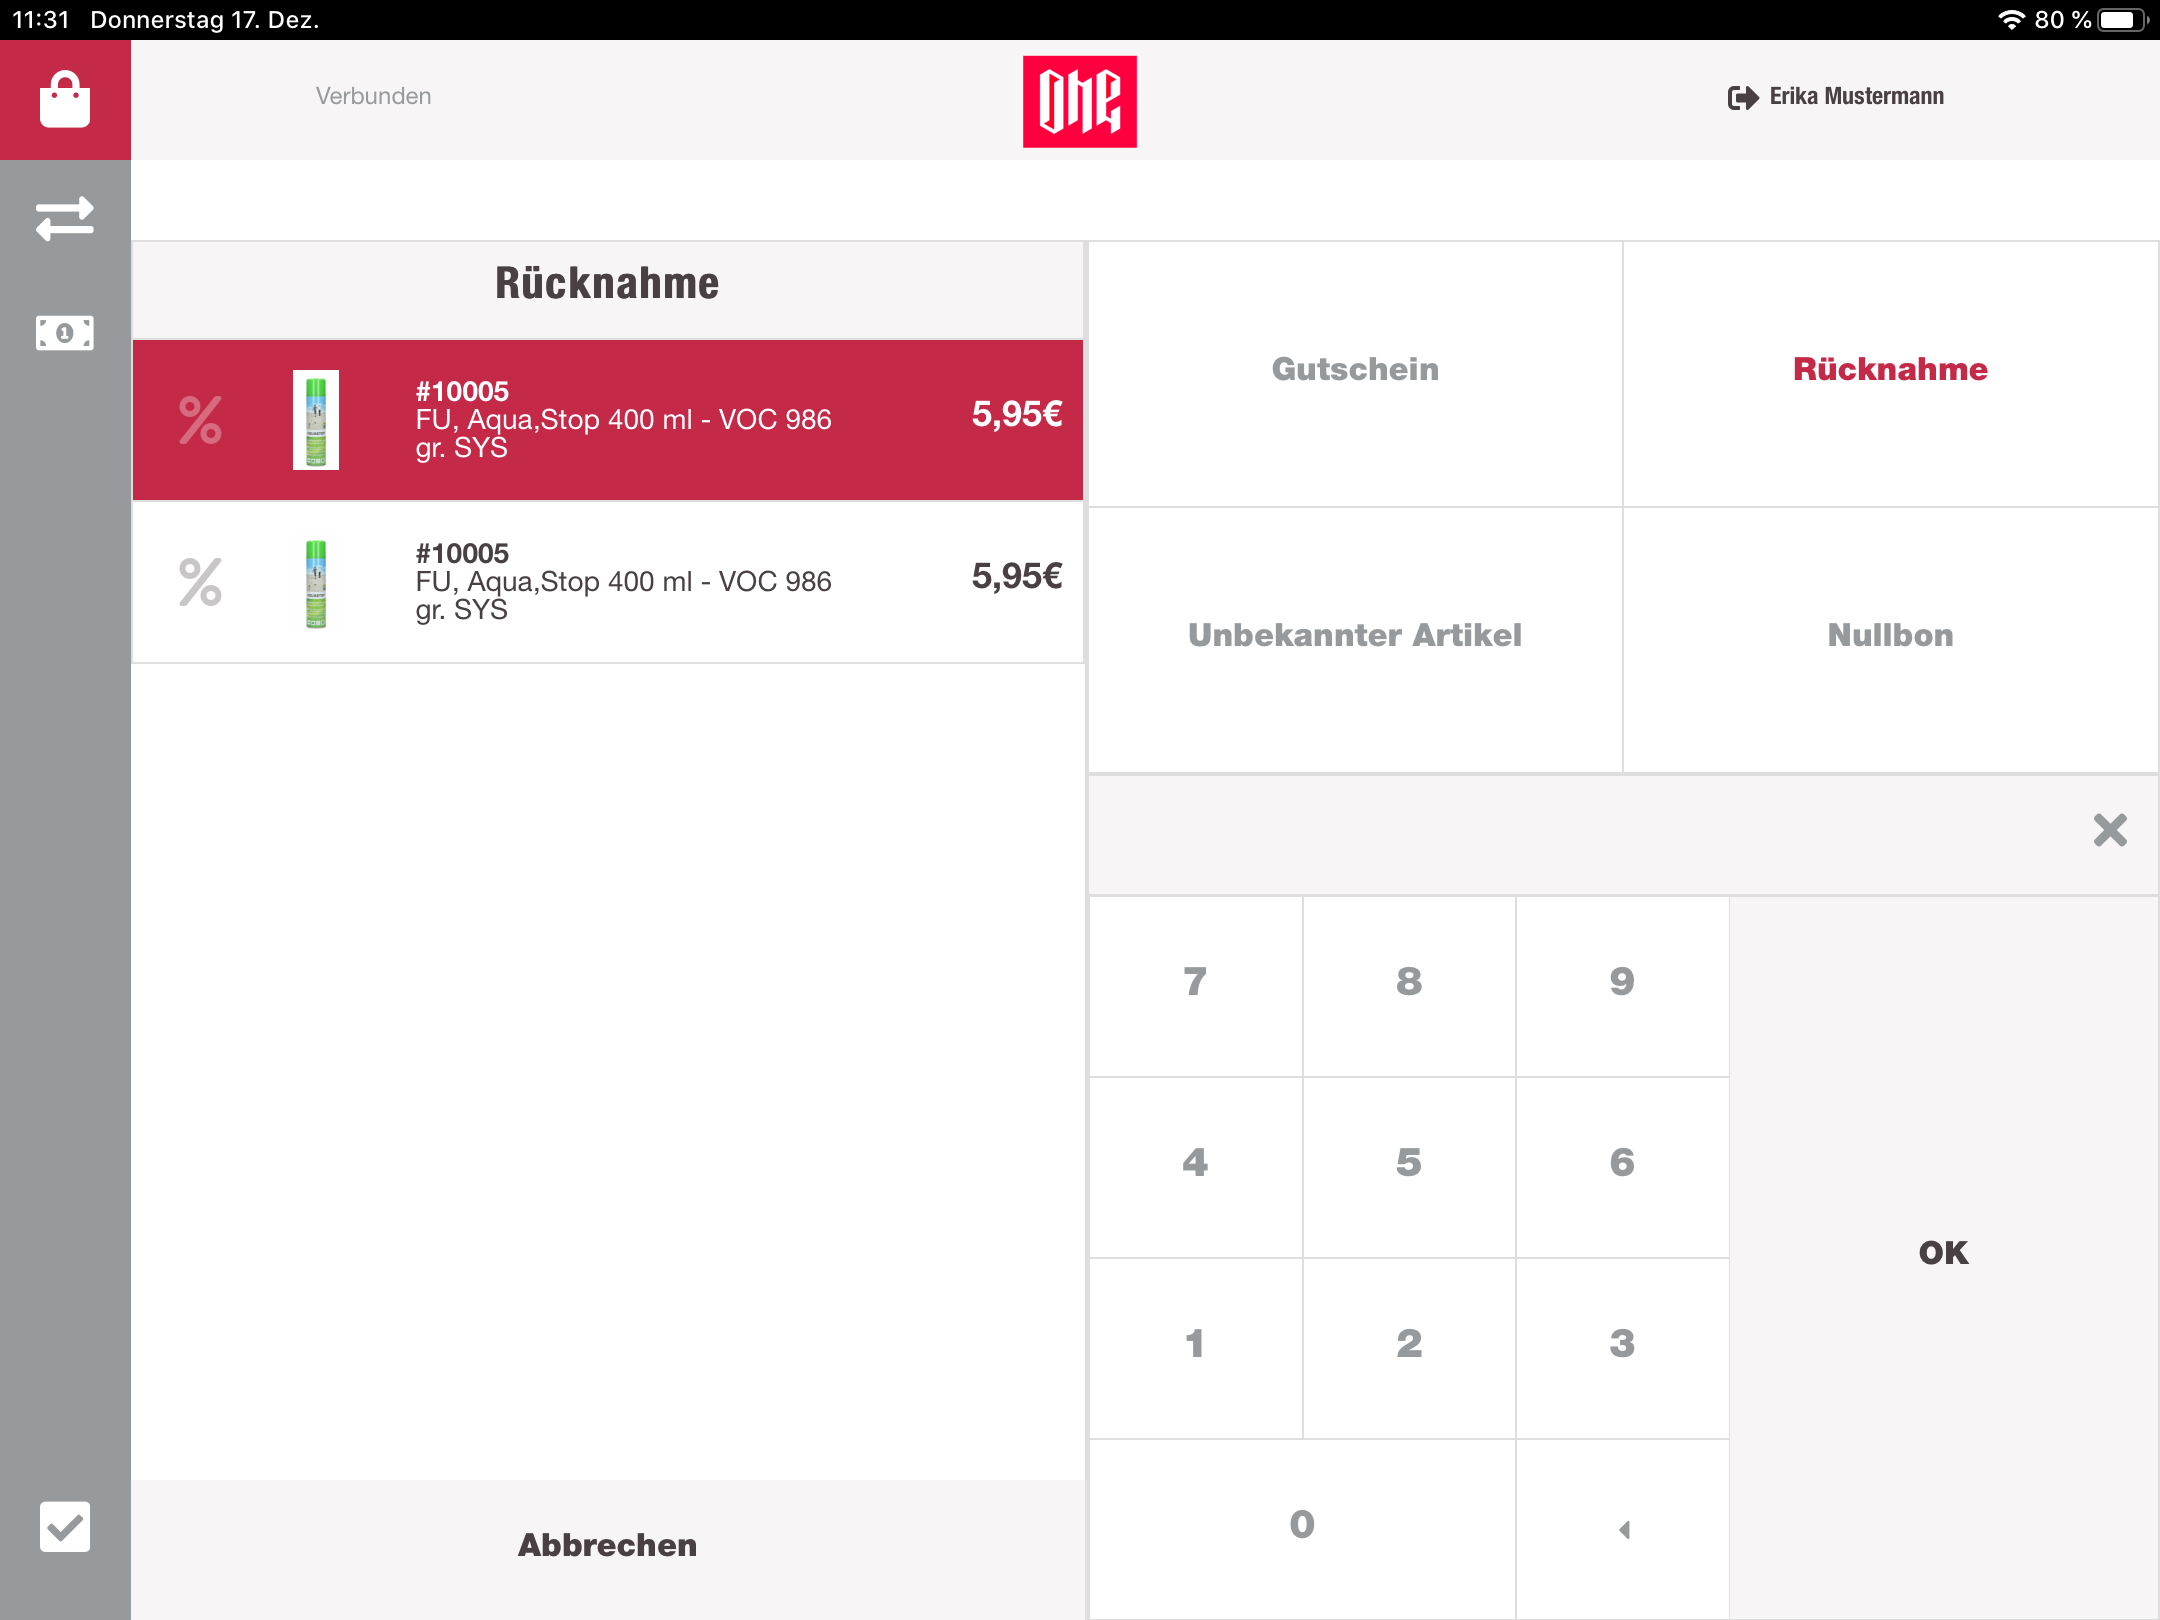
Refund
When refund is selected, the cashier has to provide a valid barcode of a receipt, again manually with the numpad or by scanning a barcode from a receipt. Directly scanning the barcode navigates to the same result.
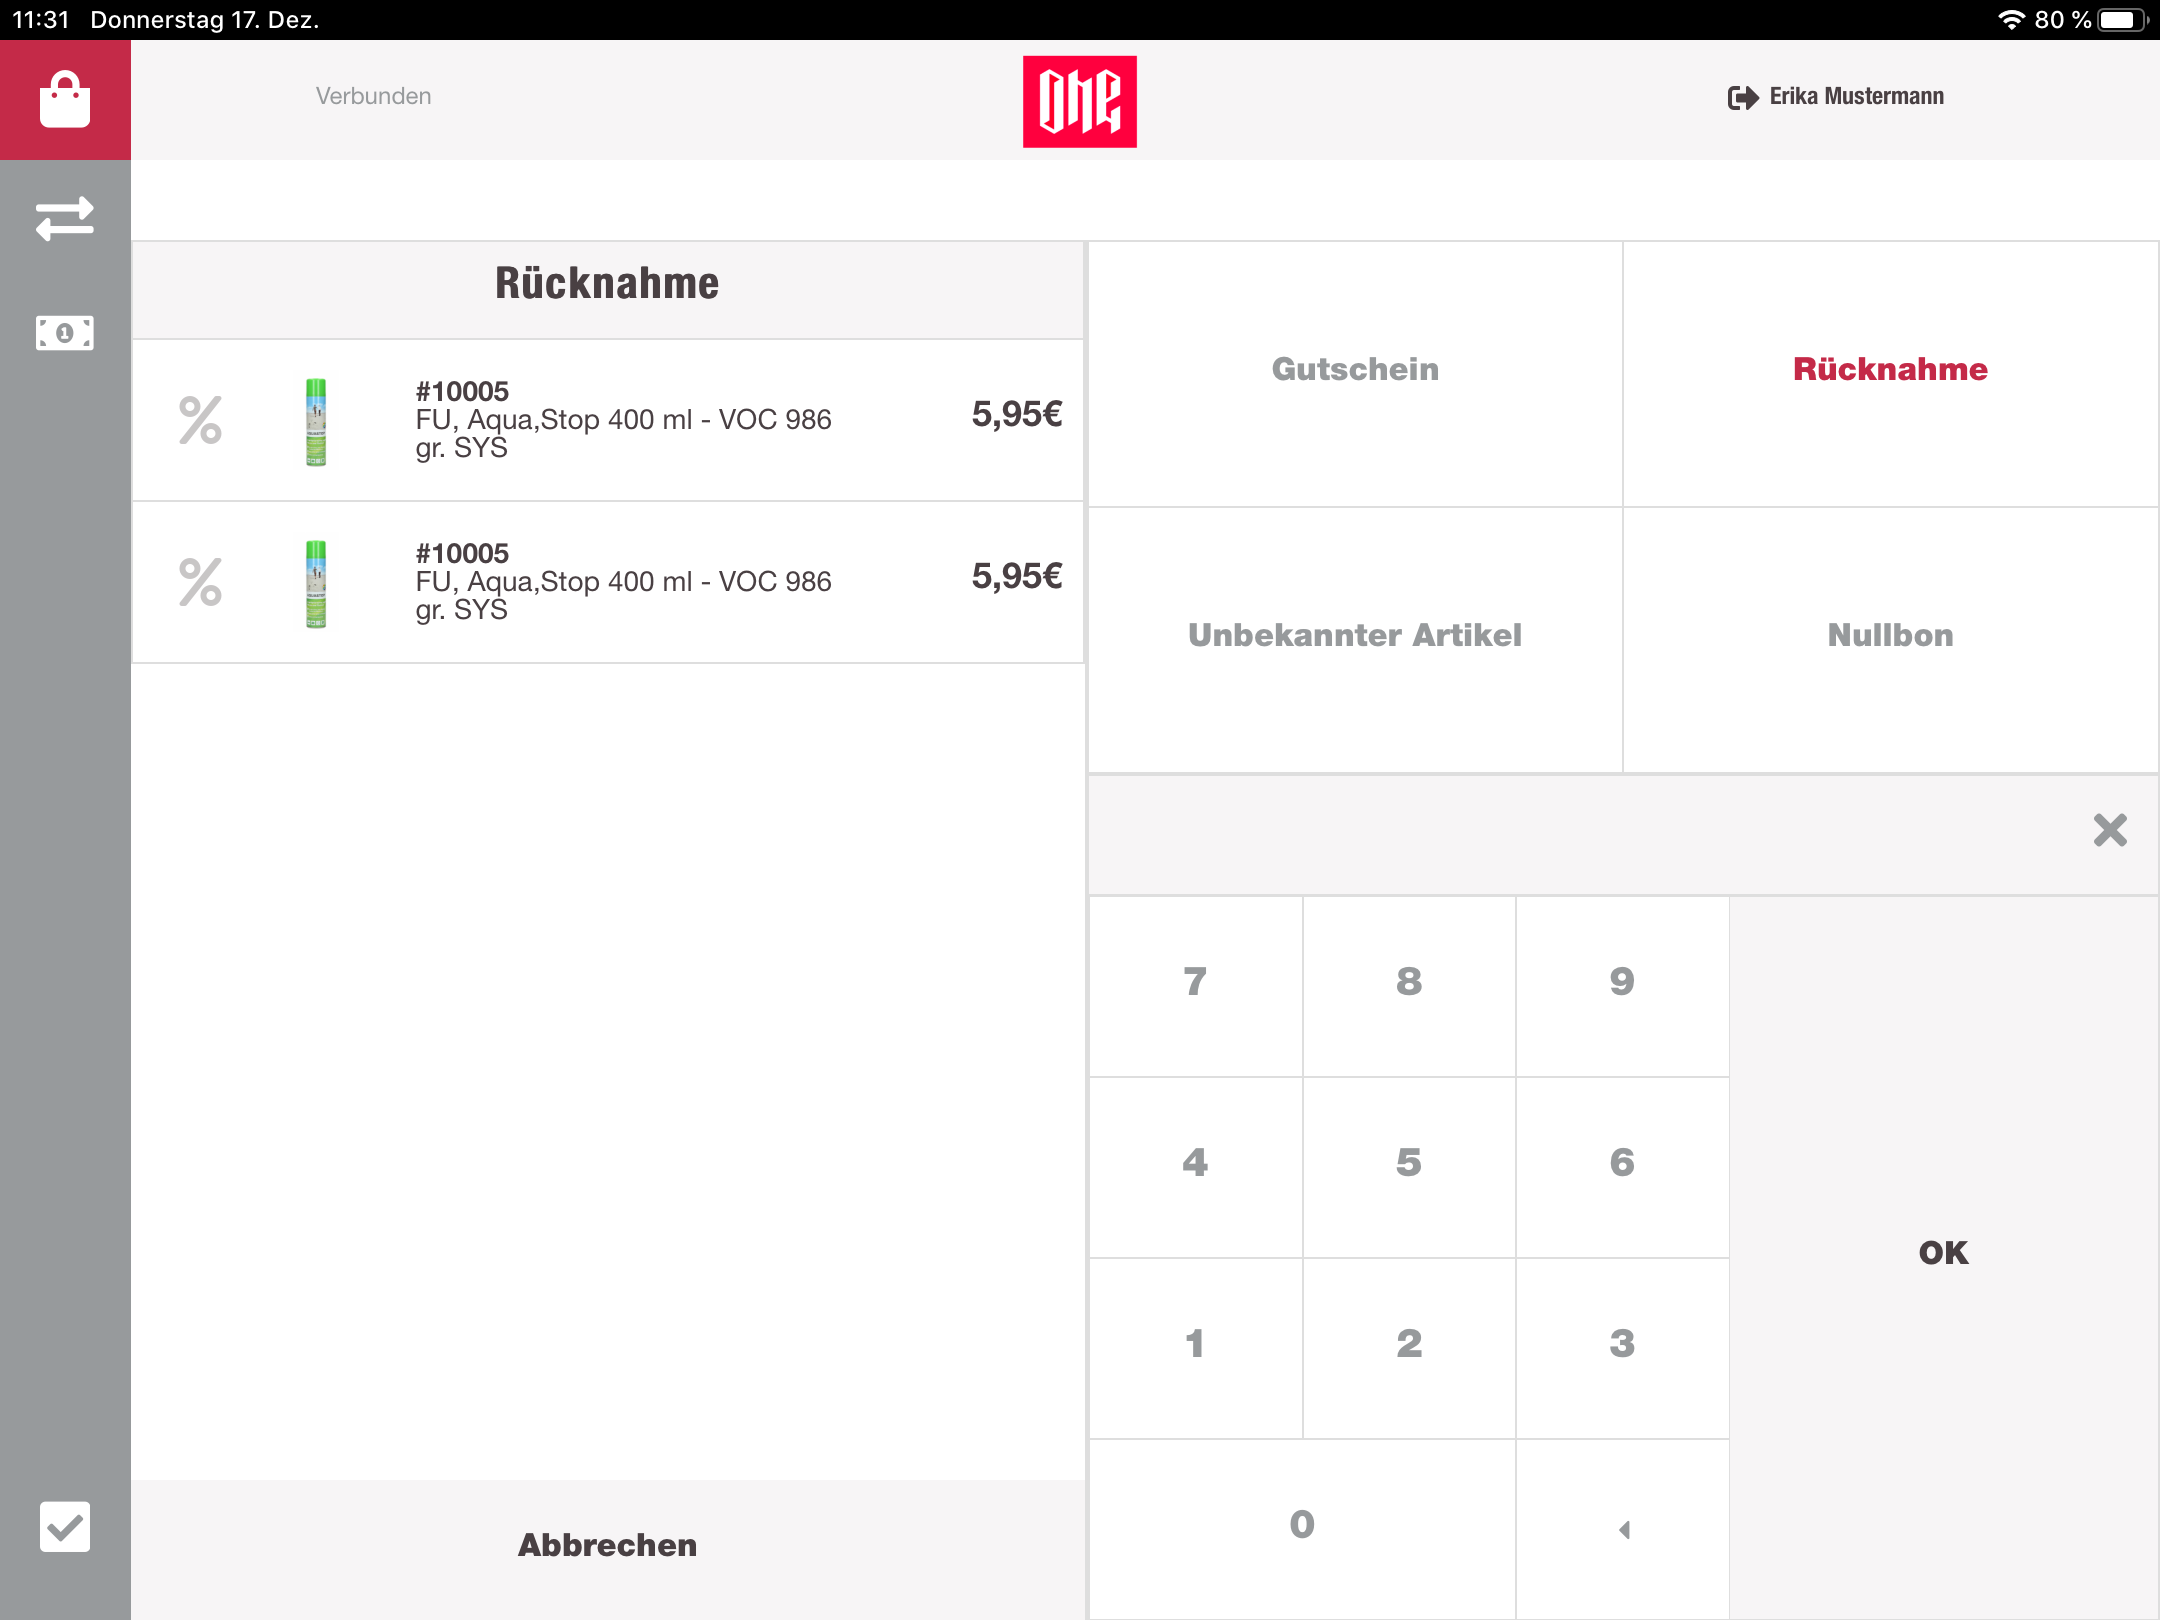
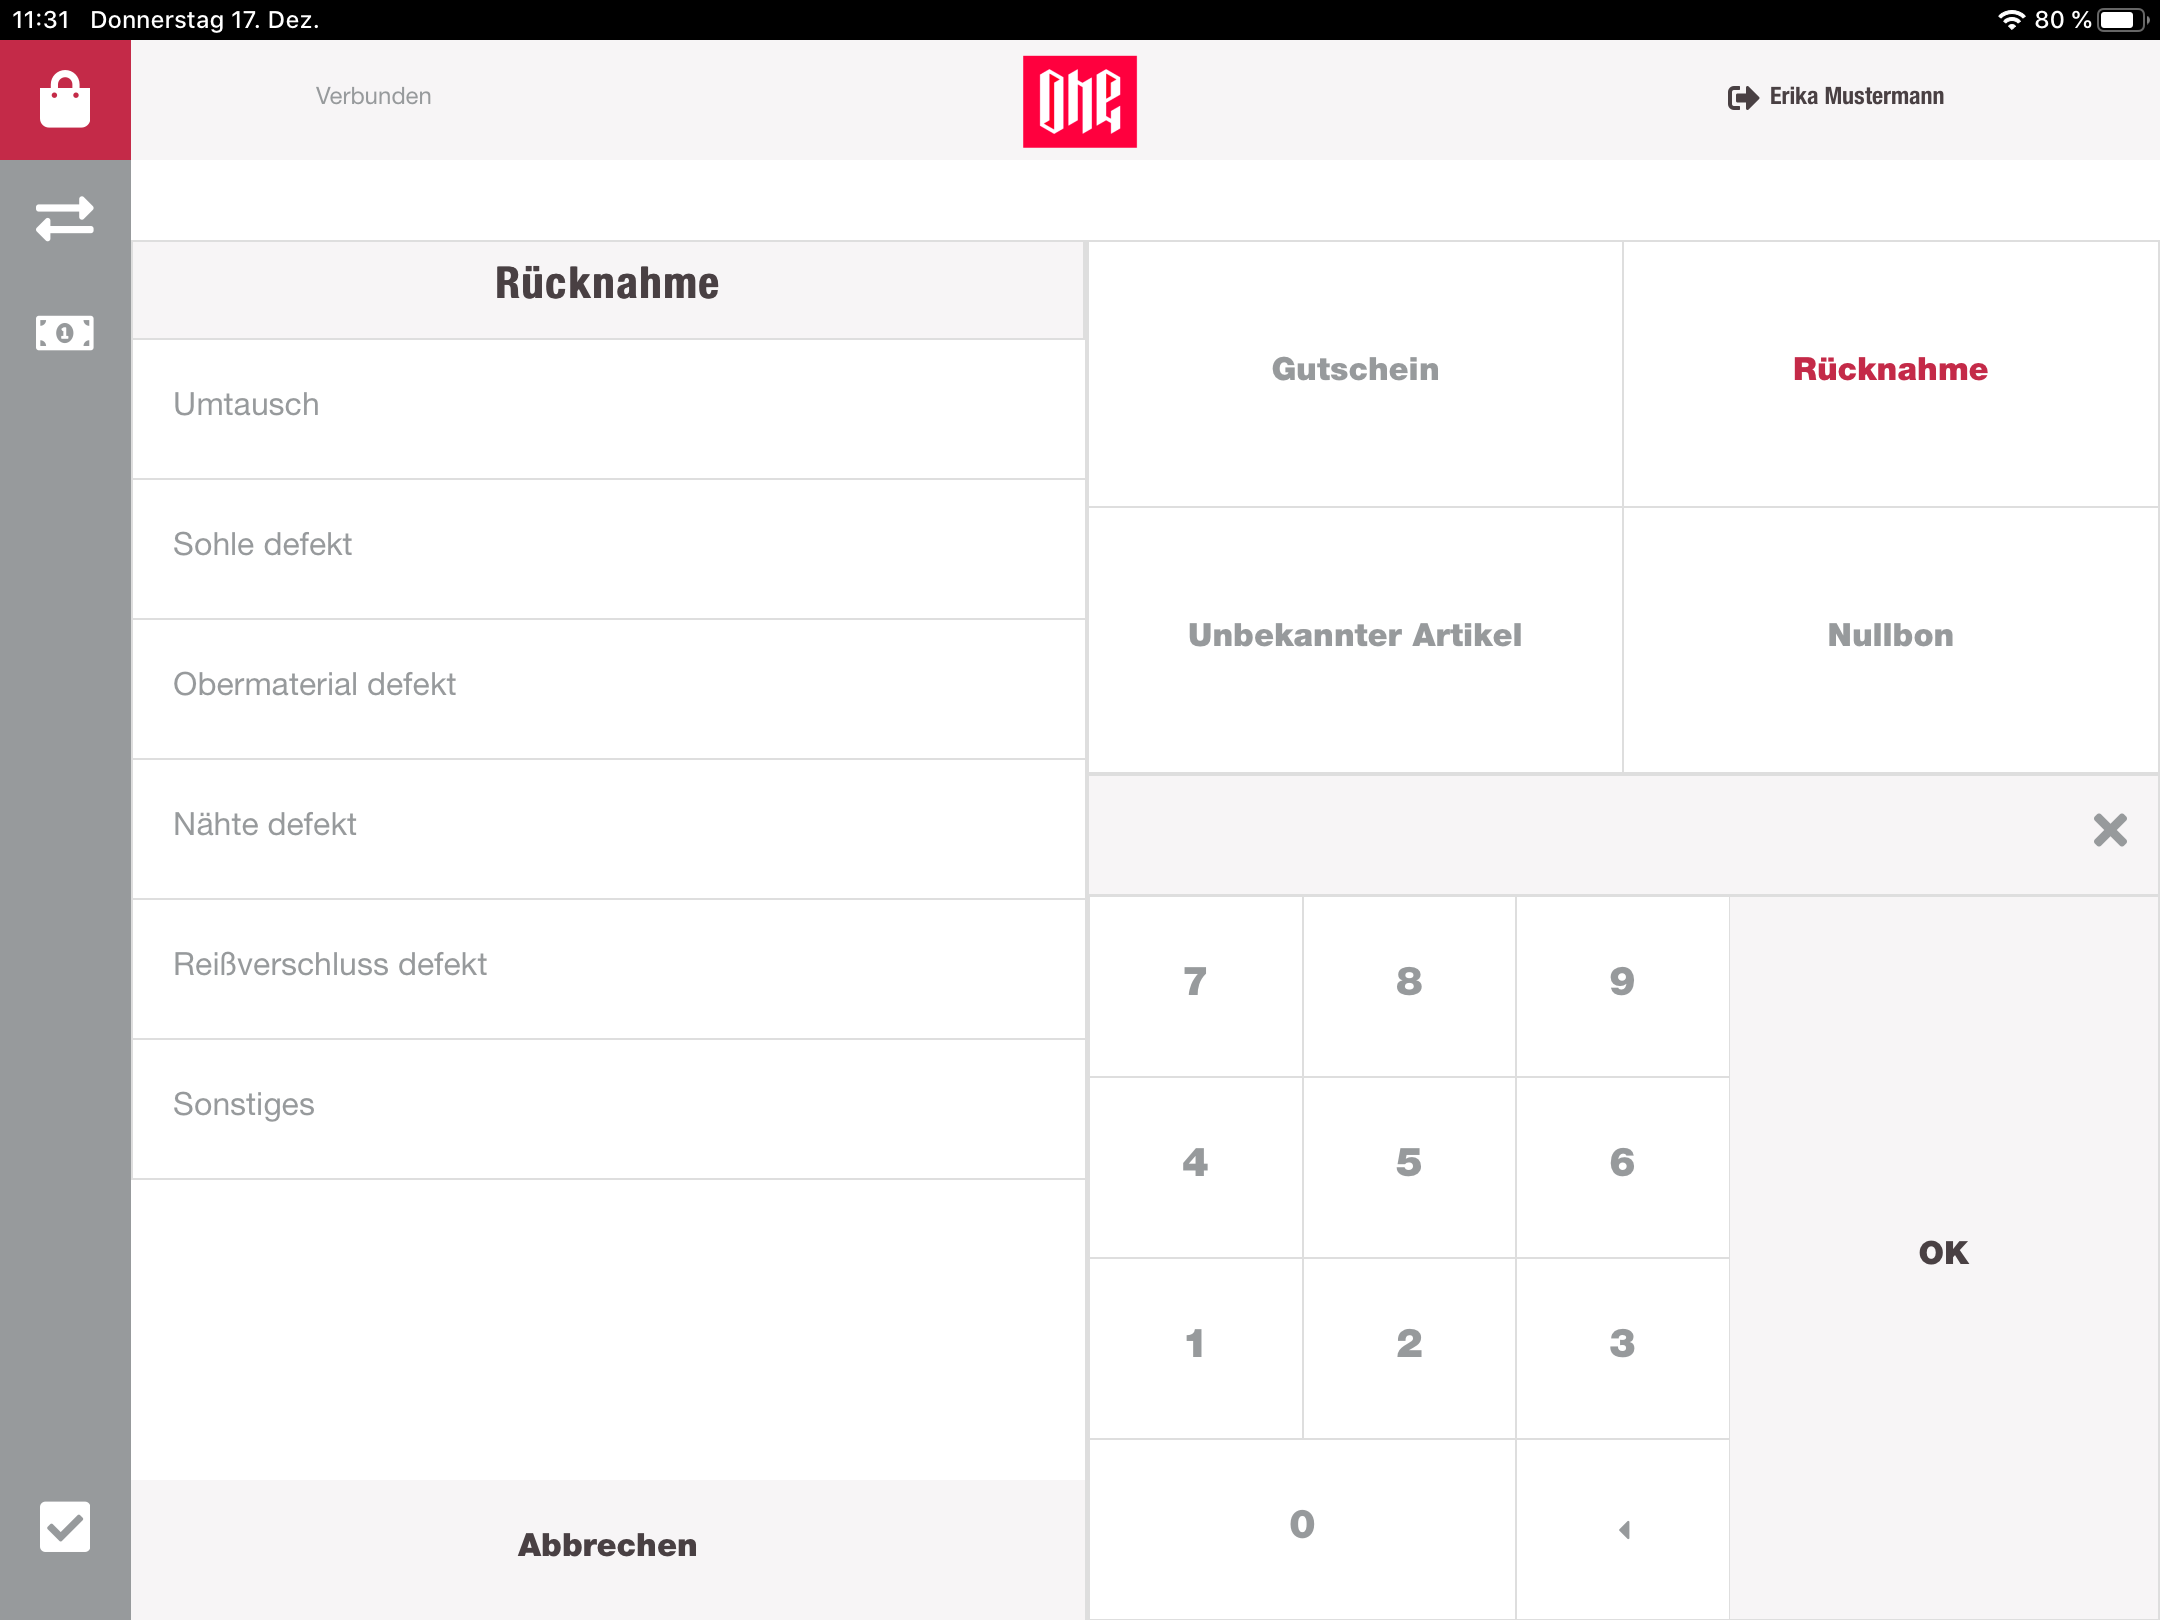
Here the cashier has an overview of the original cart with all of his items and discounts. Not refunded items can be selected. When selected, the cashier has to provide the reason for the refund. After applying the selection, the selected items will be taken, and a new cart will be created with those items. This creates a refund cart with a negative sum. The total sum can be refunded to the customer by cash, pinpad or gift card.
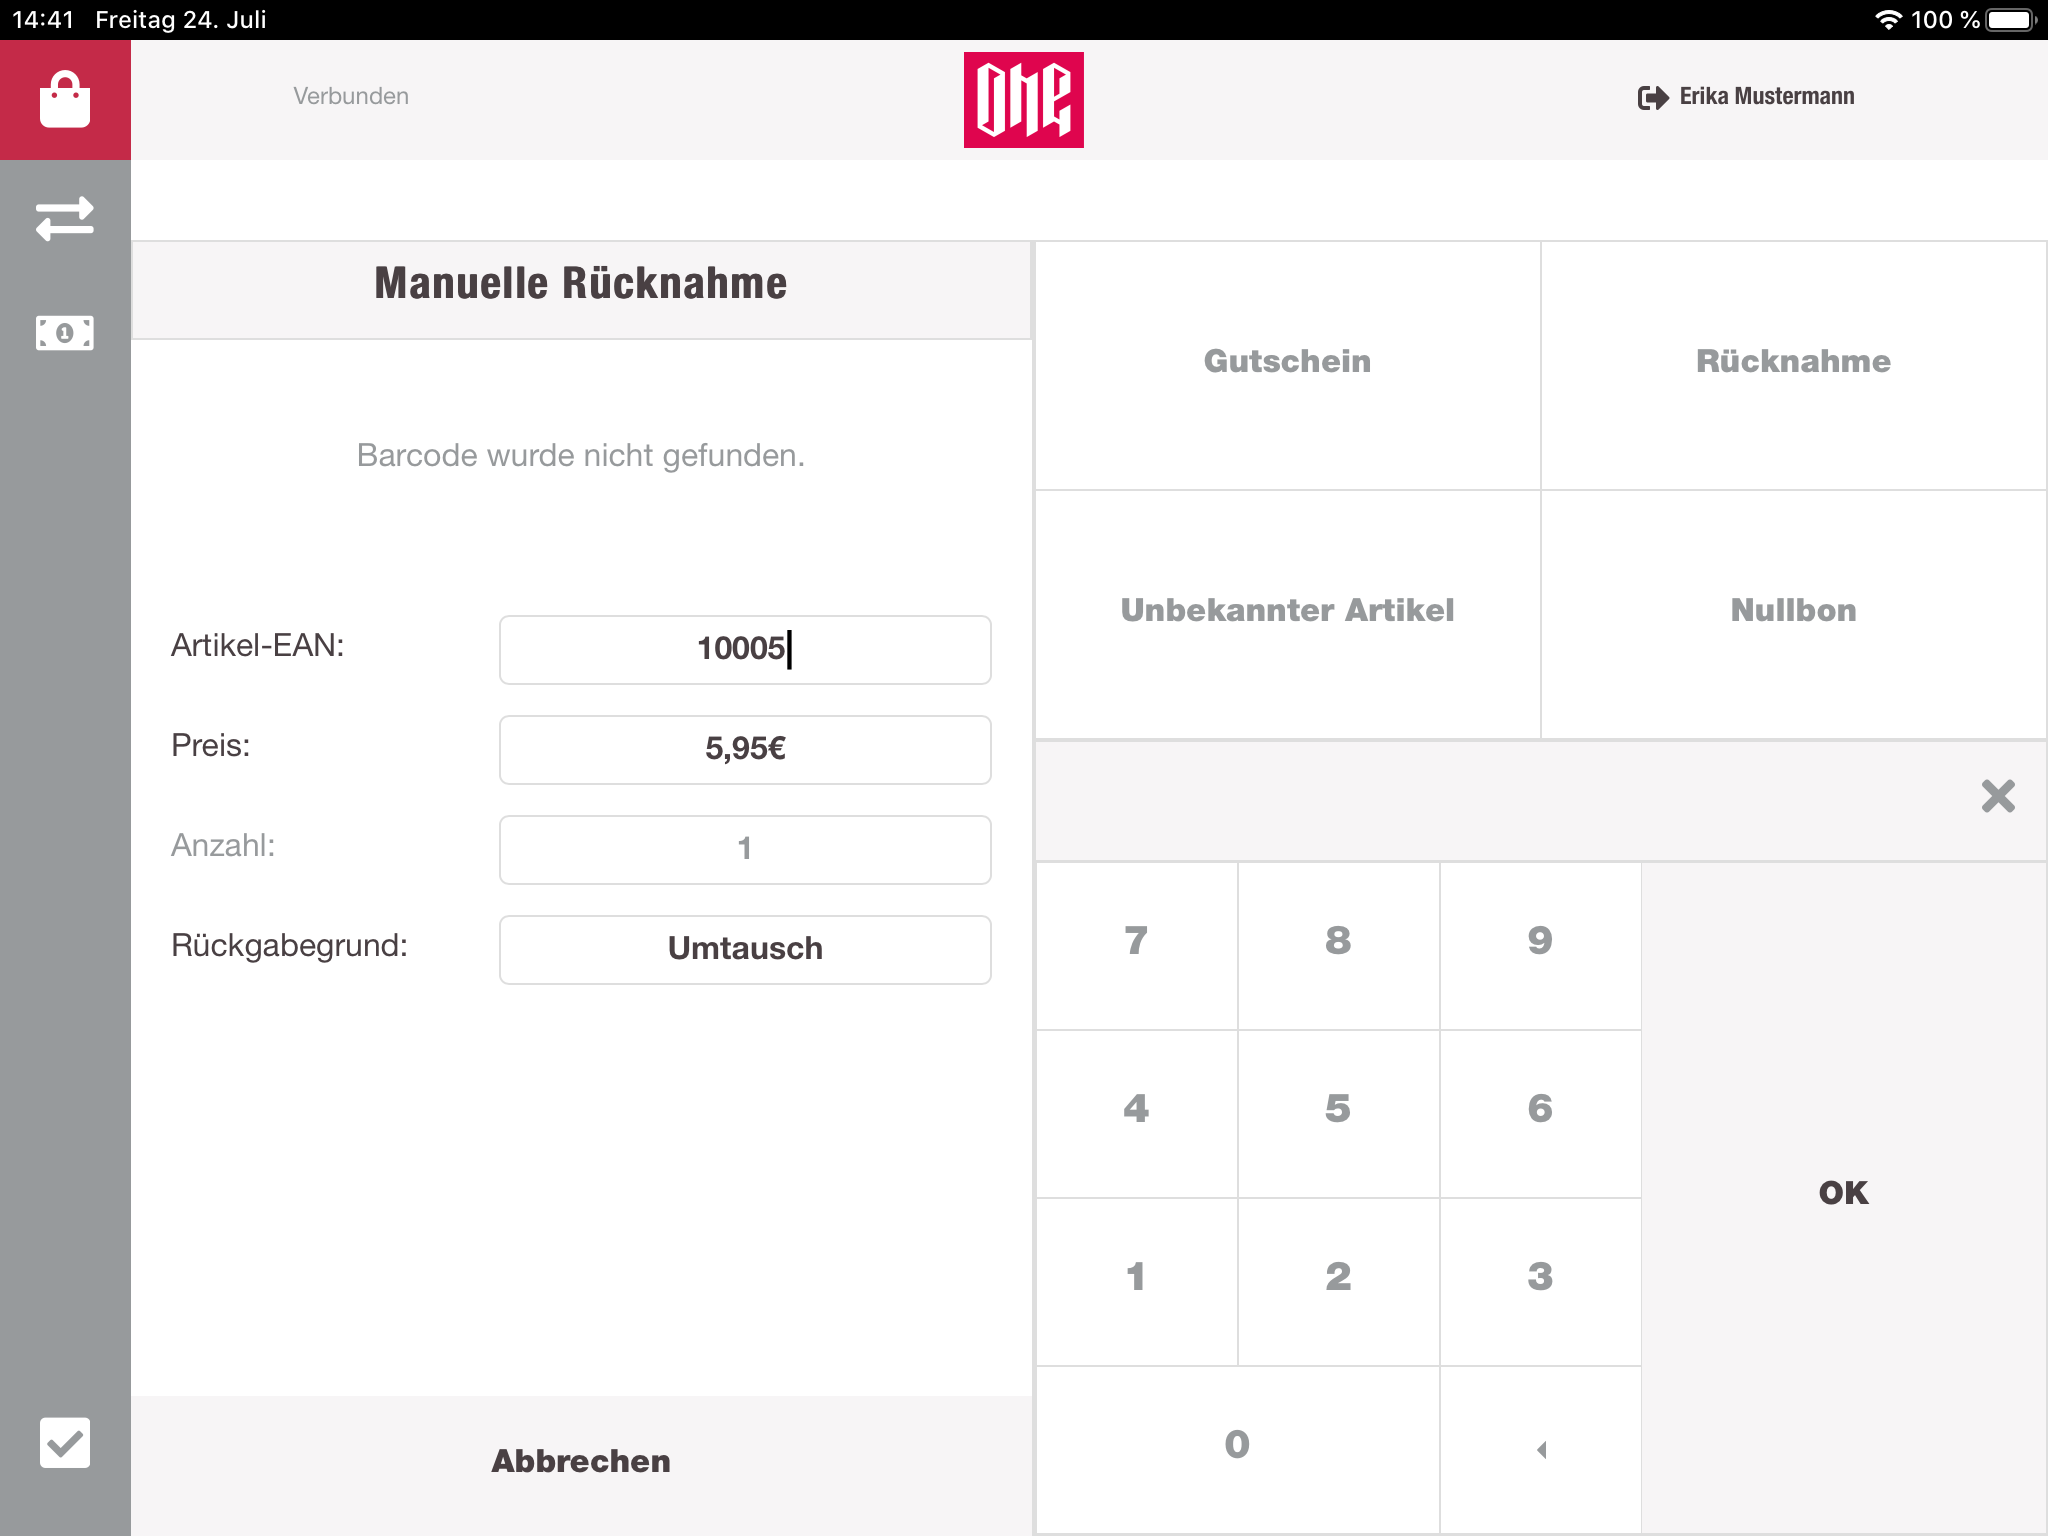
If the customer does not have a valid receipt, for example if he has a legacy receipt, then the cashier can initialize a manual refund. For the manual refund he has to provide the legacy barcode or leave the input field empty. After submitting the entry the cashier has to provide informations about the product/s to return. The SKU/EAN, price and refund reason are necessary.
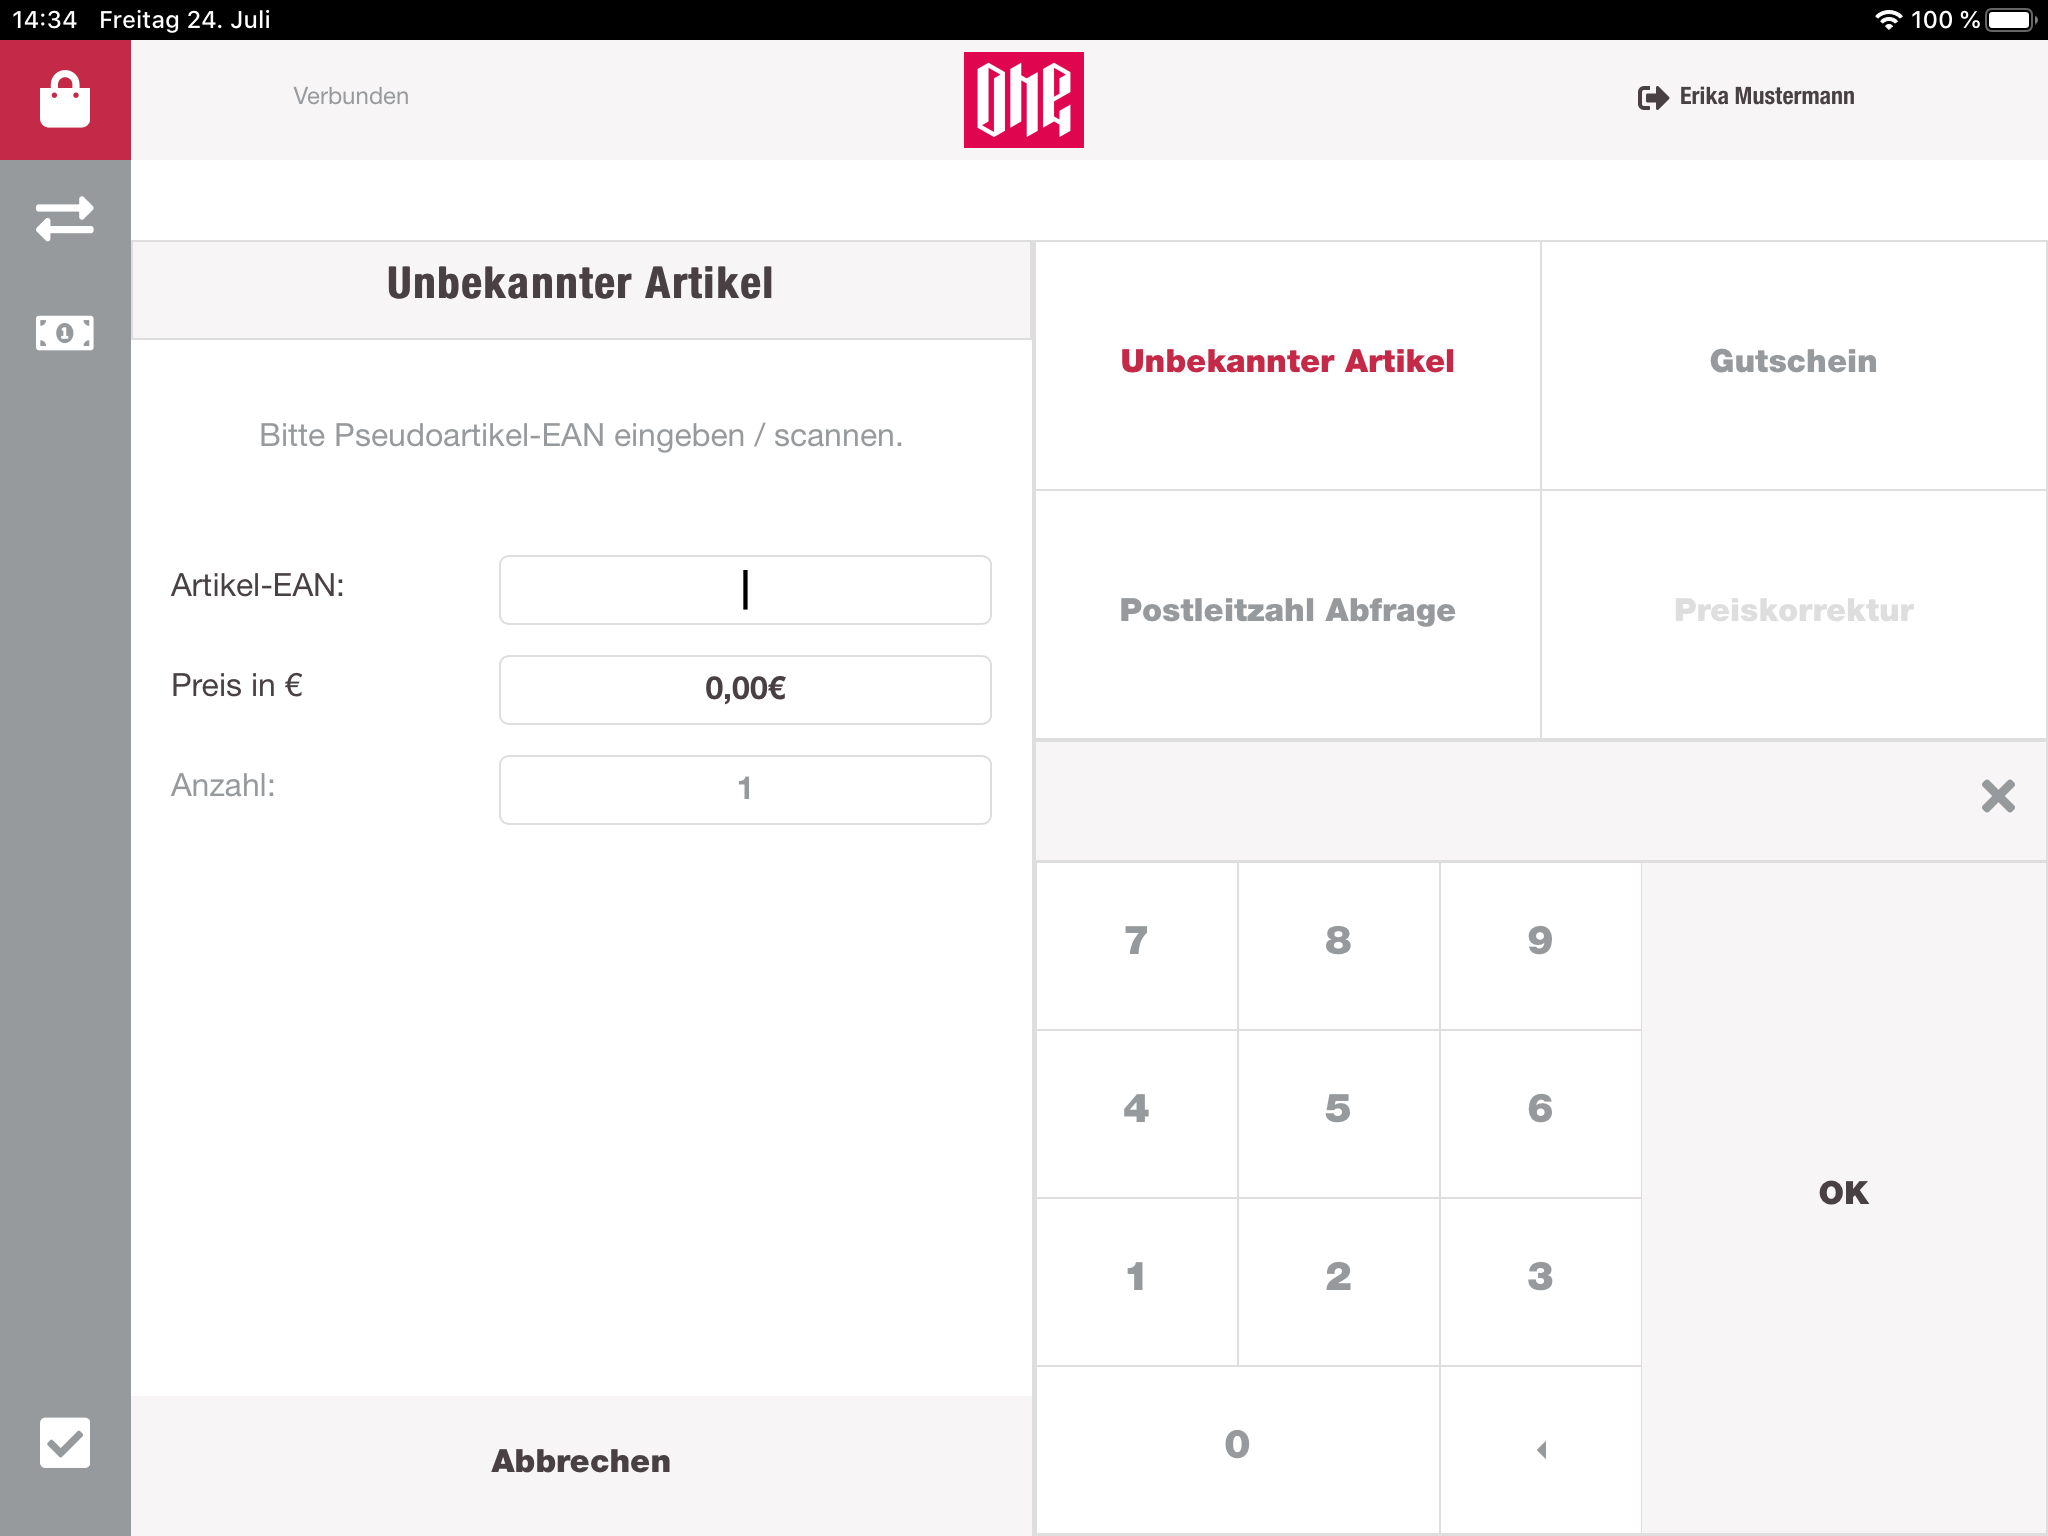
Unknown product
The unknown product can be used to add items to the cart, which can not be identified, for example when the packaging is lost and the barcode of the shoe is accessible. For this case there are existing default SKUs for different kind of product categories. So far that case the cashier has to provide one of those SKUs and the price for the given item. After submitting the form, a pseudo item will be included into the cart and is treated the same way.
Zero receipt
If the cashier has to open the cash drawer, without any sellings or refunds, the process has to be protocolized. For this purpose cashregister uses zero receipts. The cashregister is requesting a zero receipt from the receipt-service which contains information about the store, station, cashier, date, etc. Very similar to a usual receipt. This zero receipt is now included in the cashbook and is proof, that the cash drawer was opened. The zero receipt gets printed, and the cashier has to note down the reason for the opening on the receipt.
Postal code survey
For market analysis, the cashier sometimes have to provide the postal code of the current customer. This option switches the cart view to a form with an input field for the postalcode. With the numpad the cashier can enter the postal code and submit it.
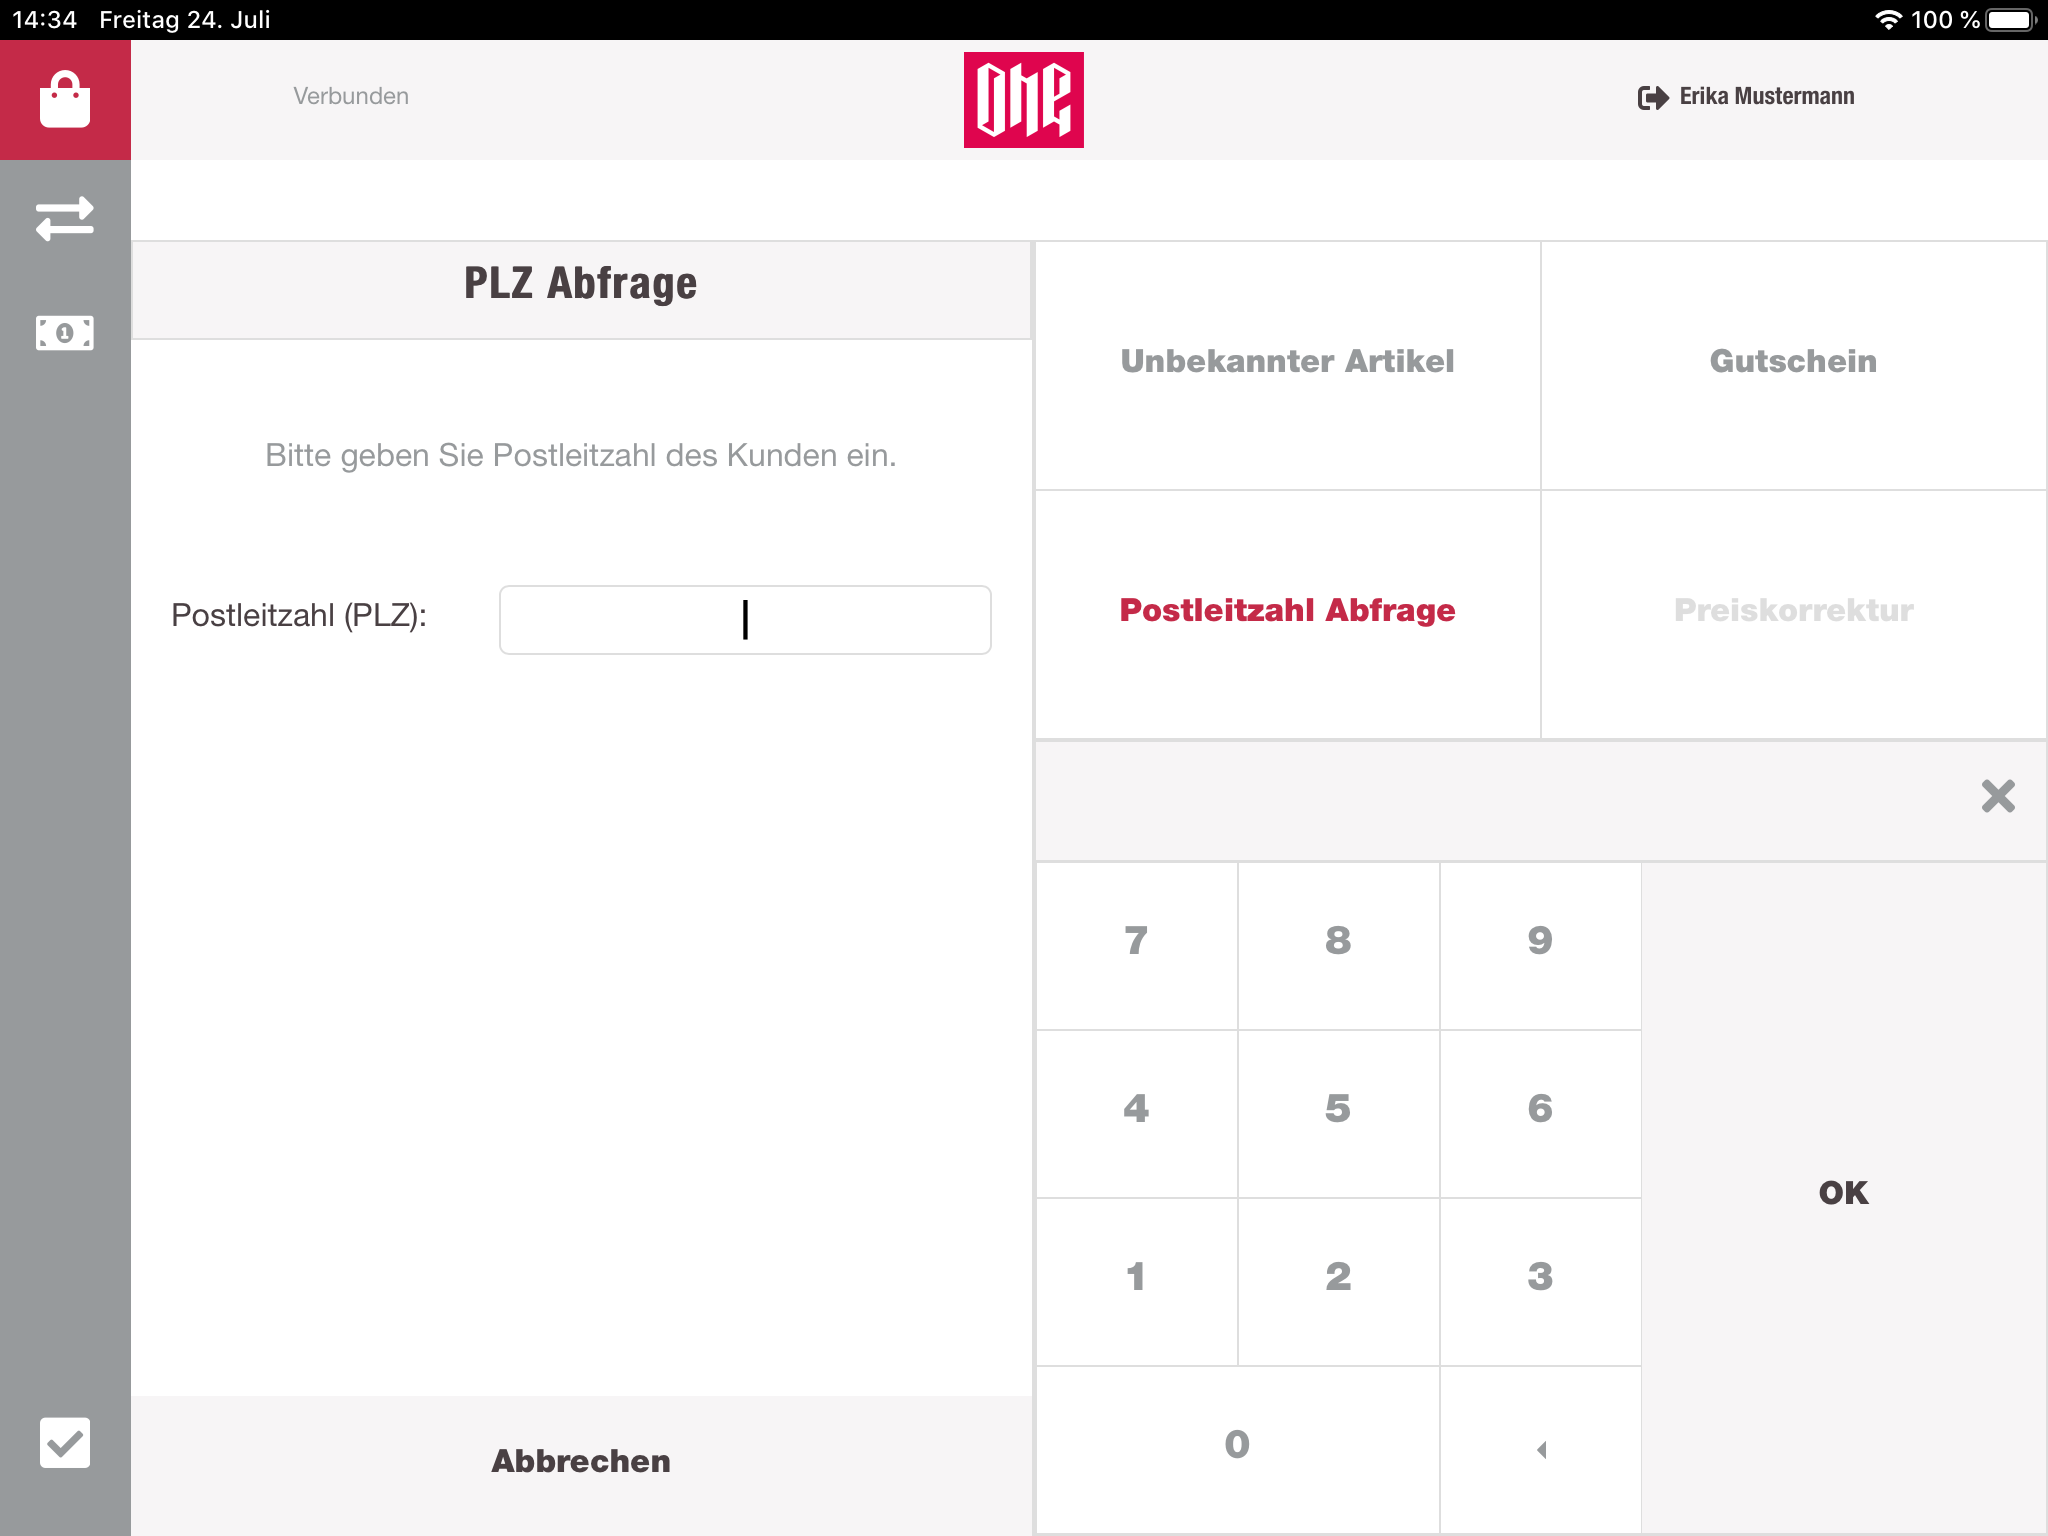
Once the postal code was submitted, it will be displayed below the cart header, with the possibility to remove it.
The postal code survey can only be reached when at least 1 item is inside the cart.
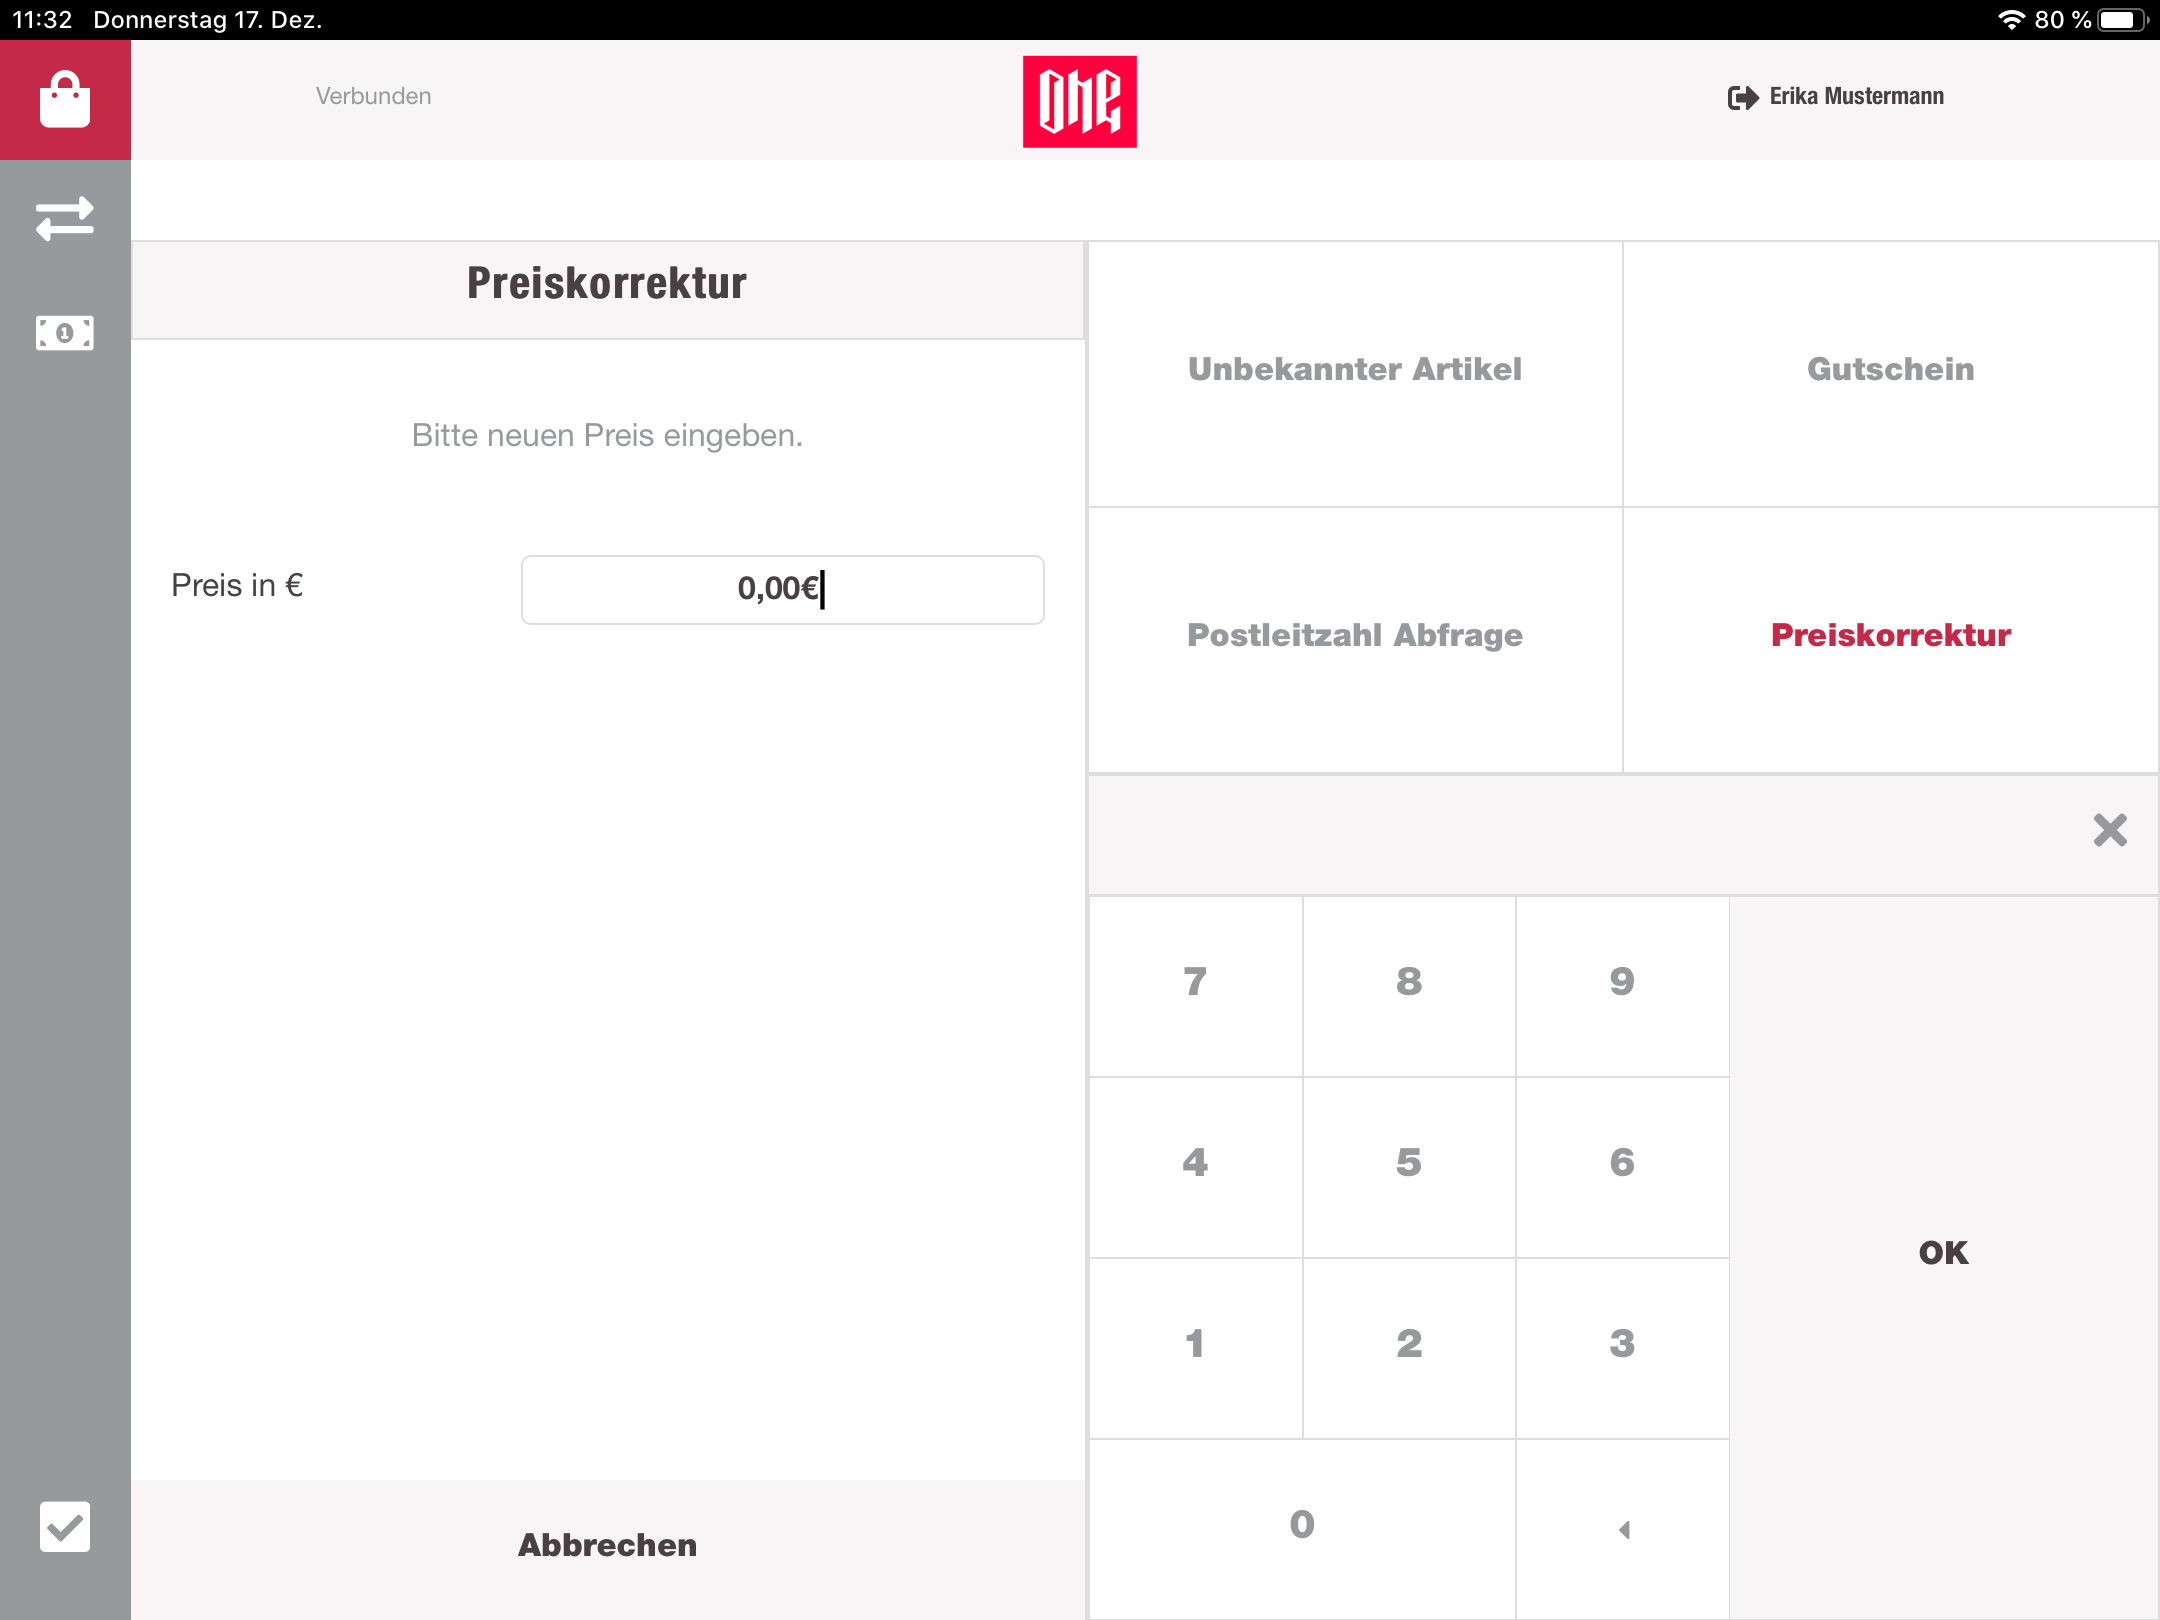
Price correction
For the price correction the cashier has to select the wished item and then click on the "more-options"-button in the cart header. From here the cashier can select the price correction. The view will change again, and the cashier can enter the new price. After submitting the new price, the view will be navigated back to the cart, and the item will have the new price.